Modeling & Materials

Weekly Design Challenge Template

student name put a description here or you will lose grades


Module 1


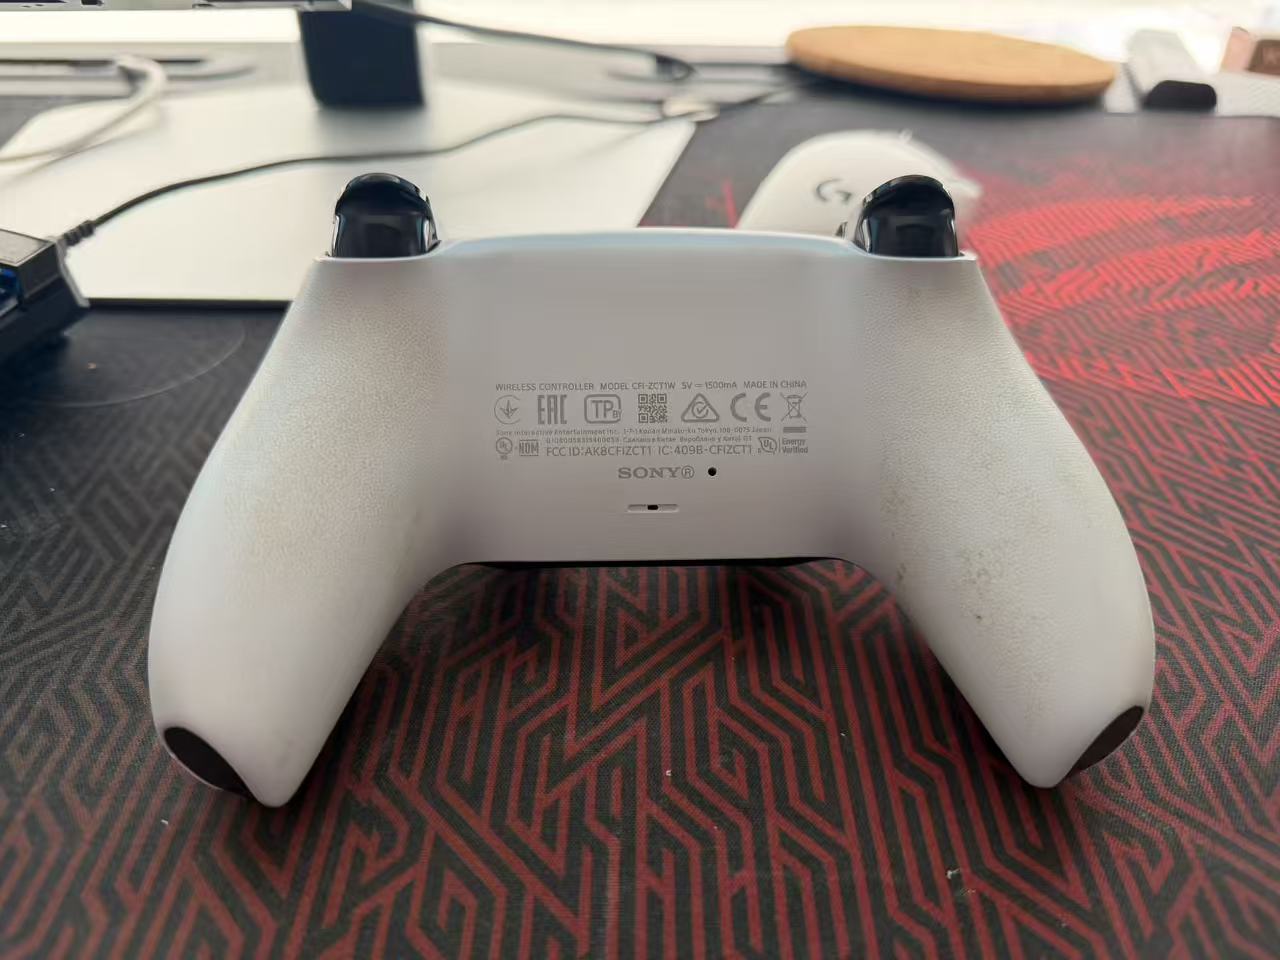
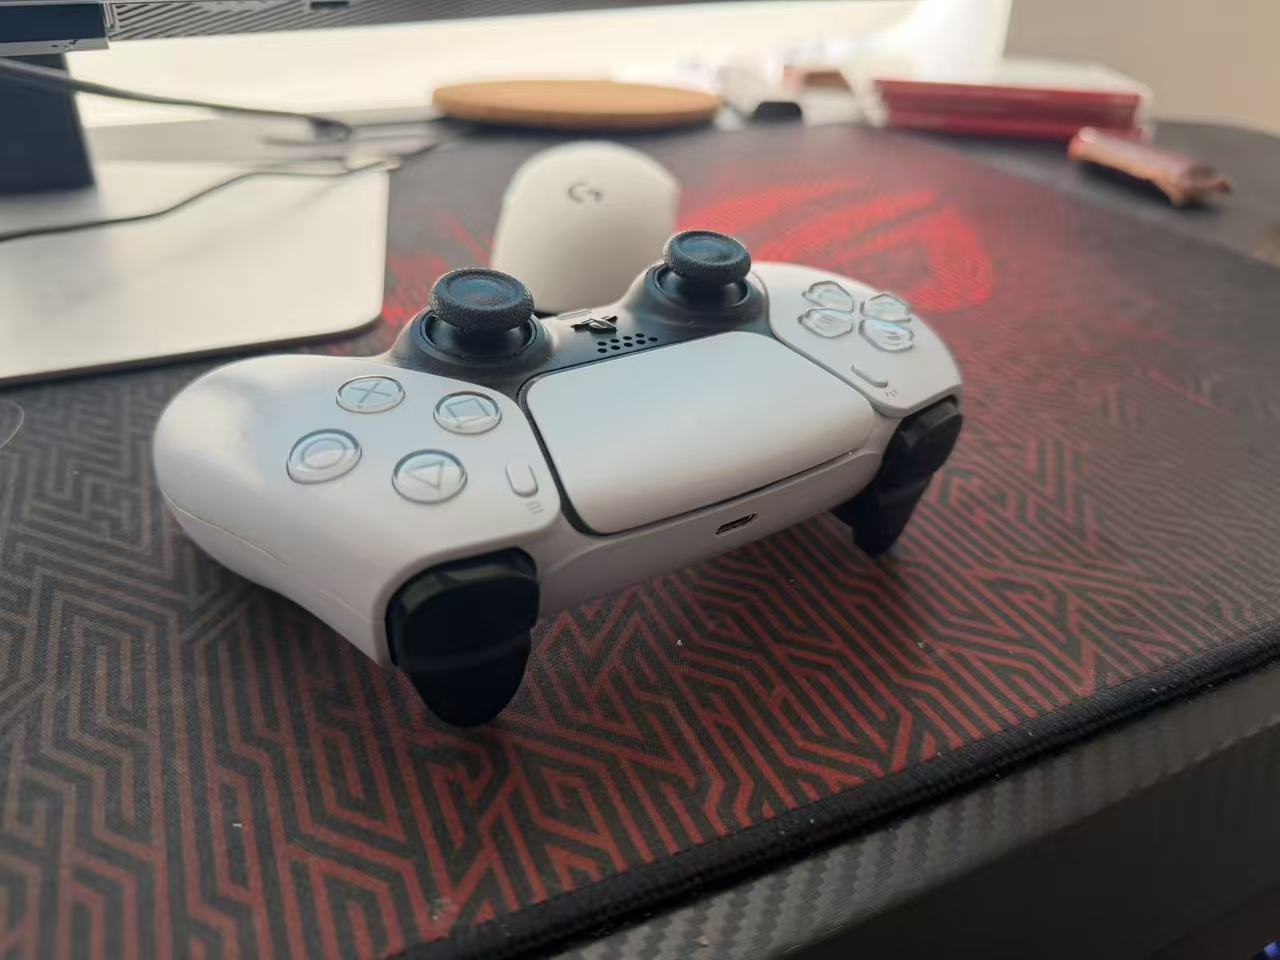
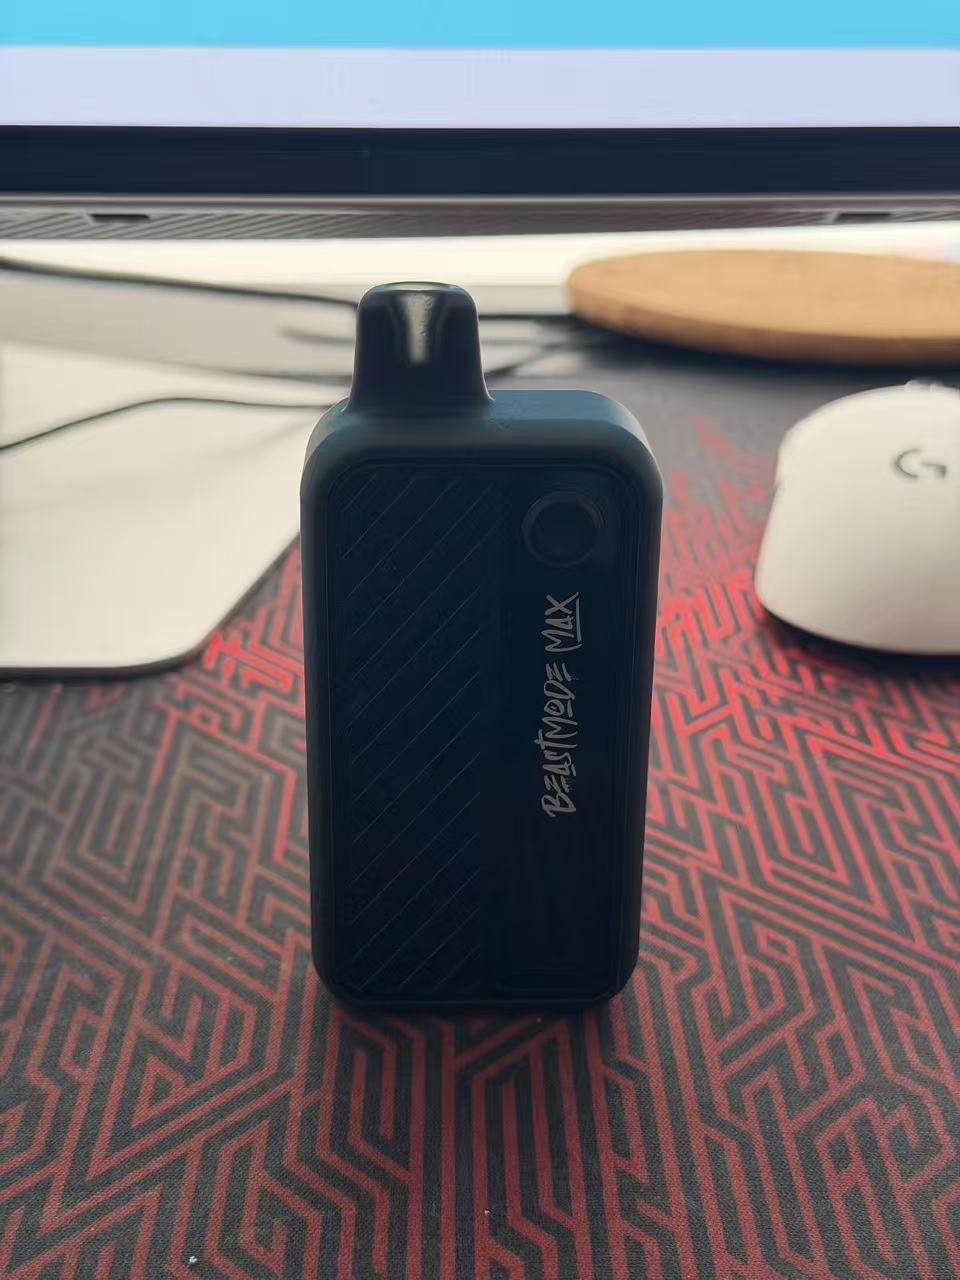
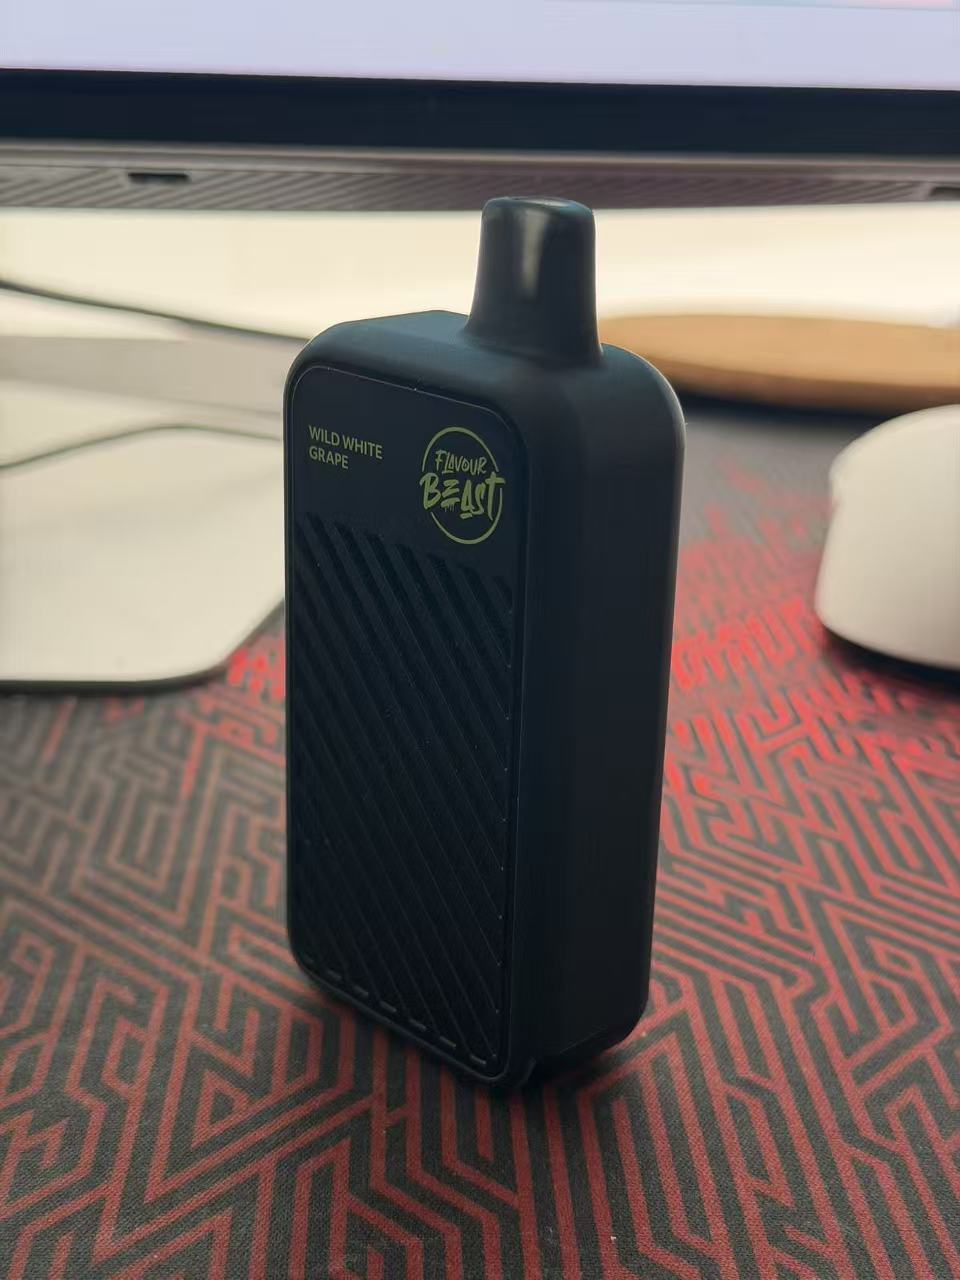
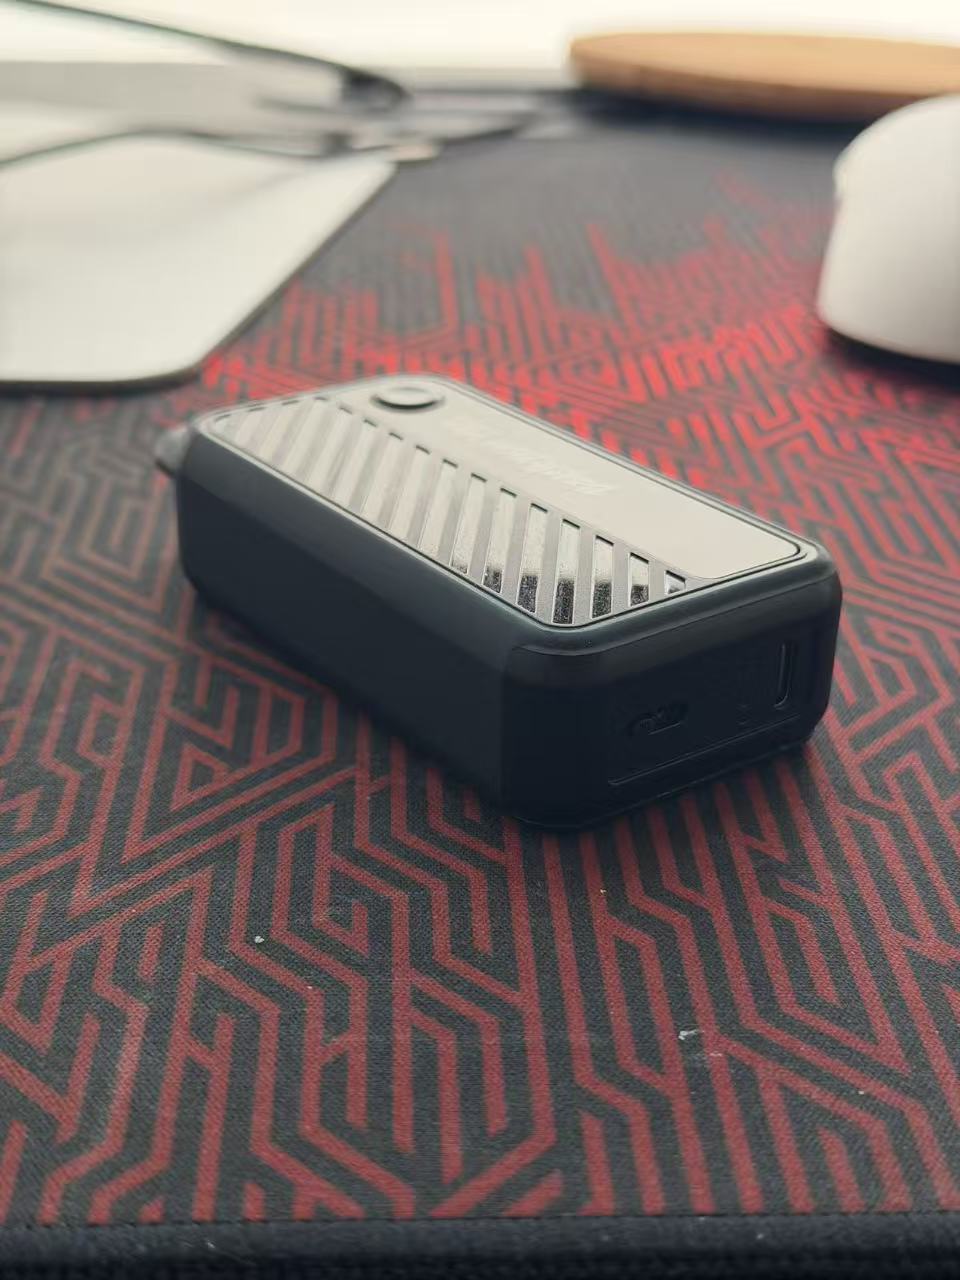
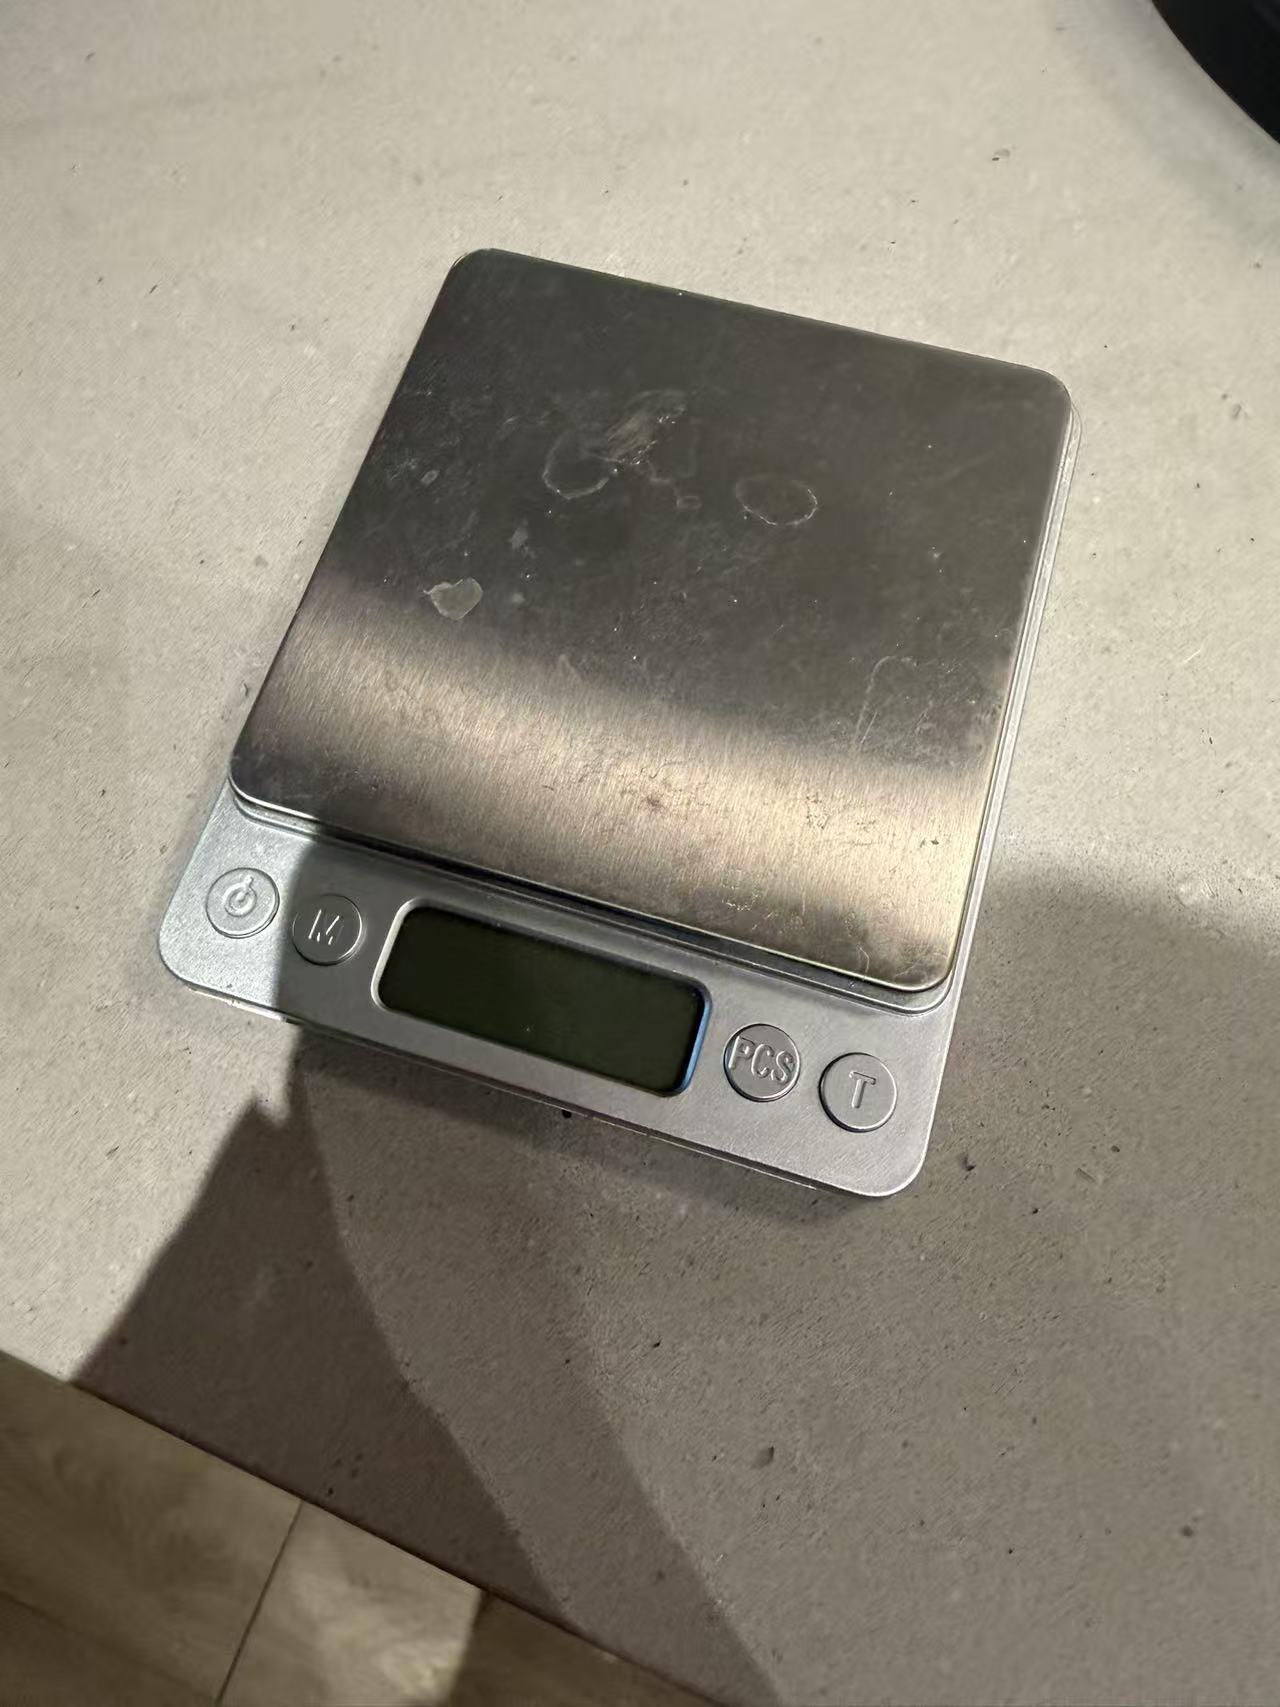
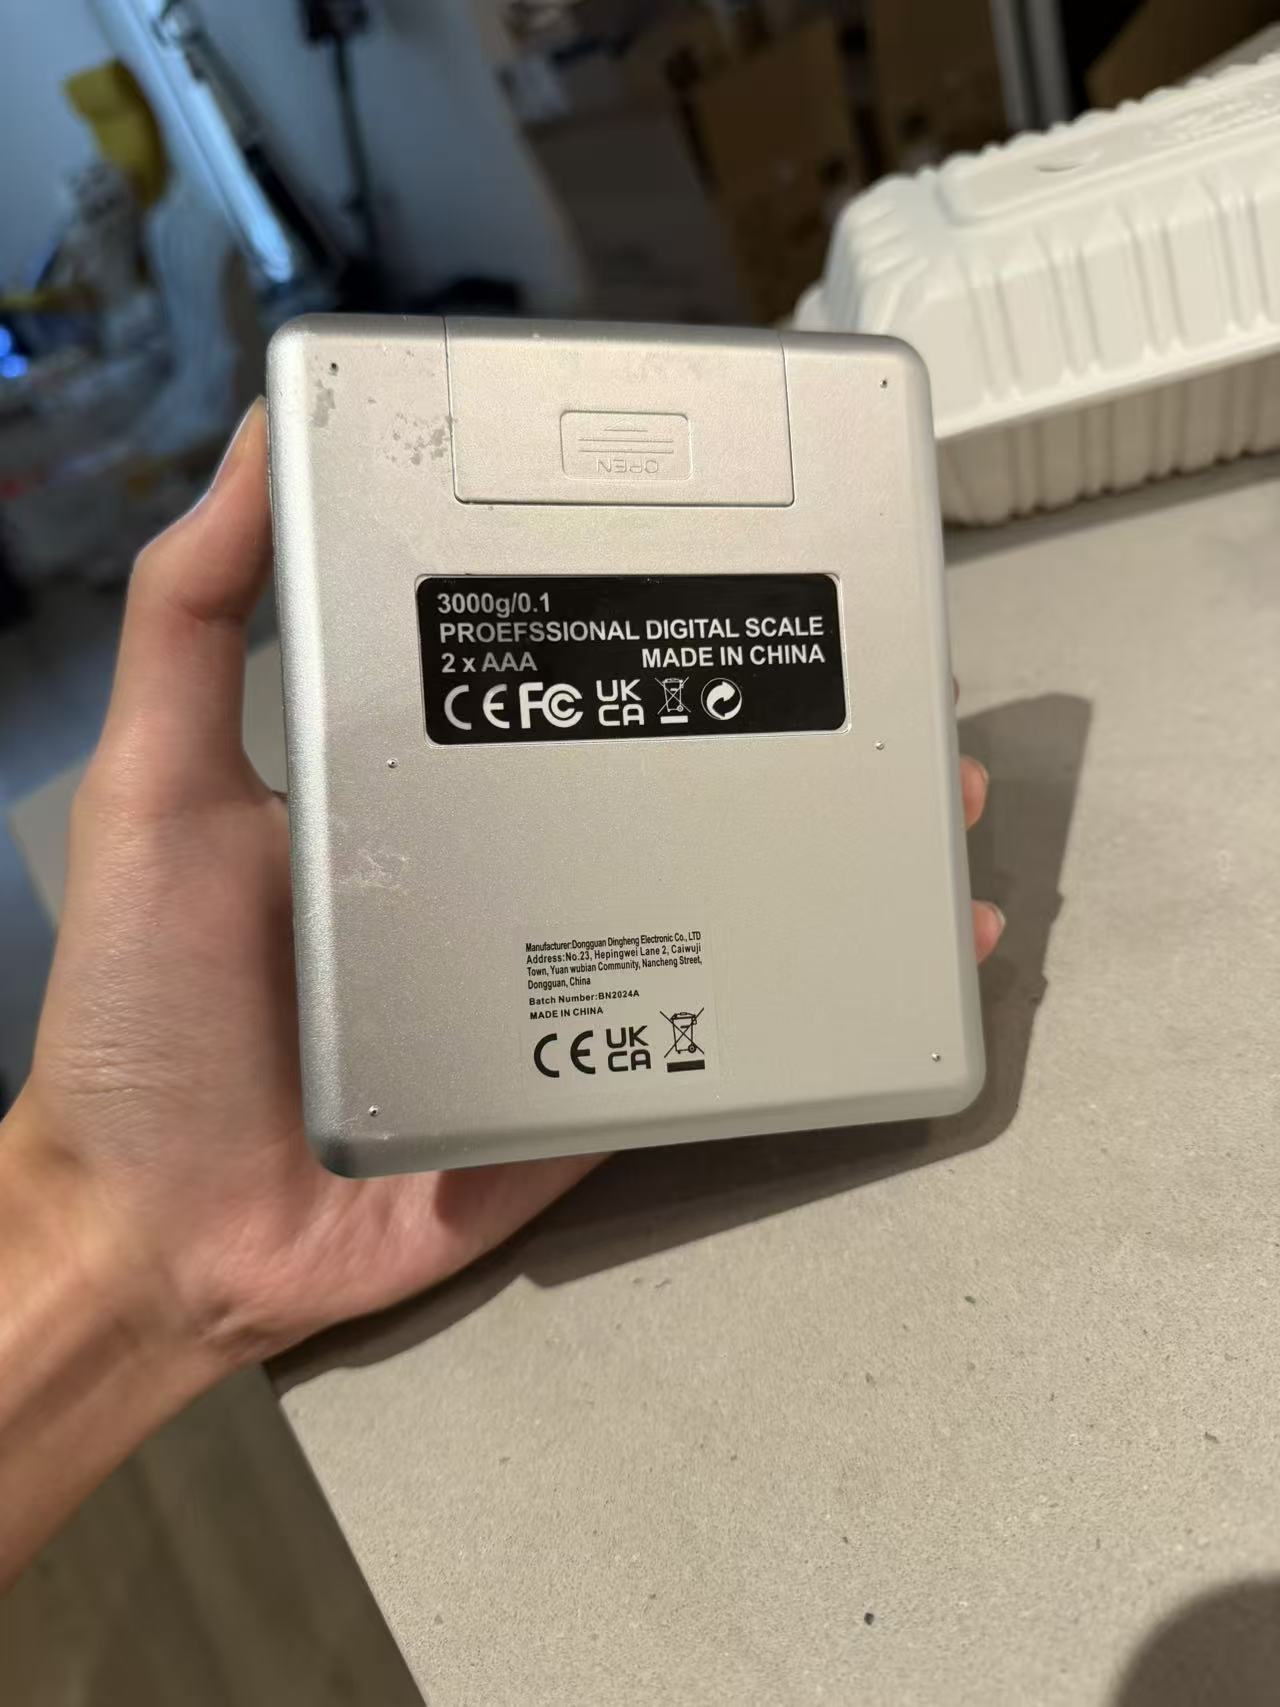
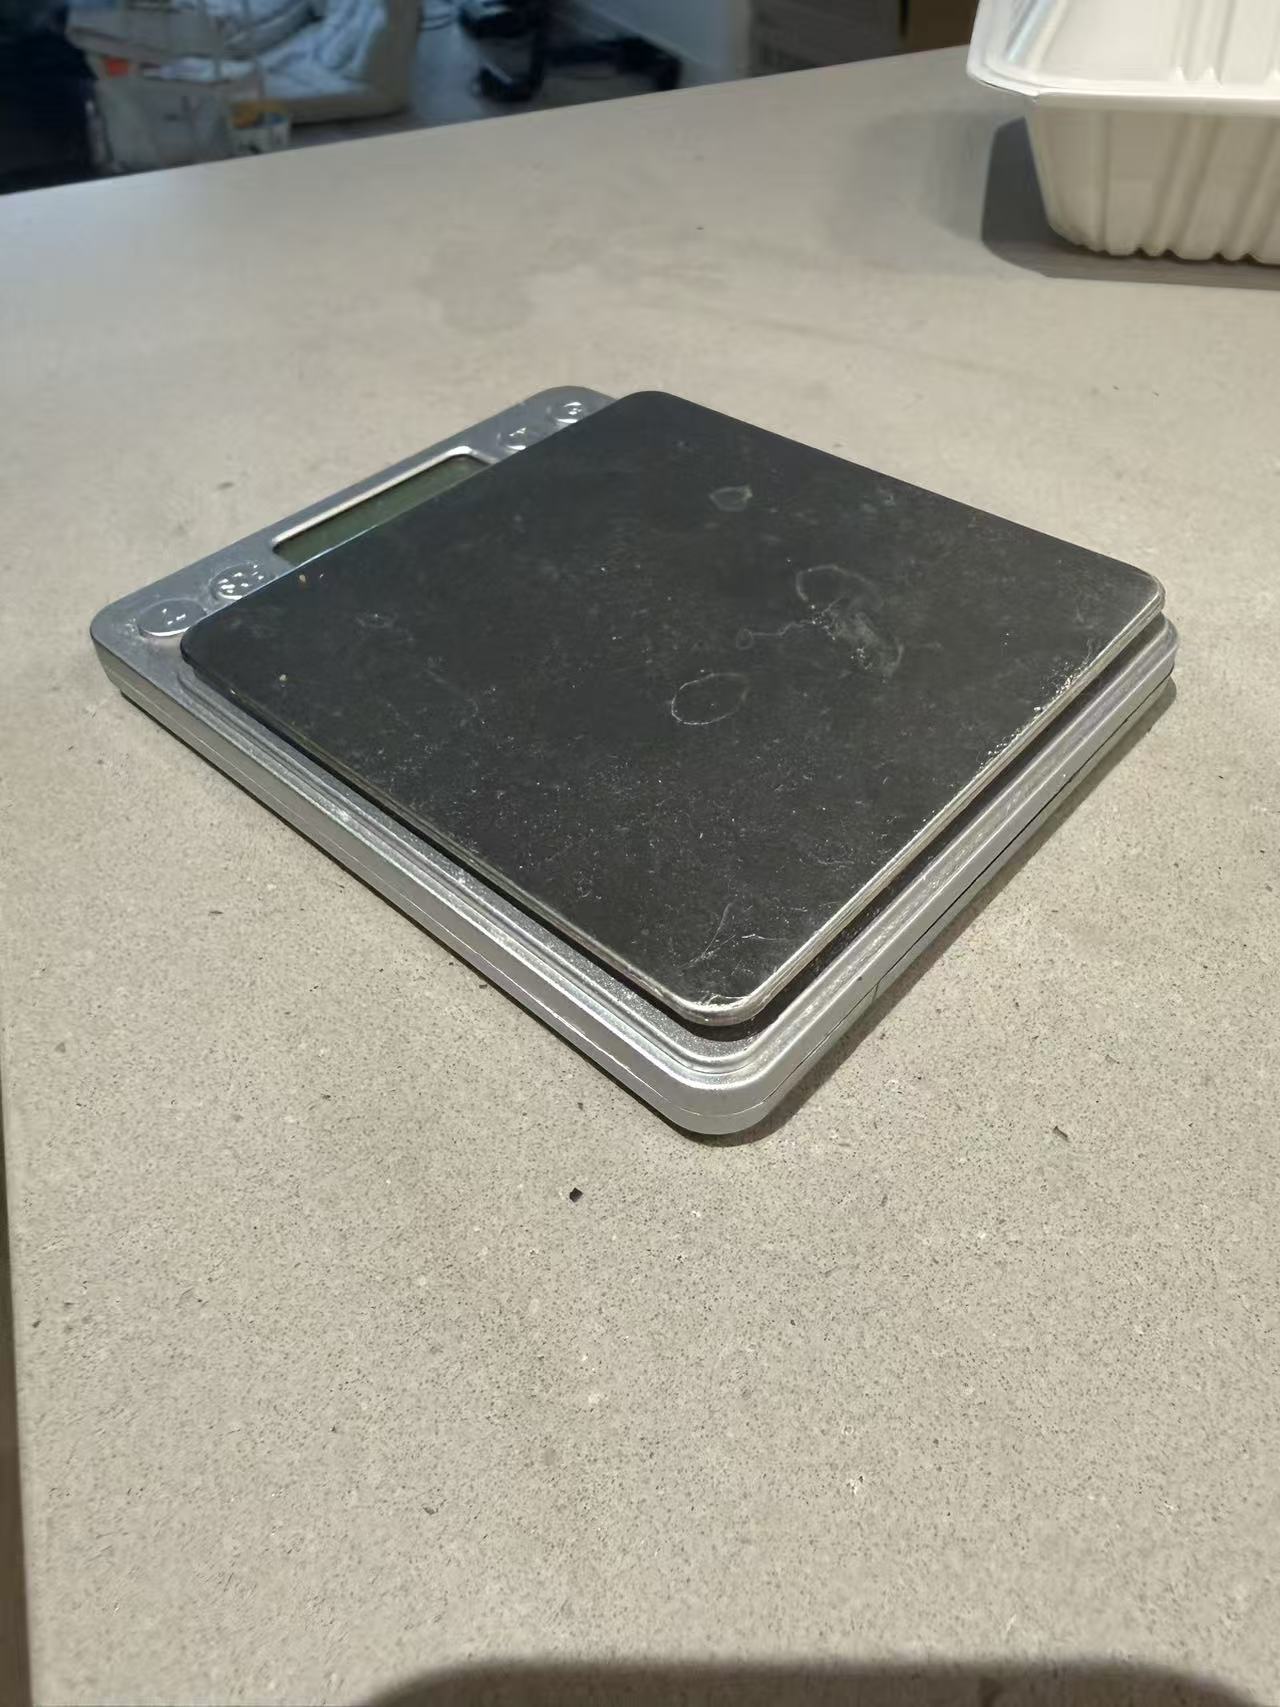
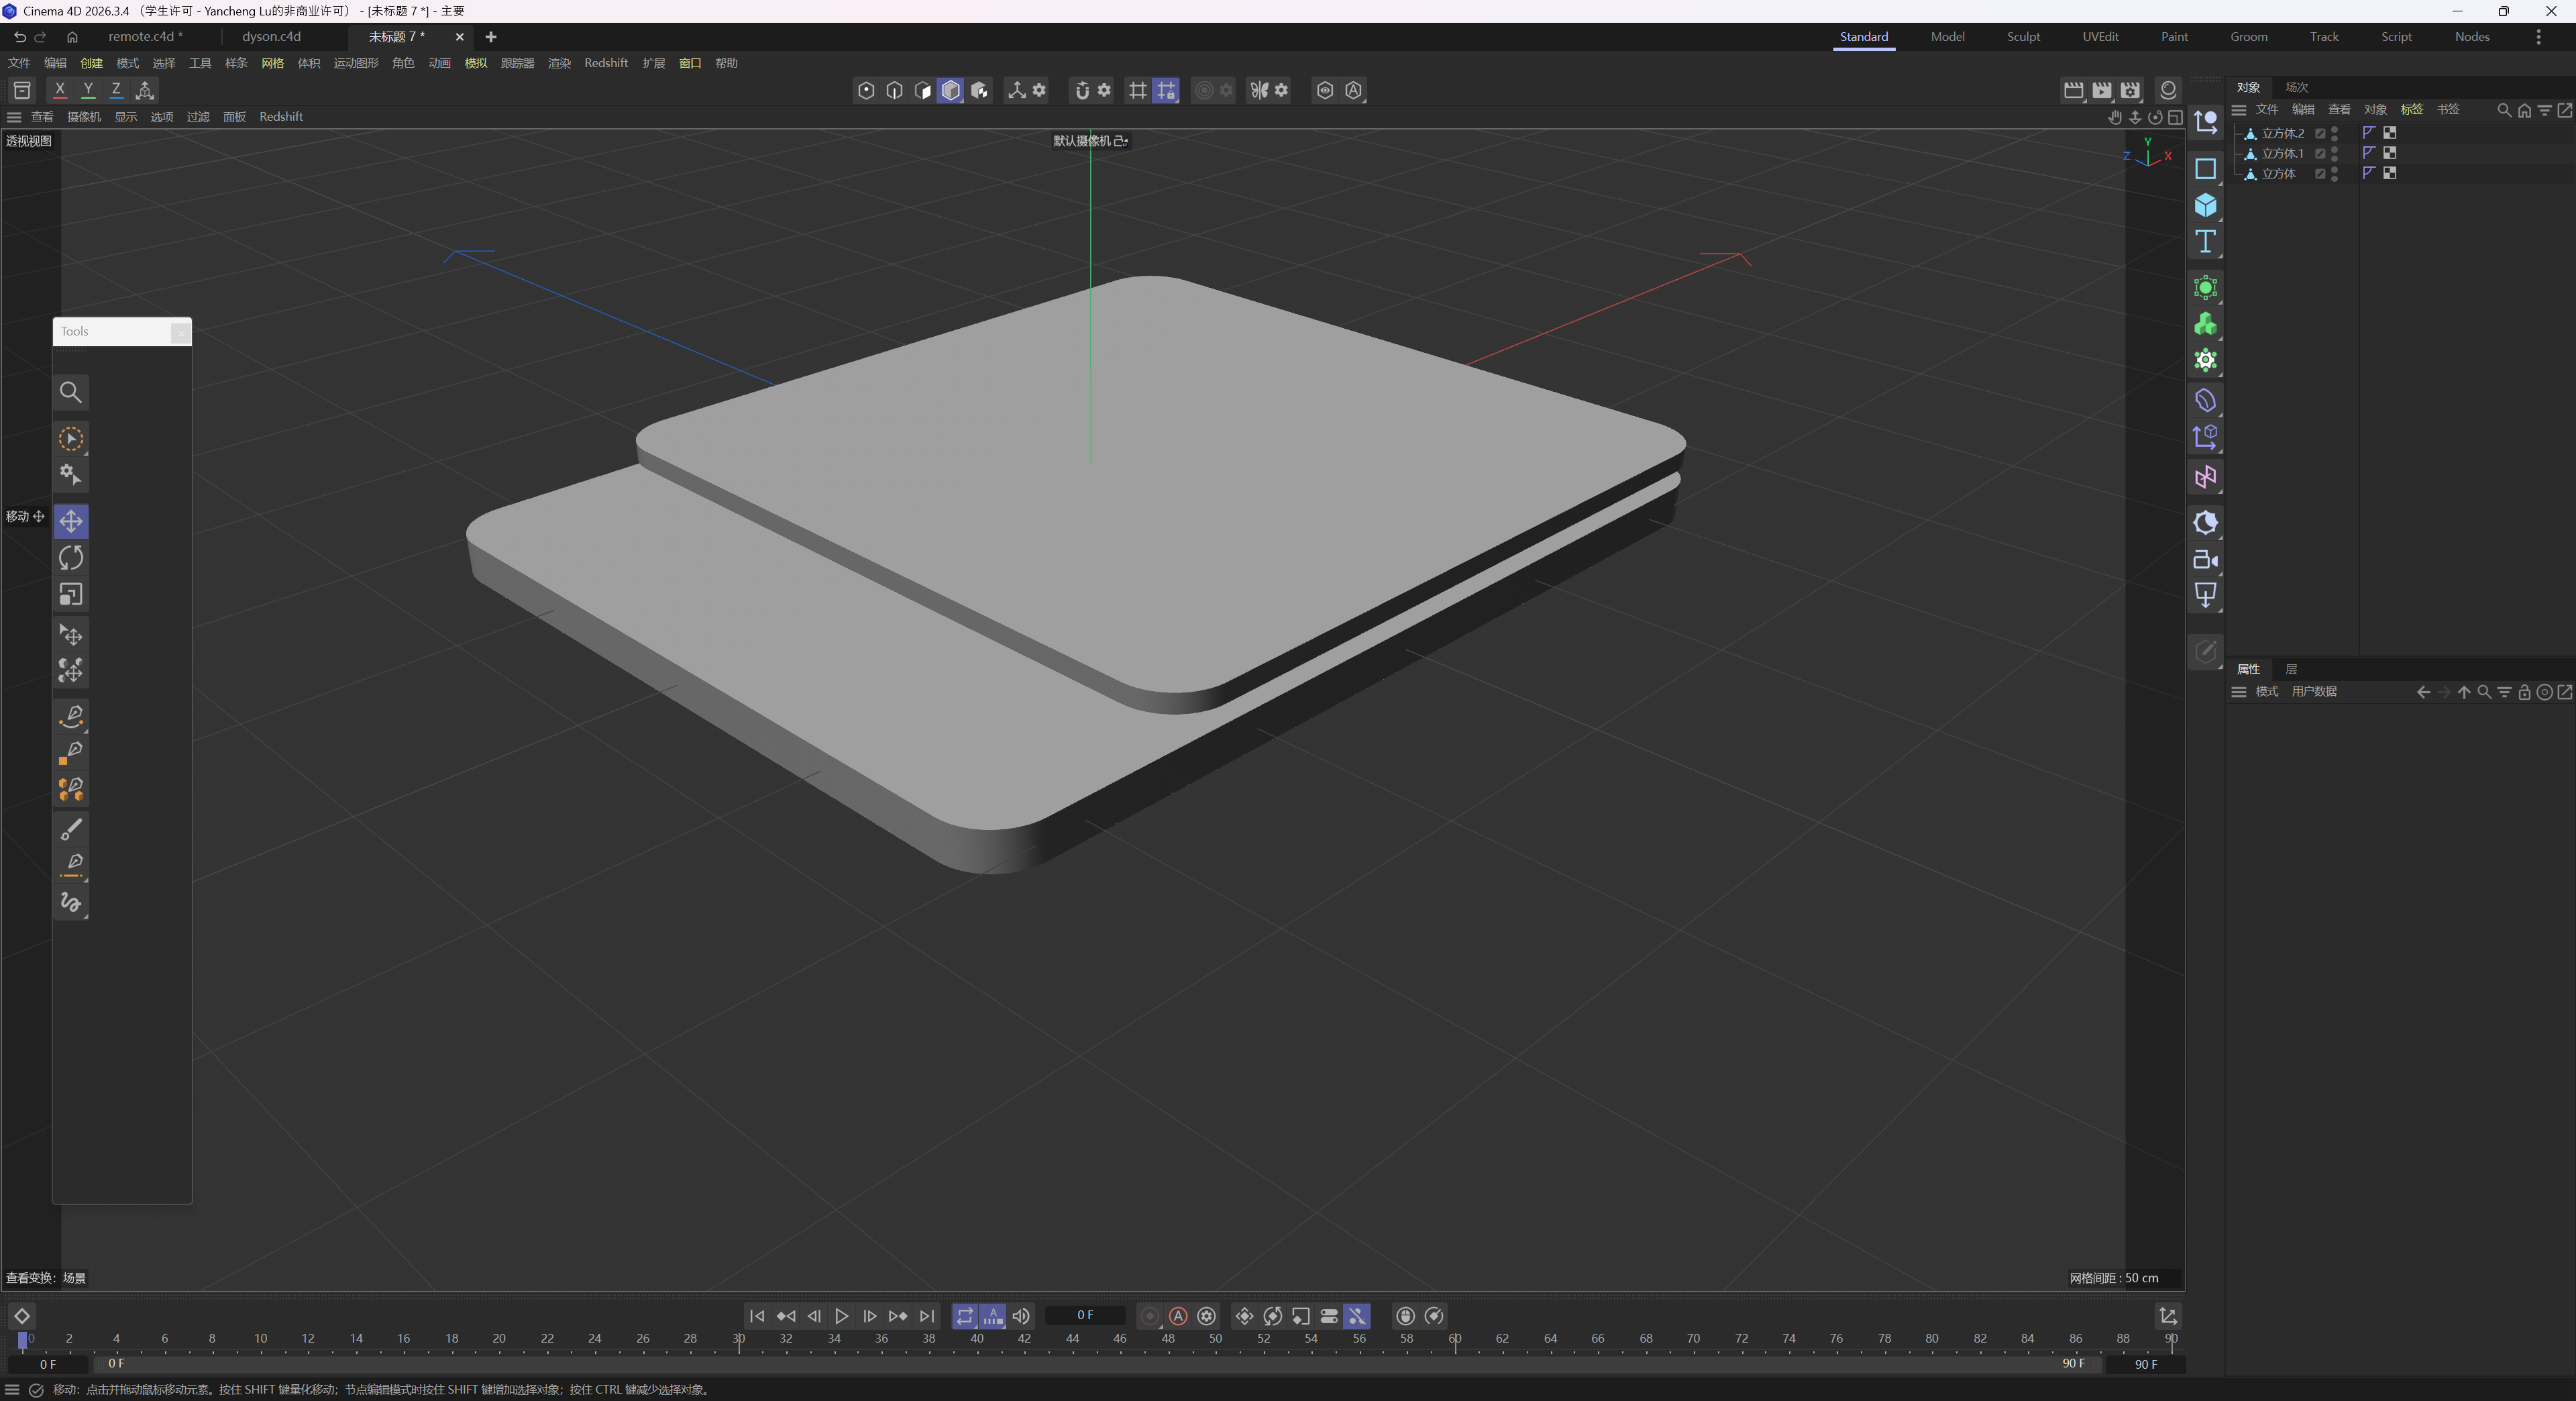
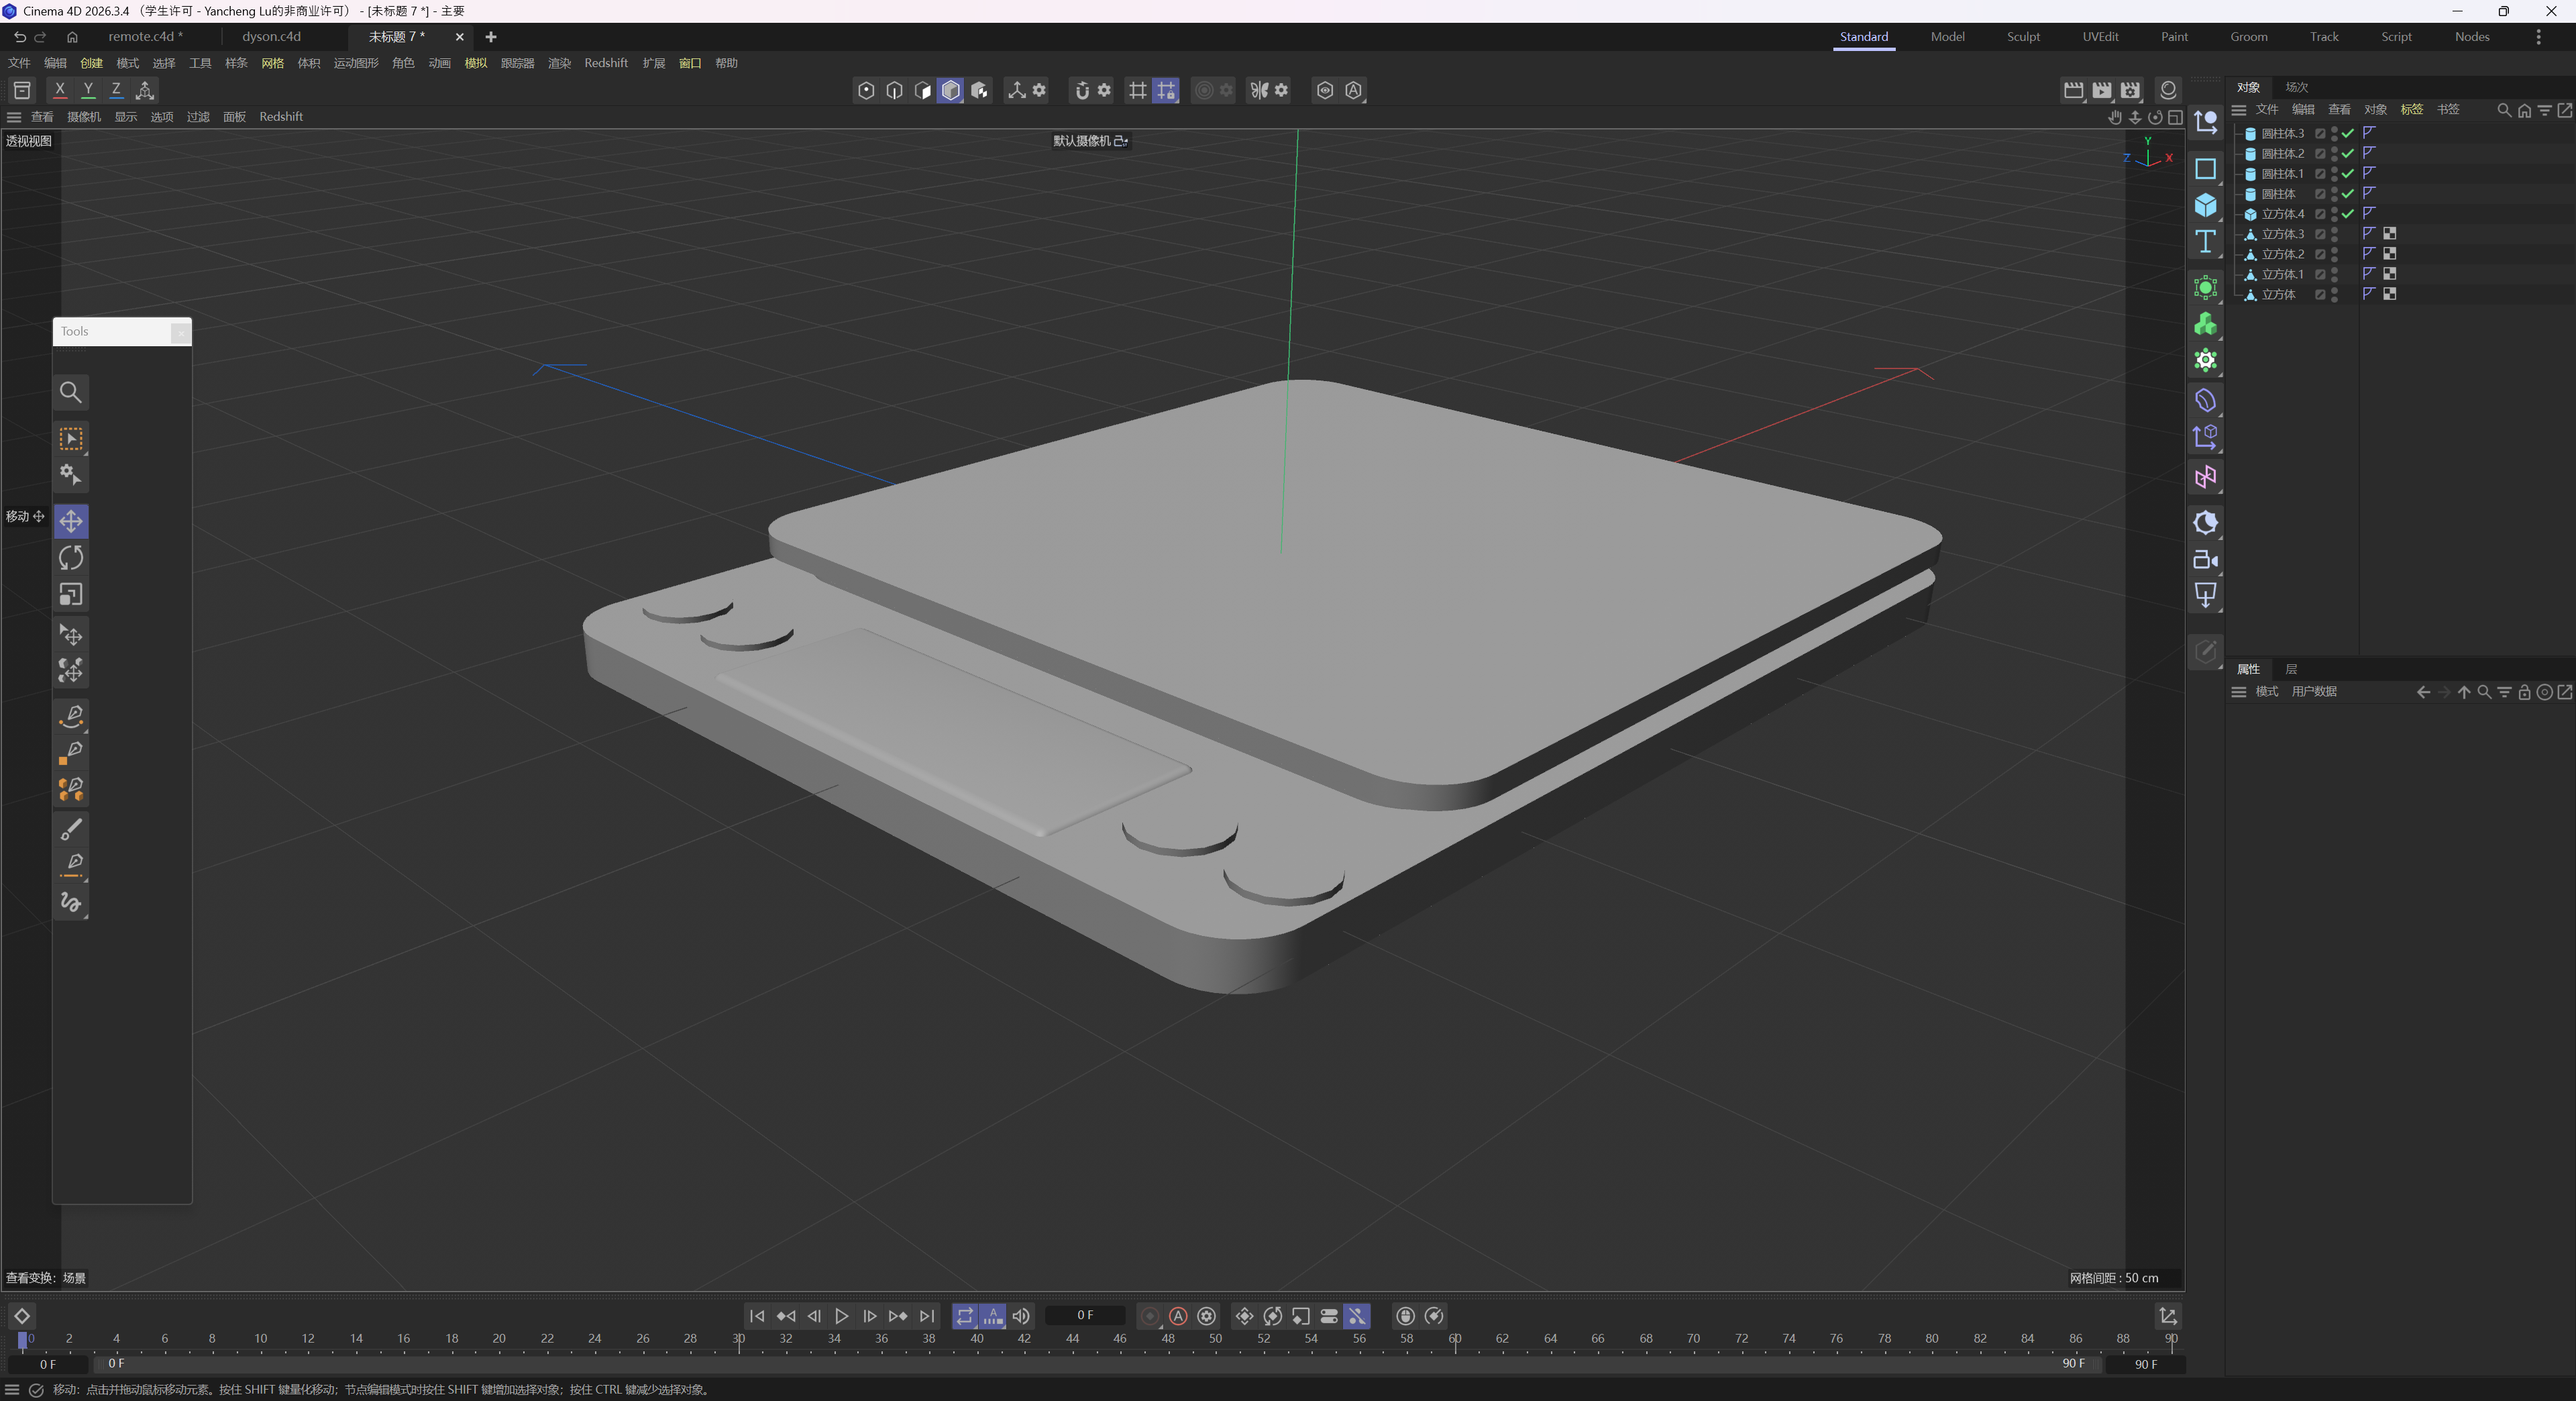
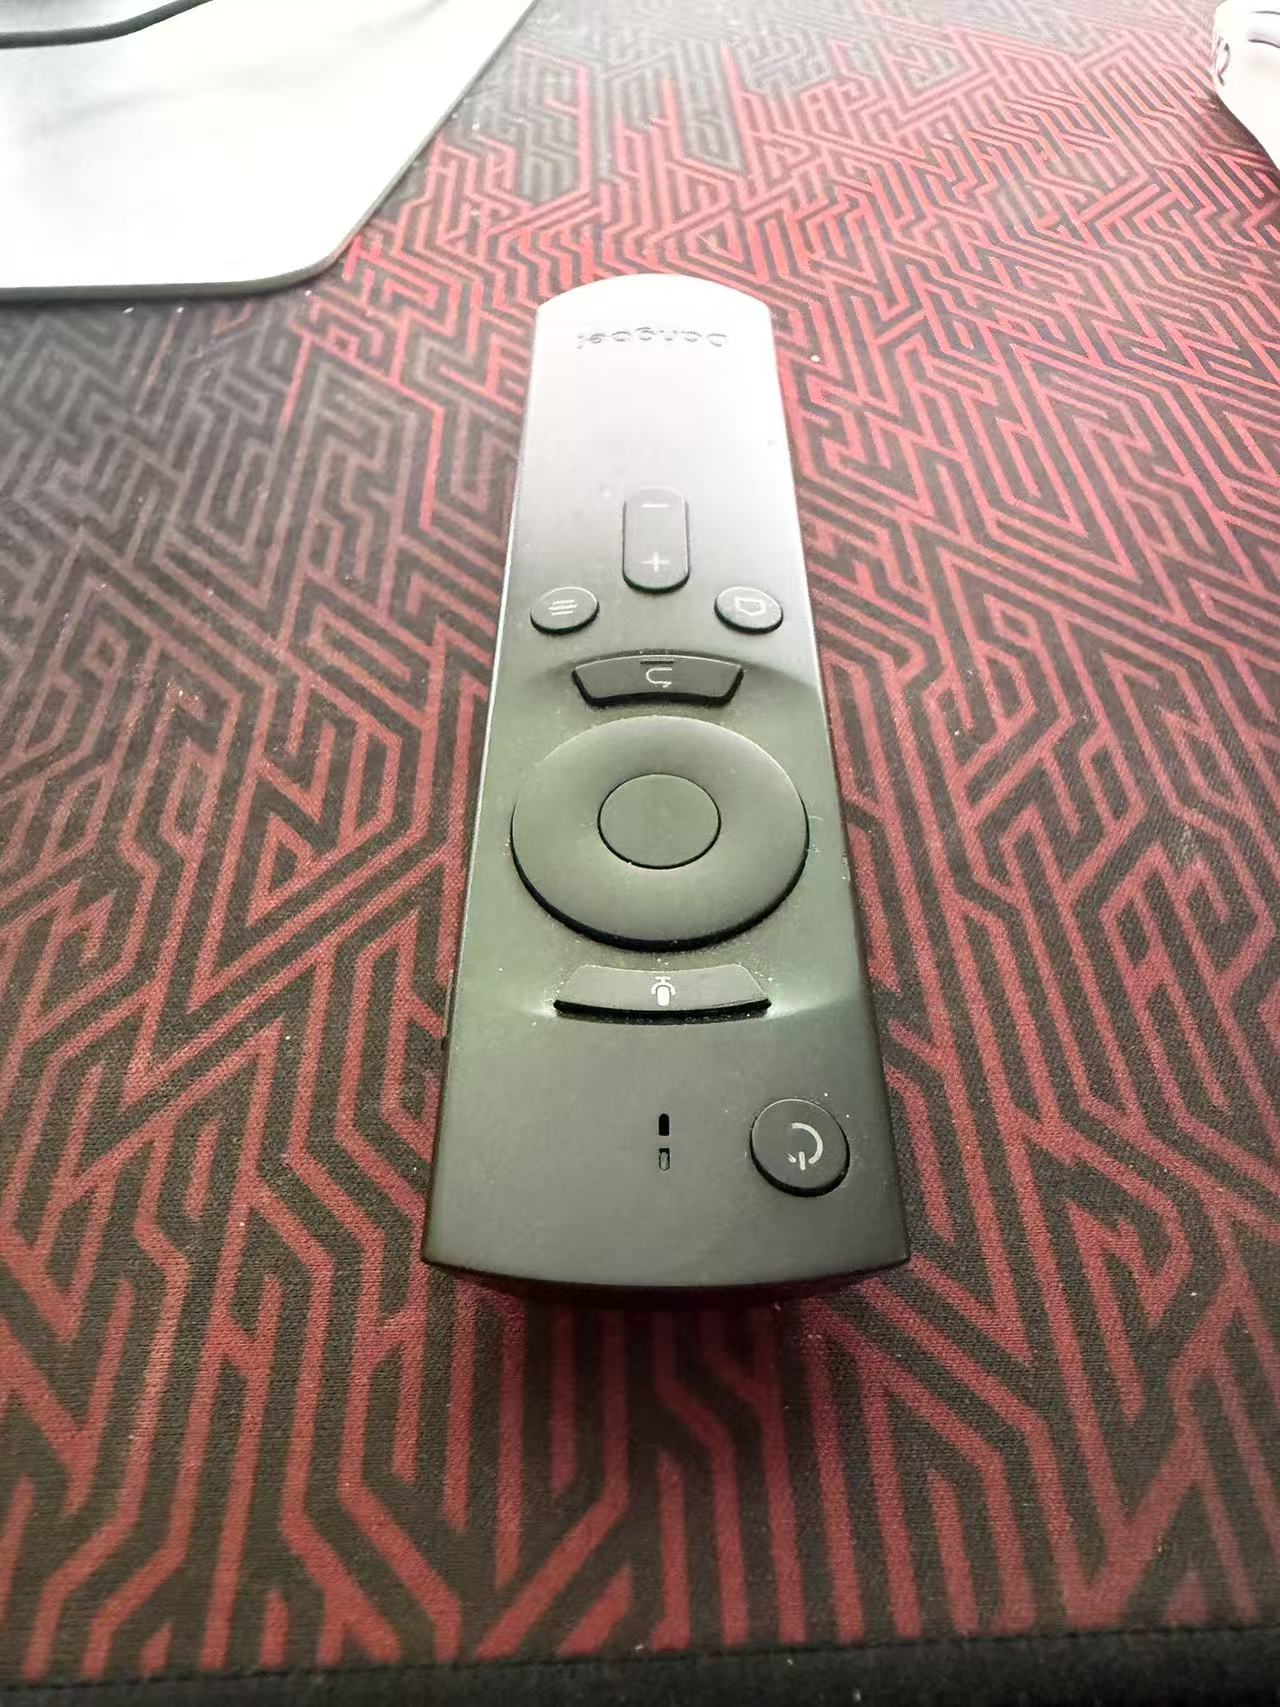
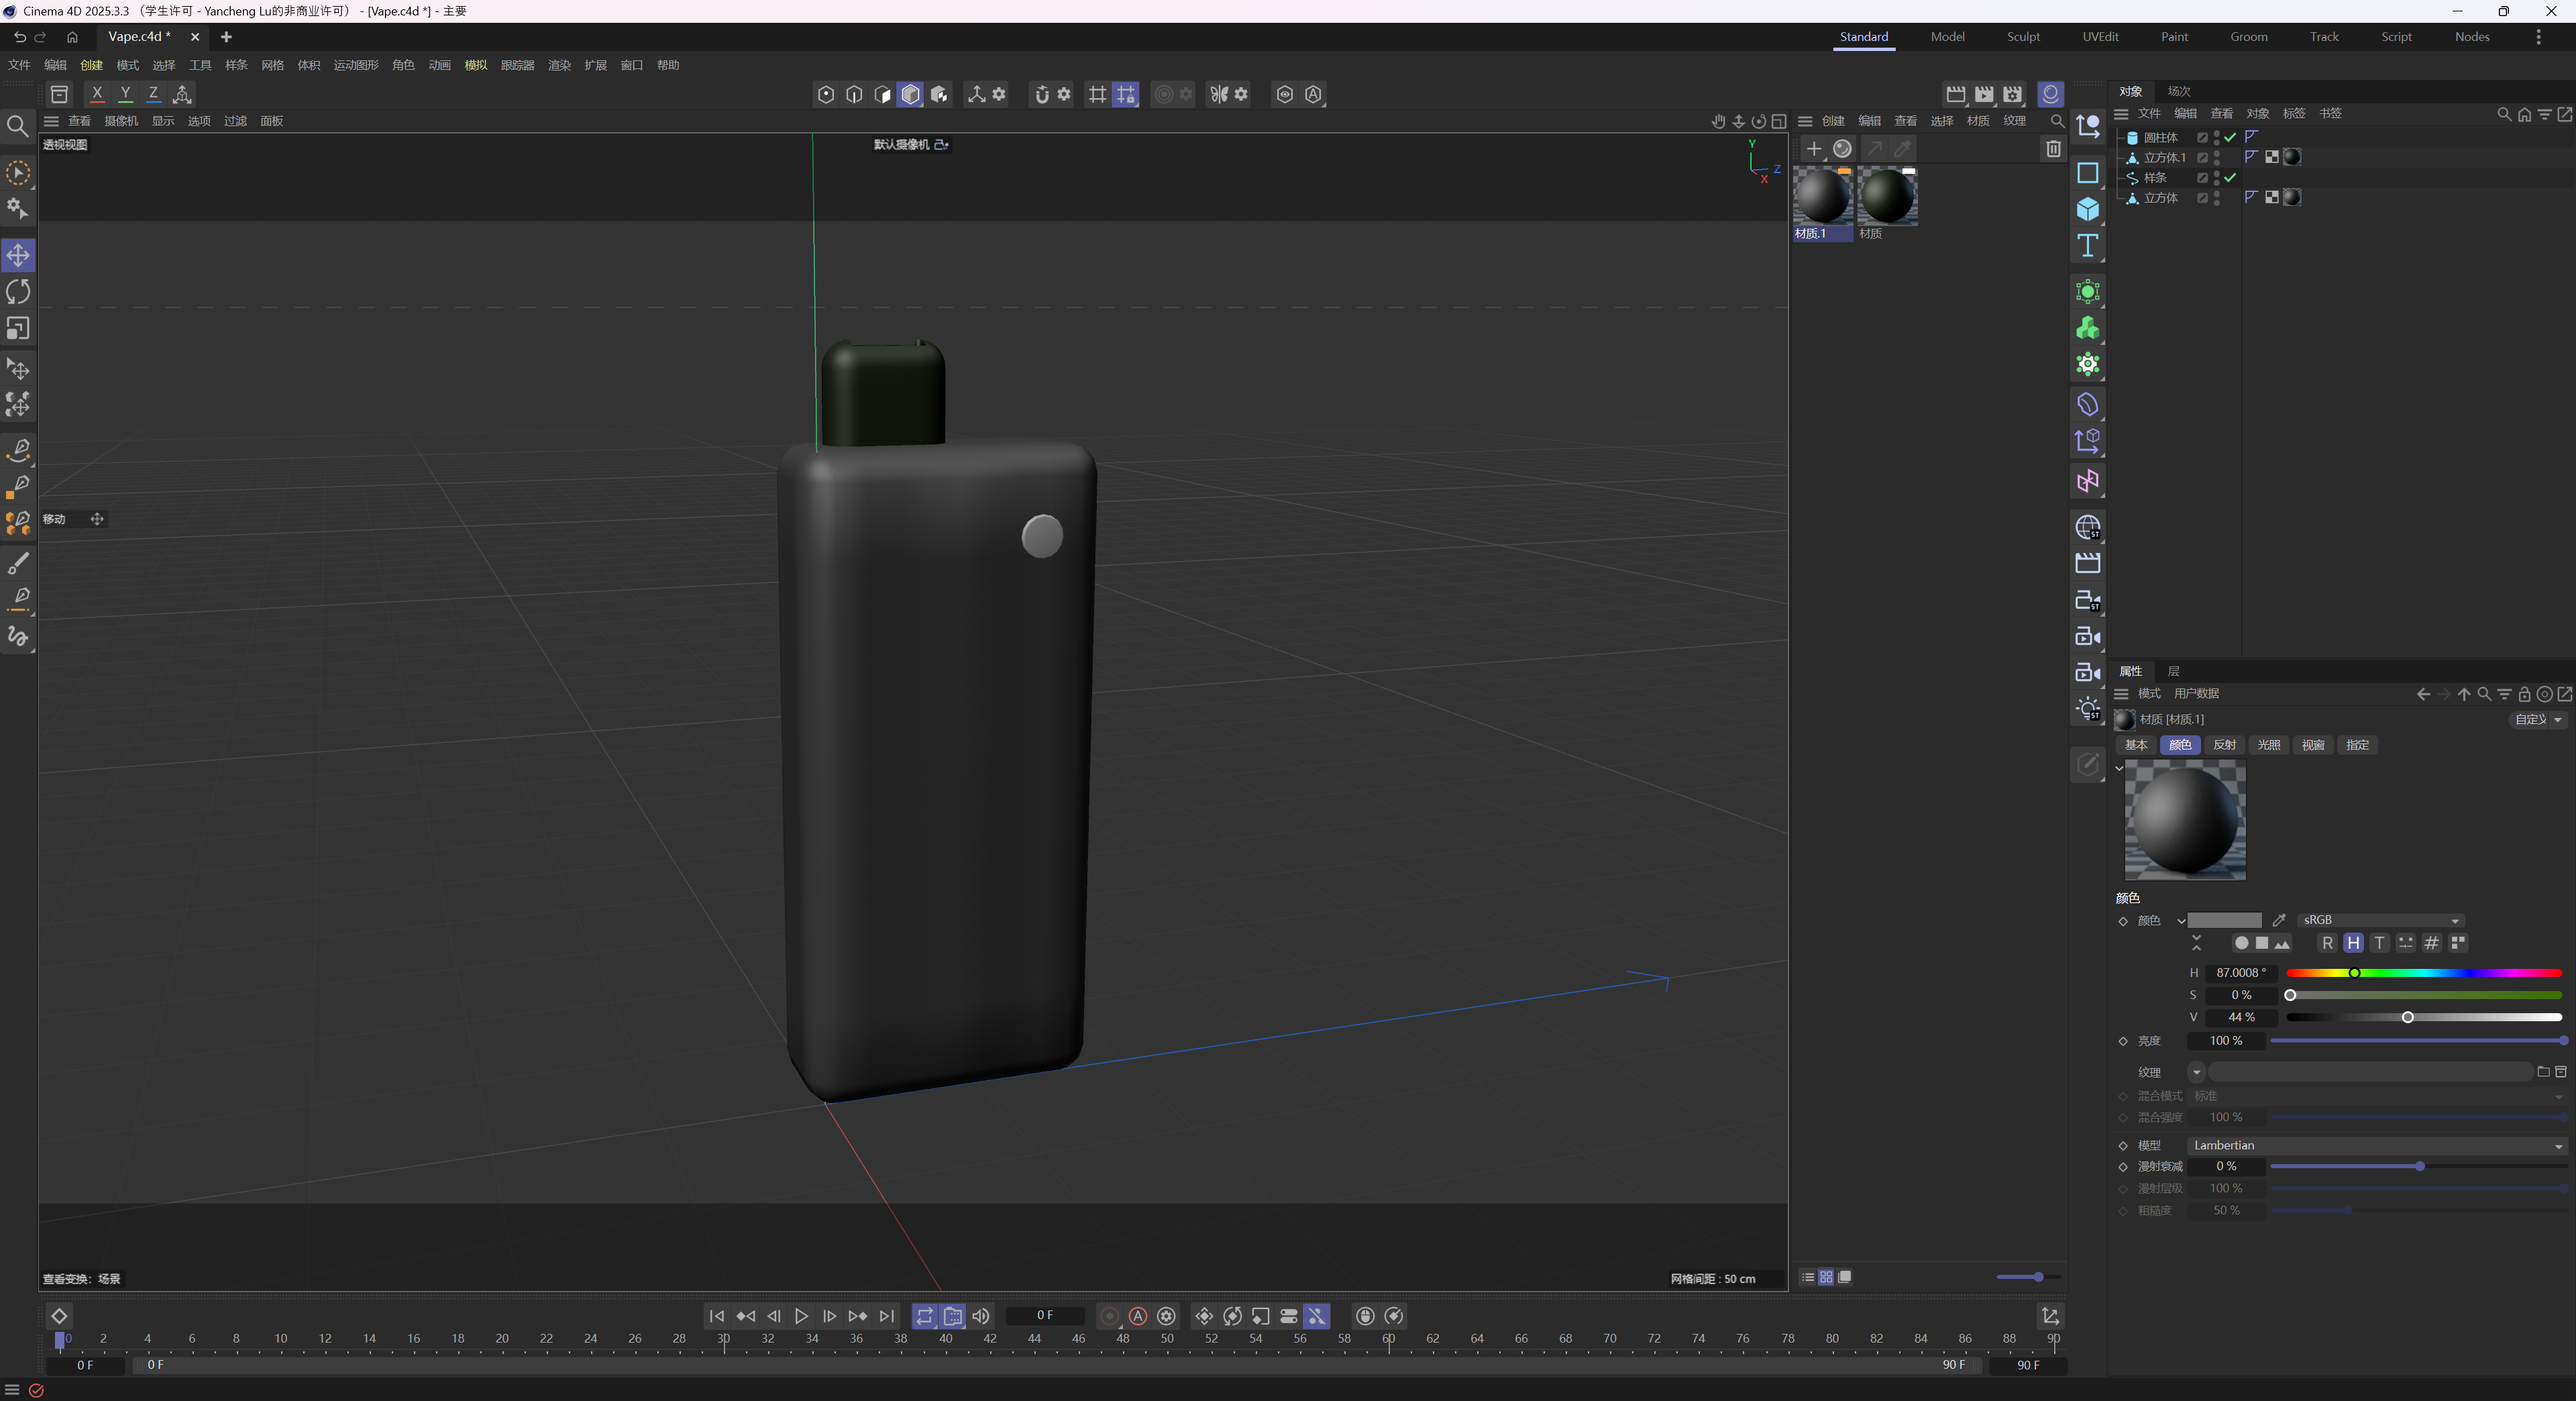
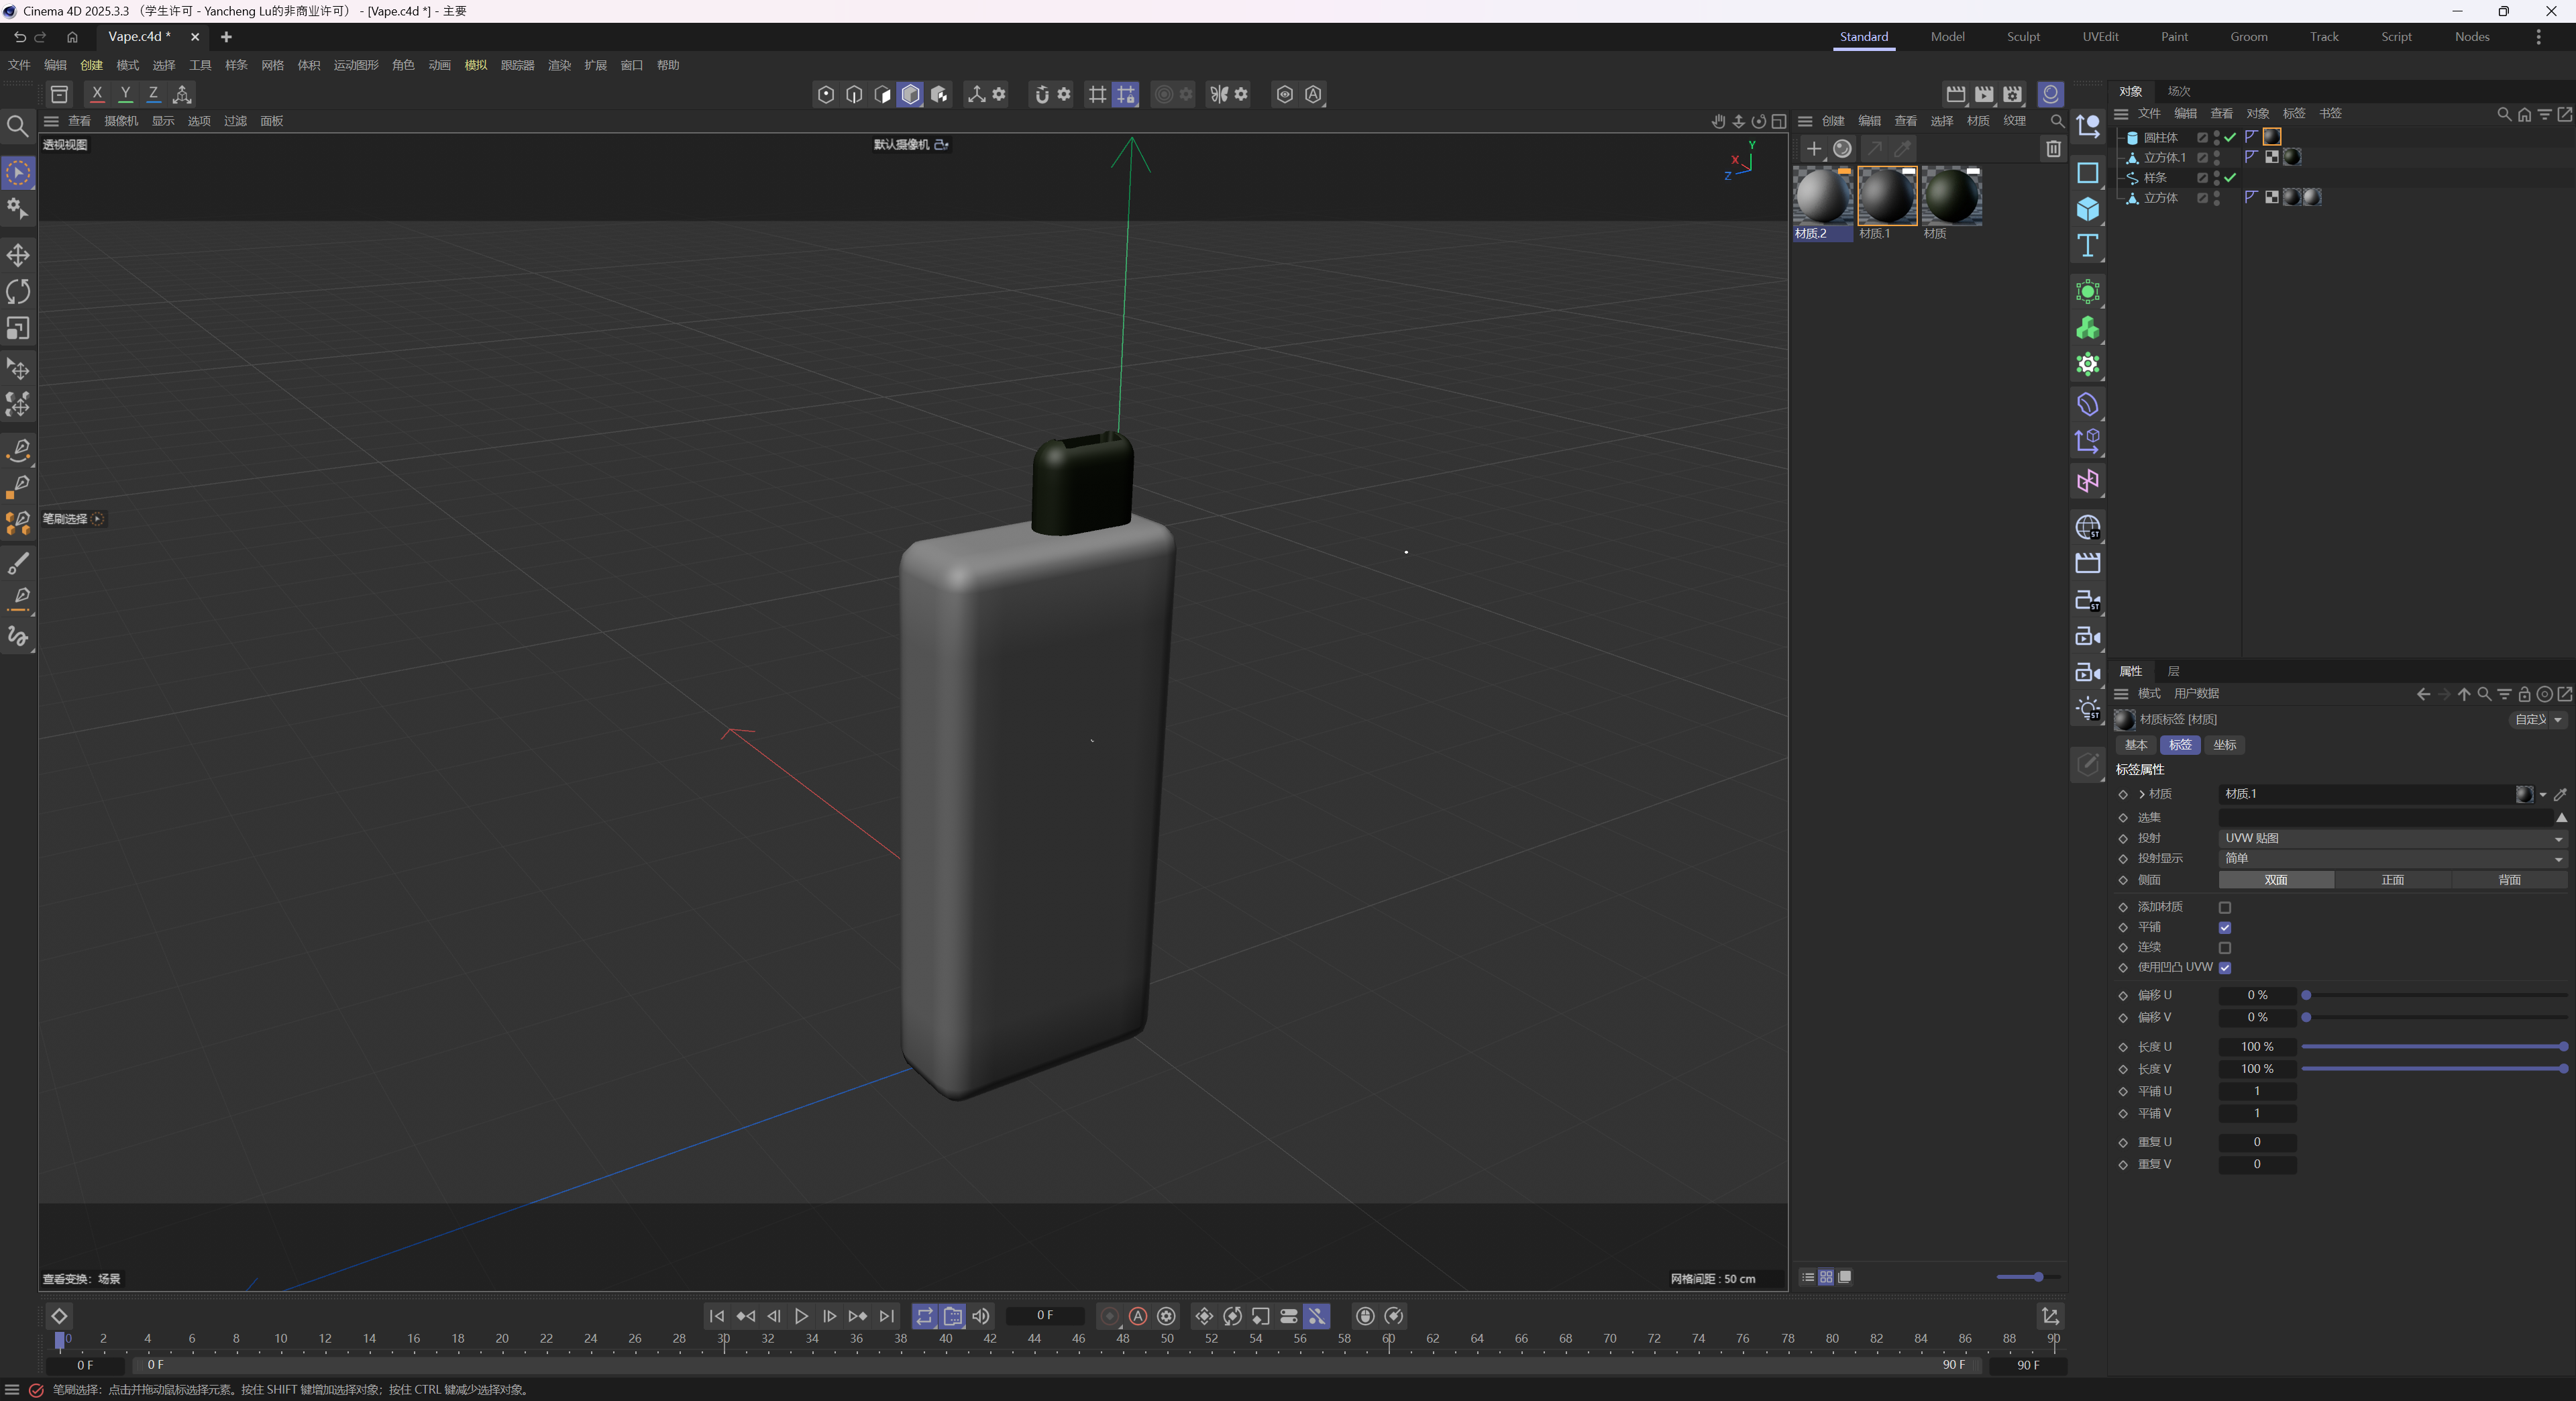
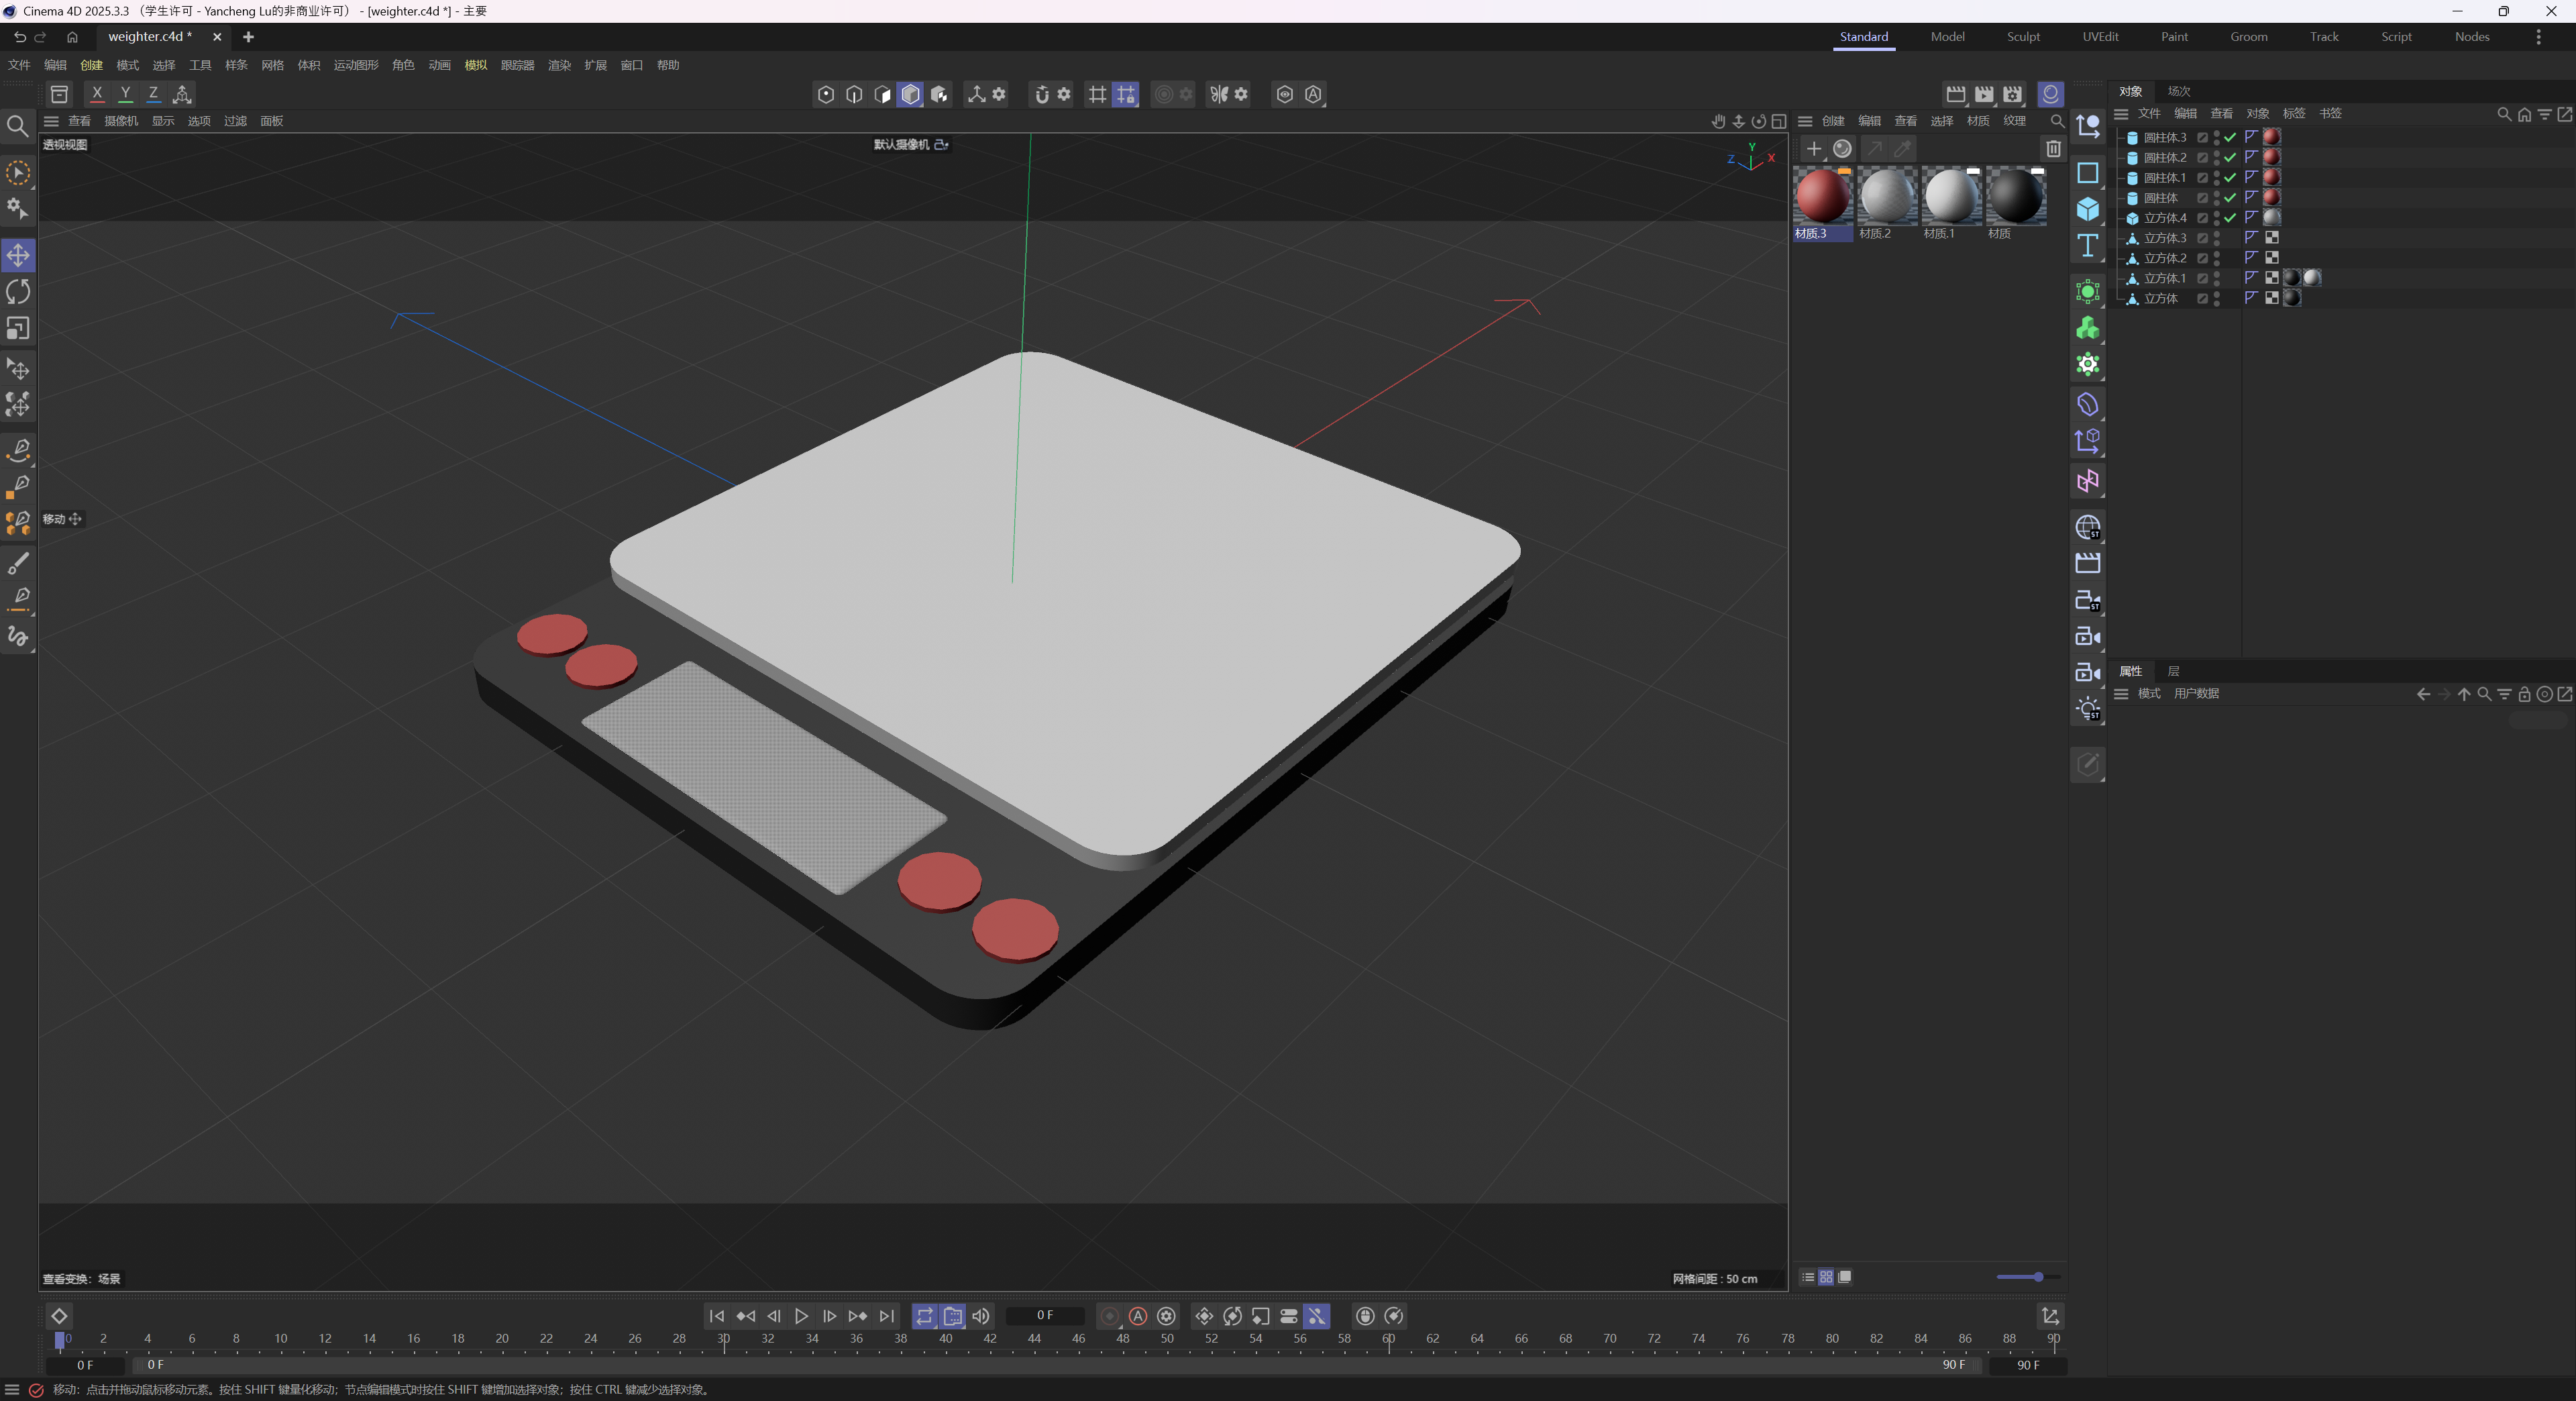
The first object is a PS5 controller, the second object is a vape, the third object is a dyson hairdryer, the fourth object is a weight scale, and the fifth object is a remote control.

Design Challenge 1
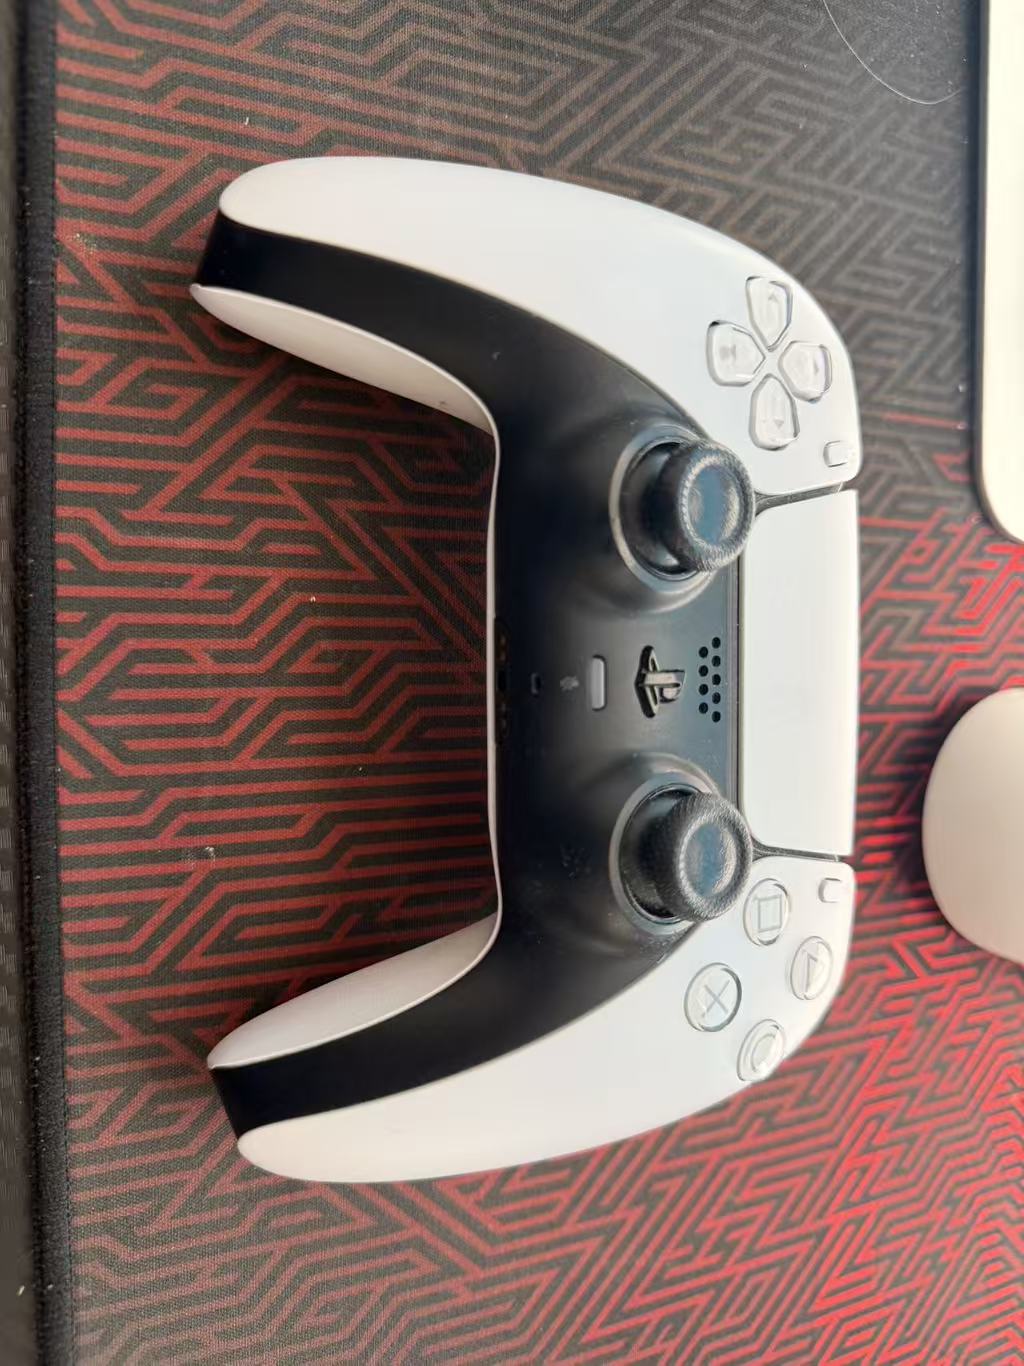
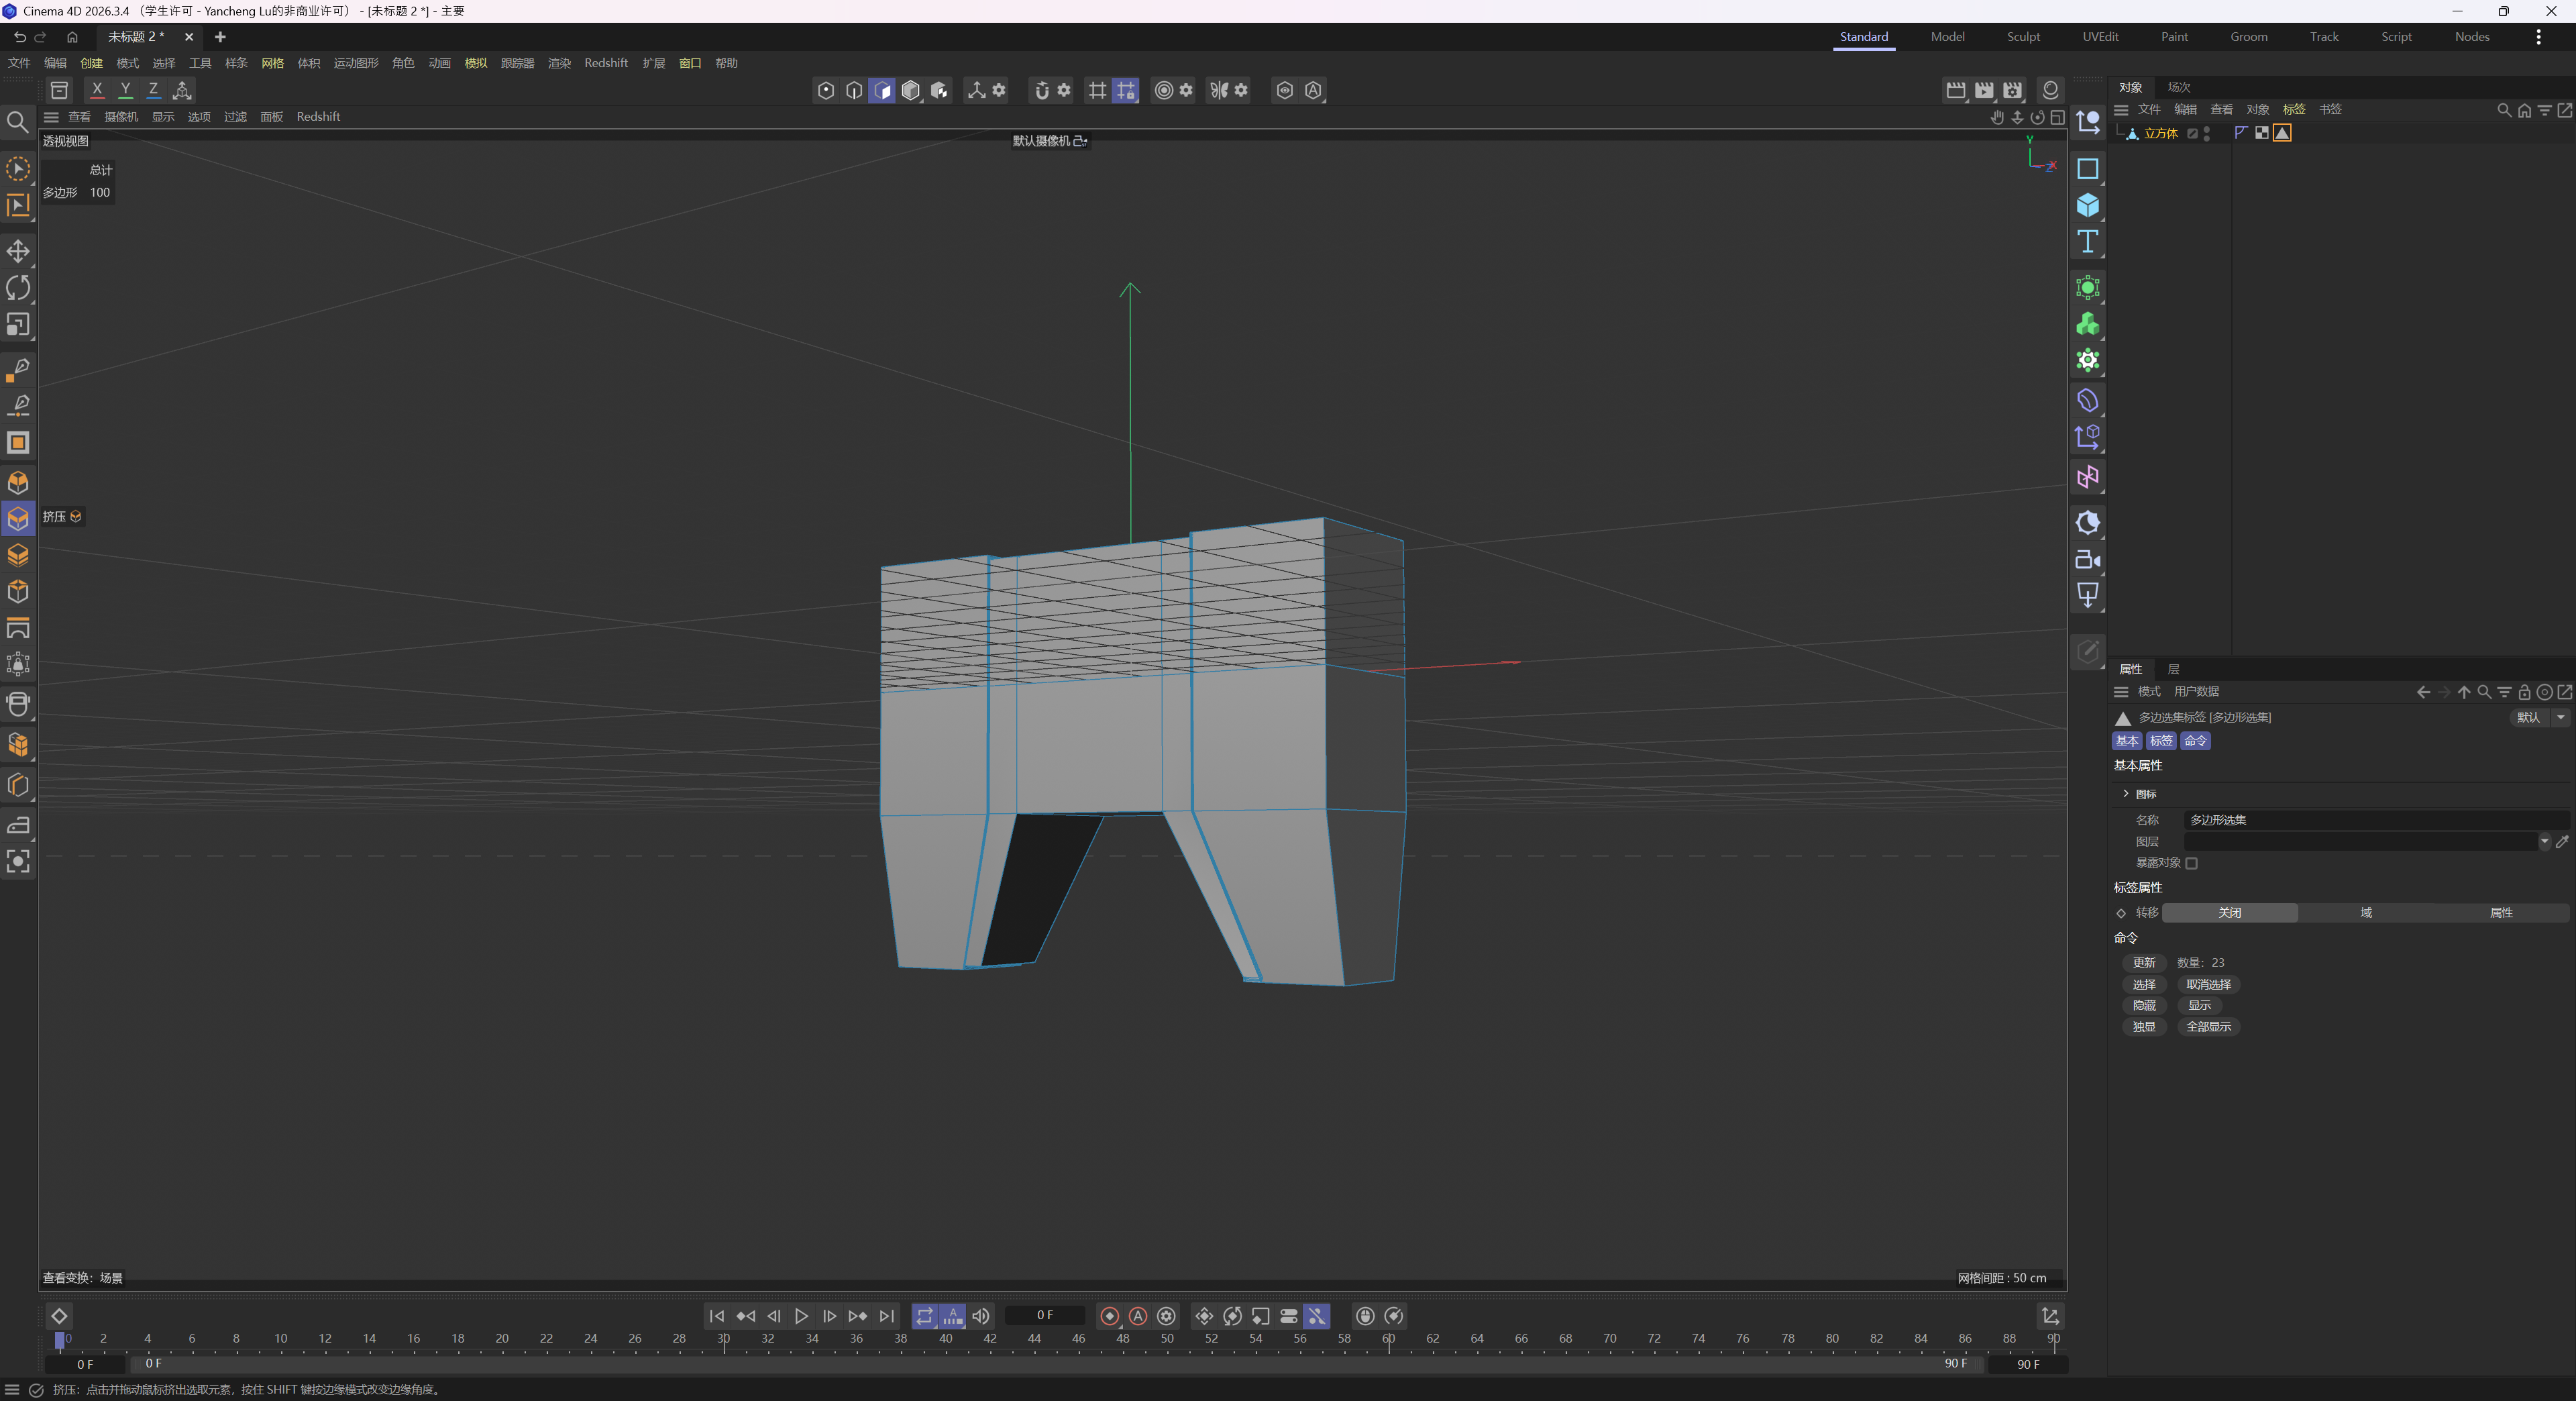
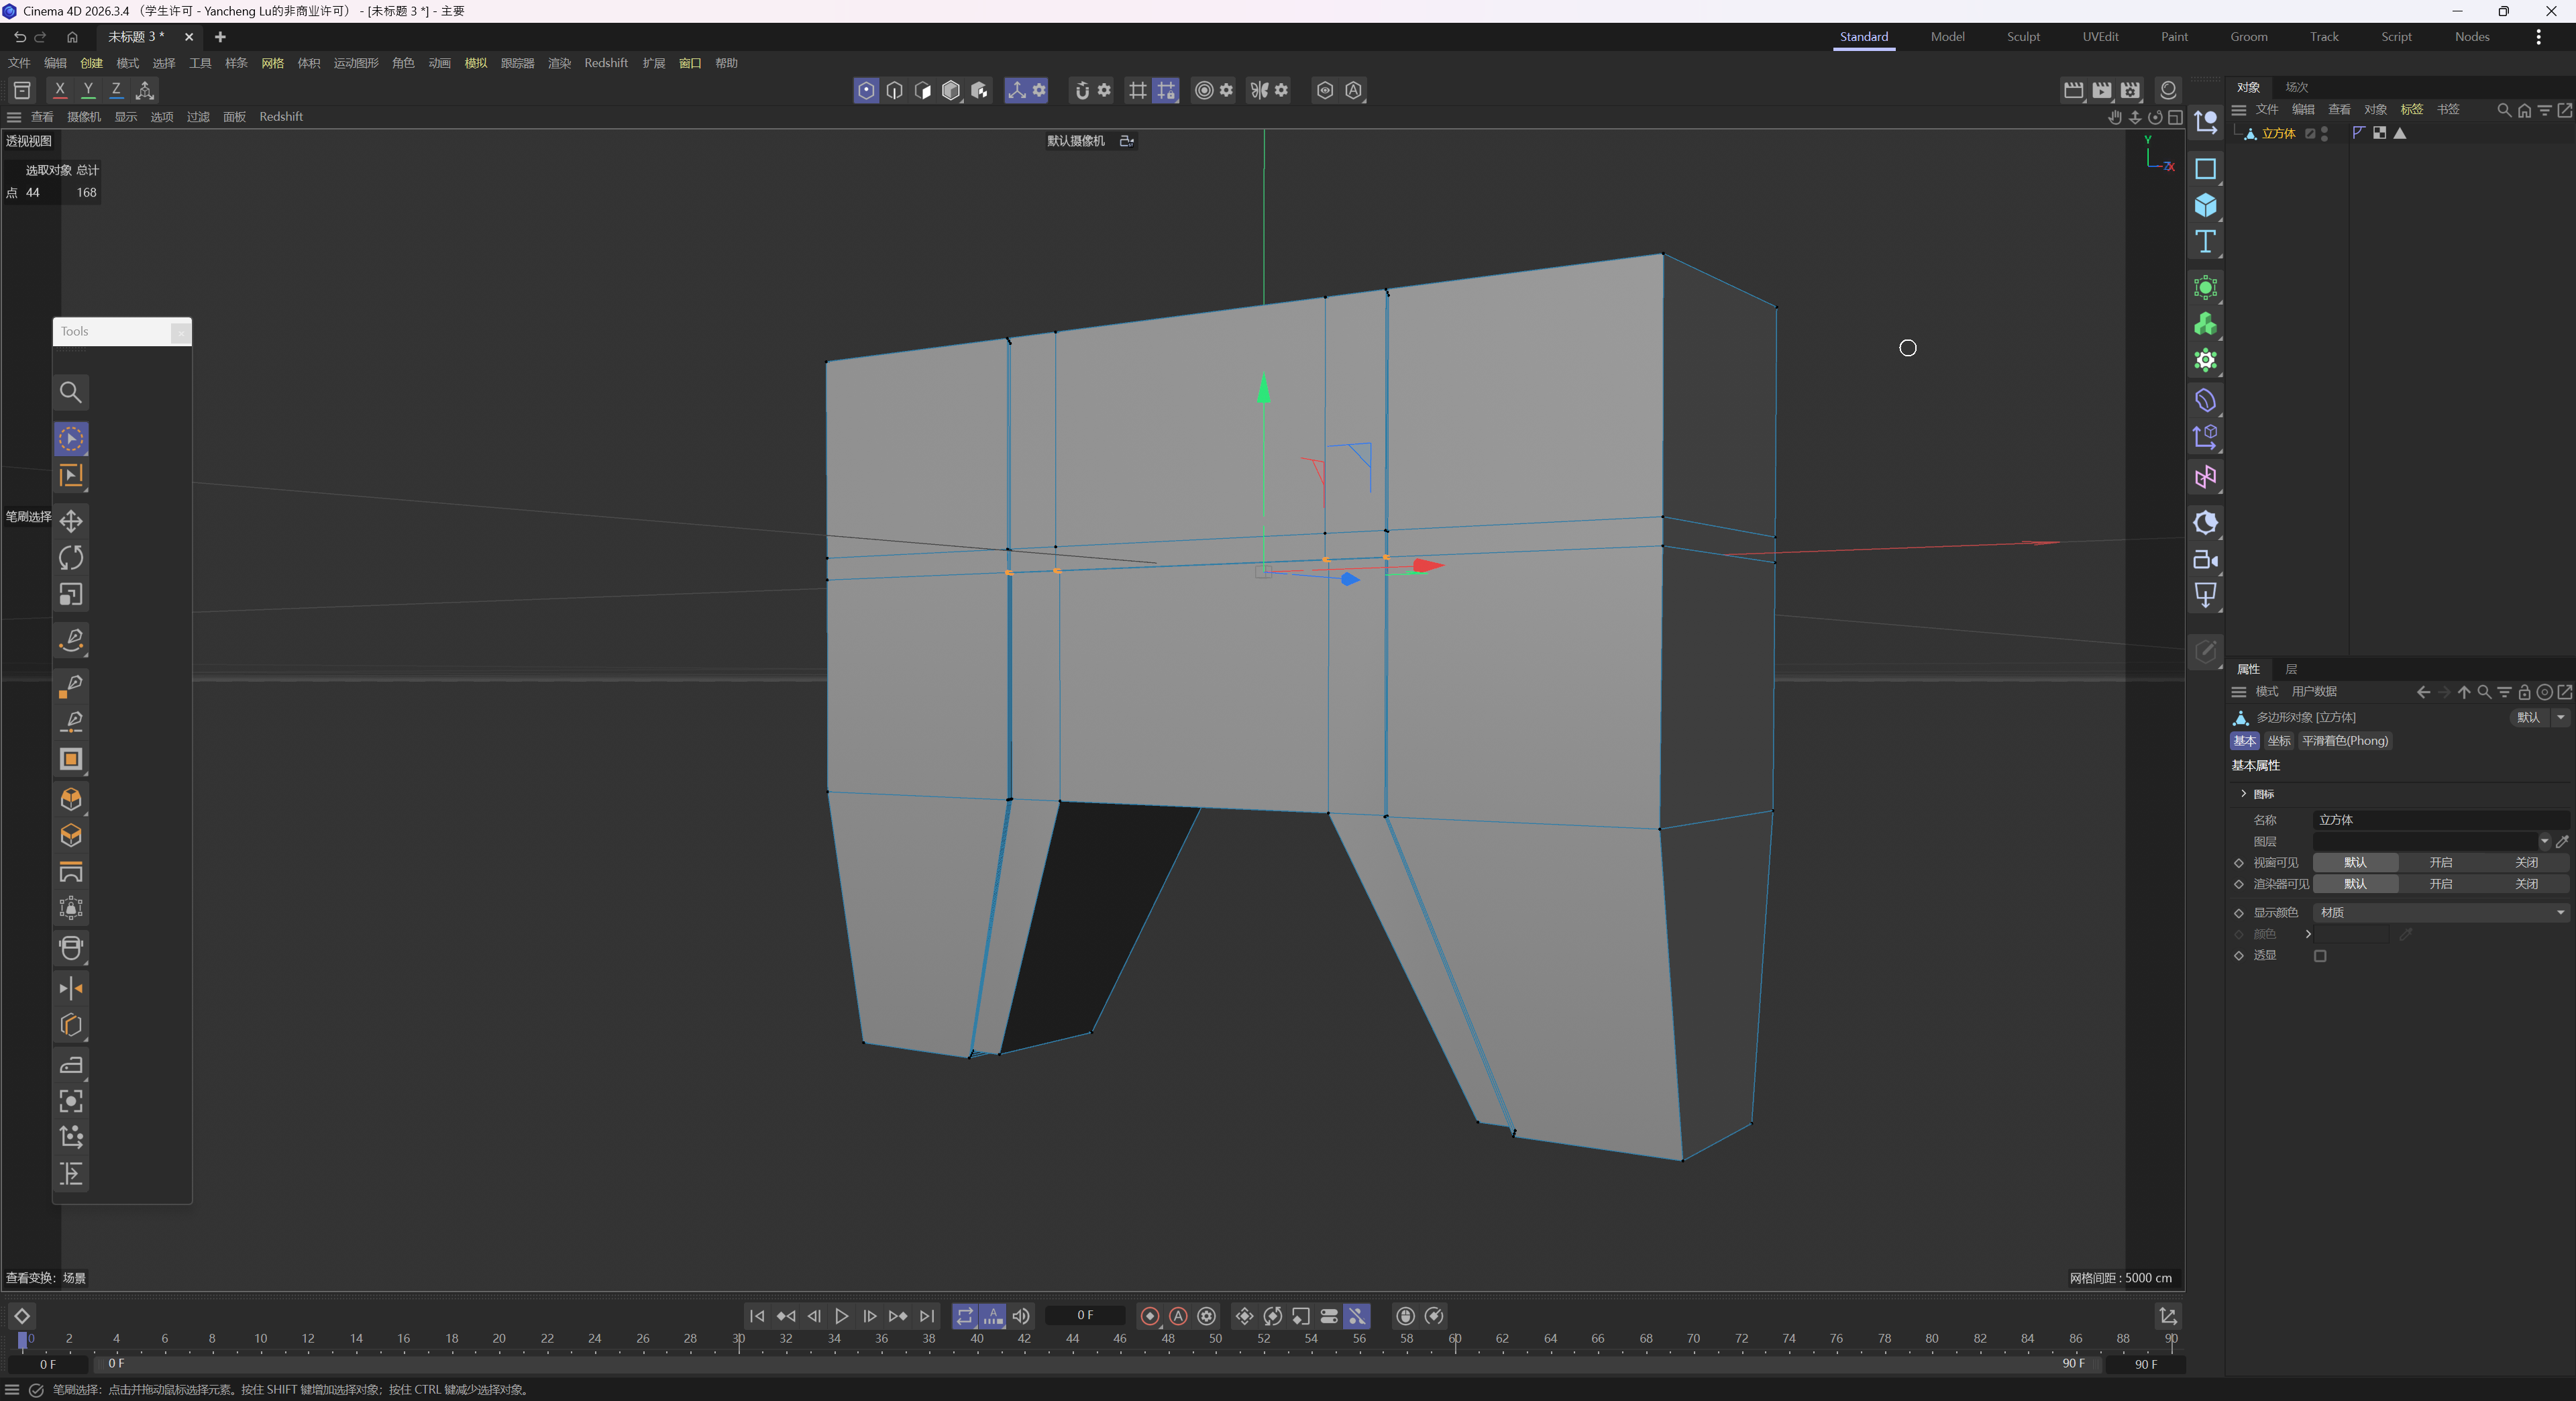
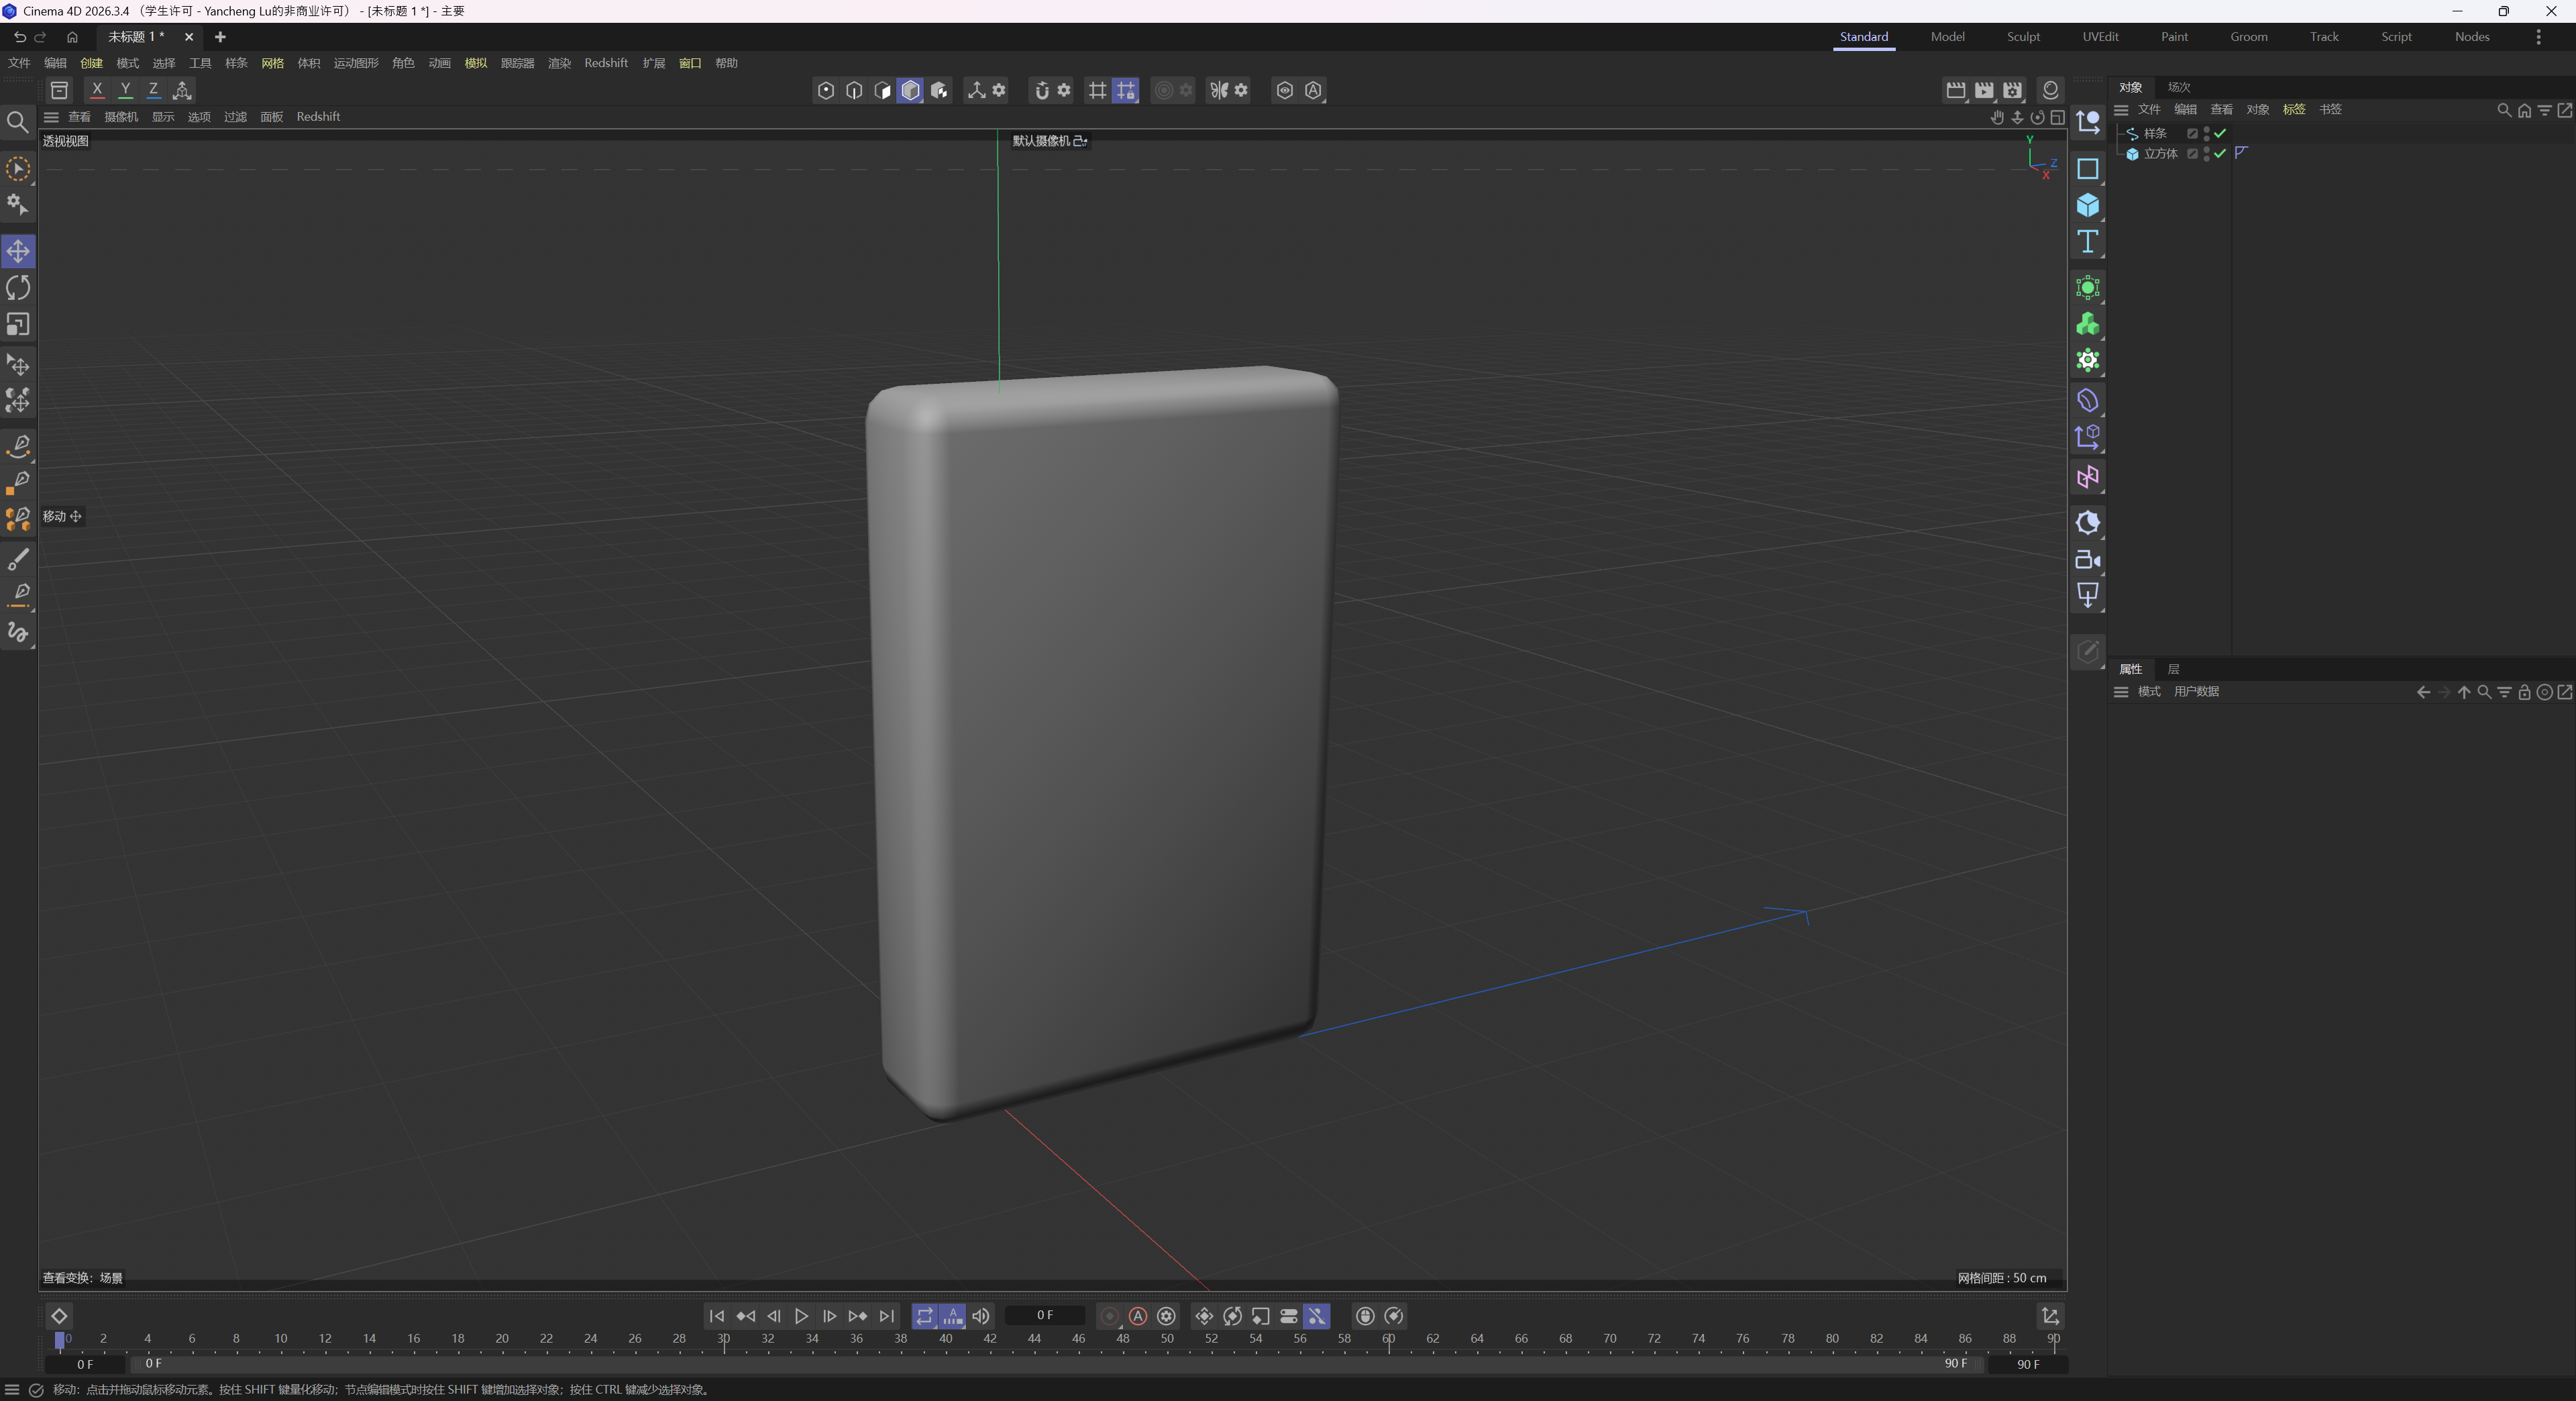
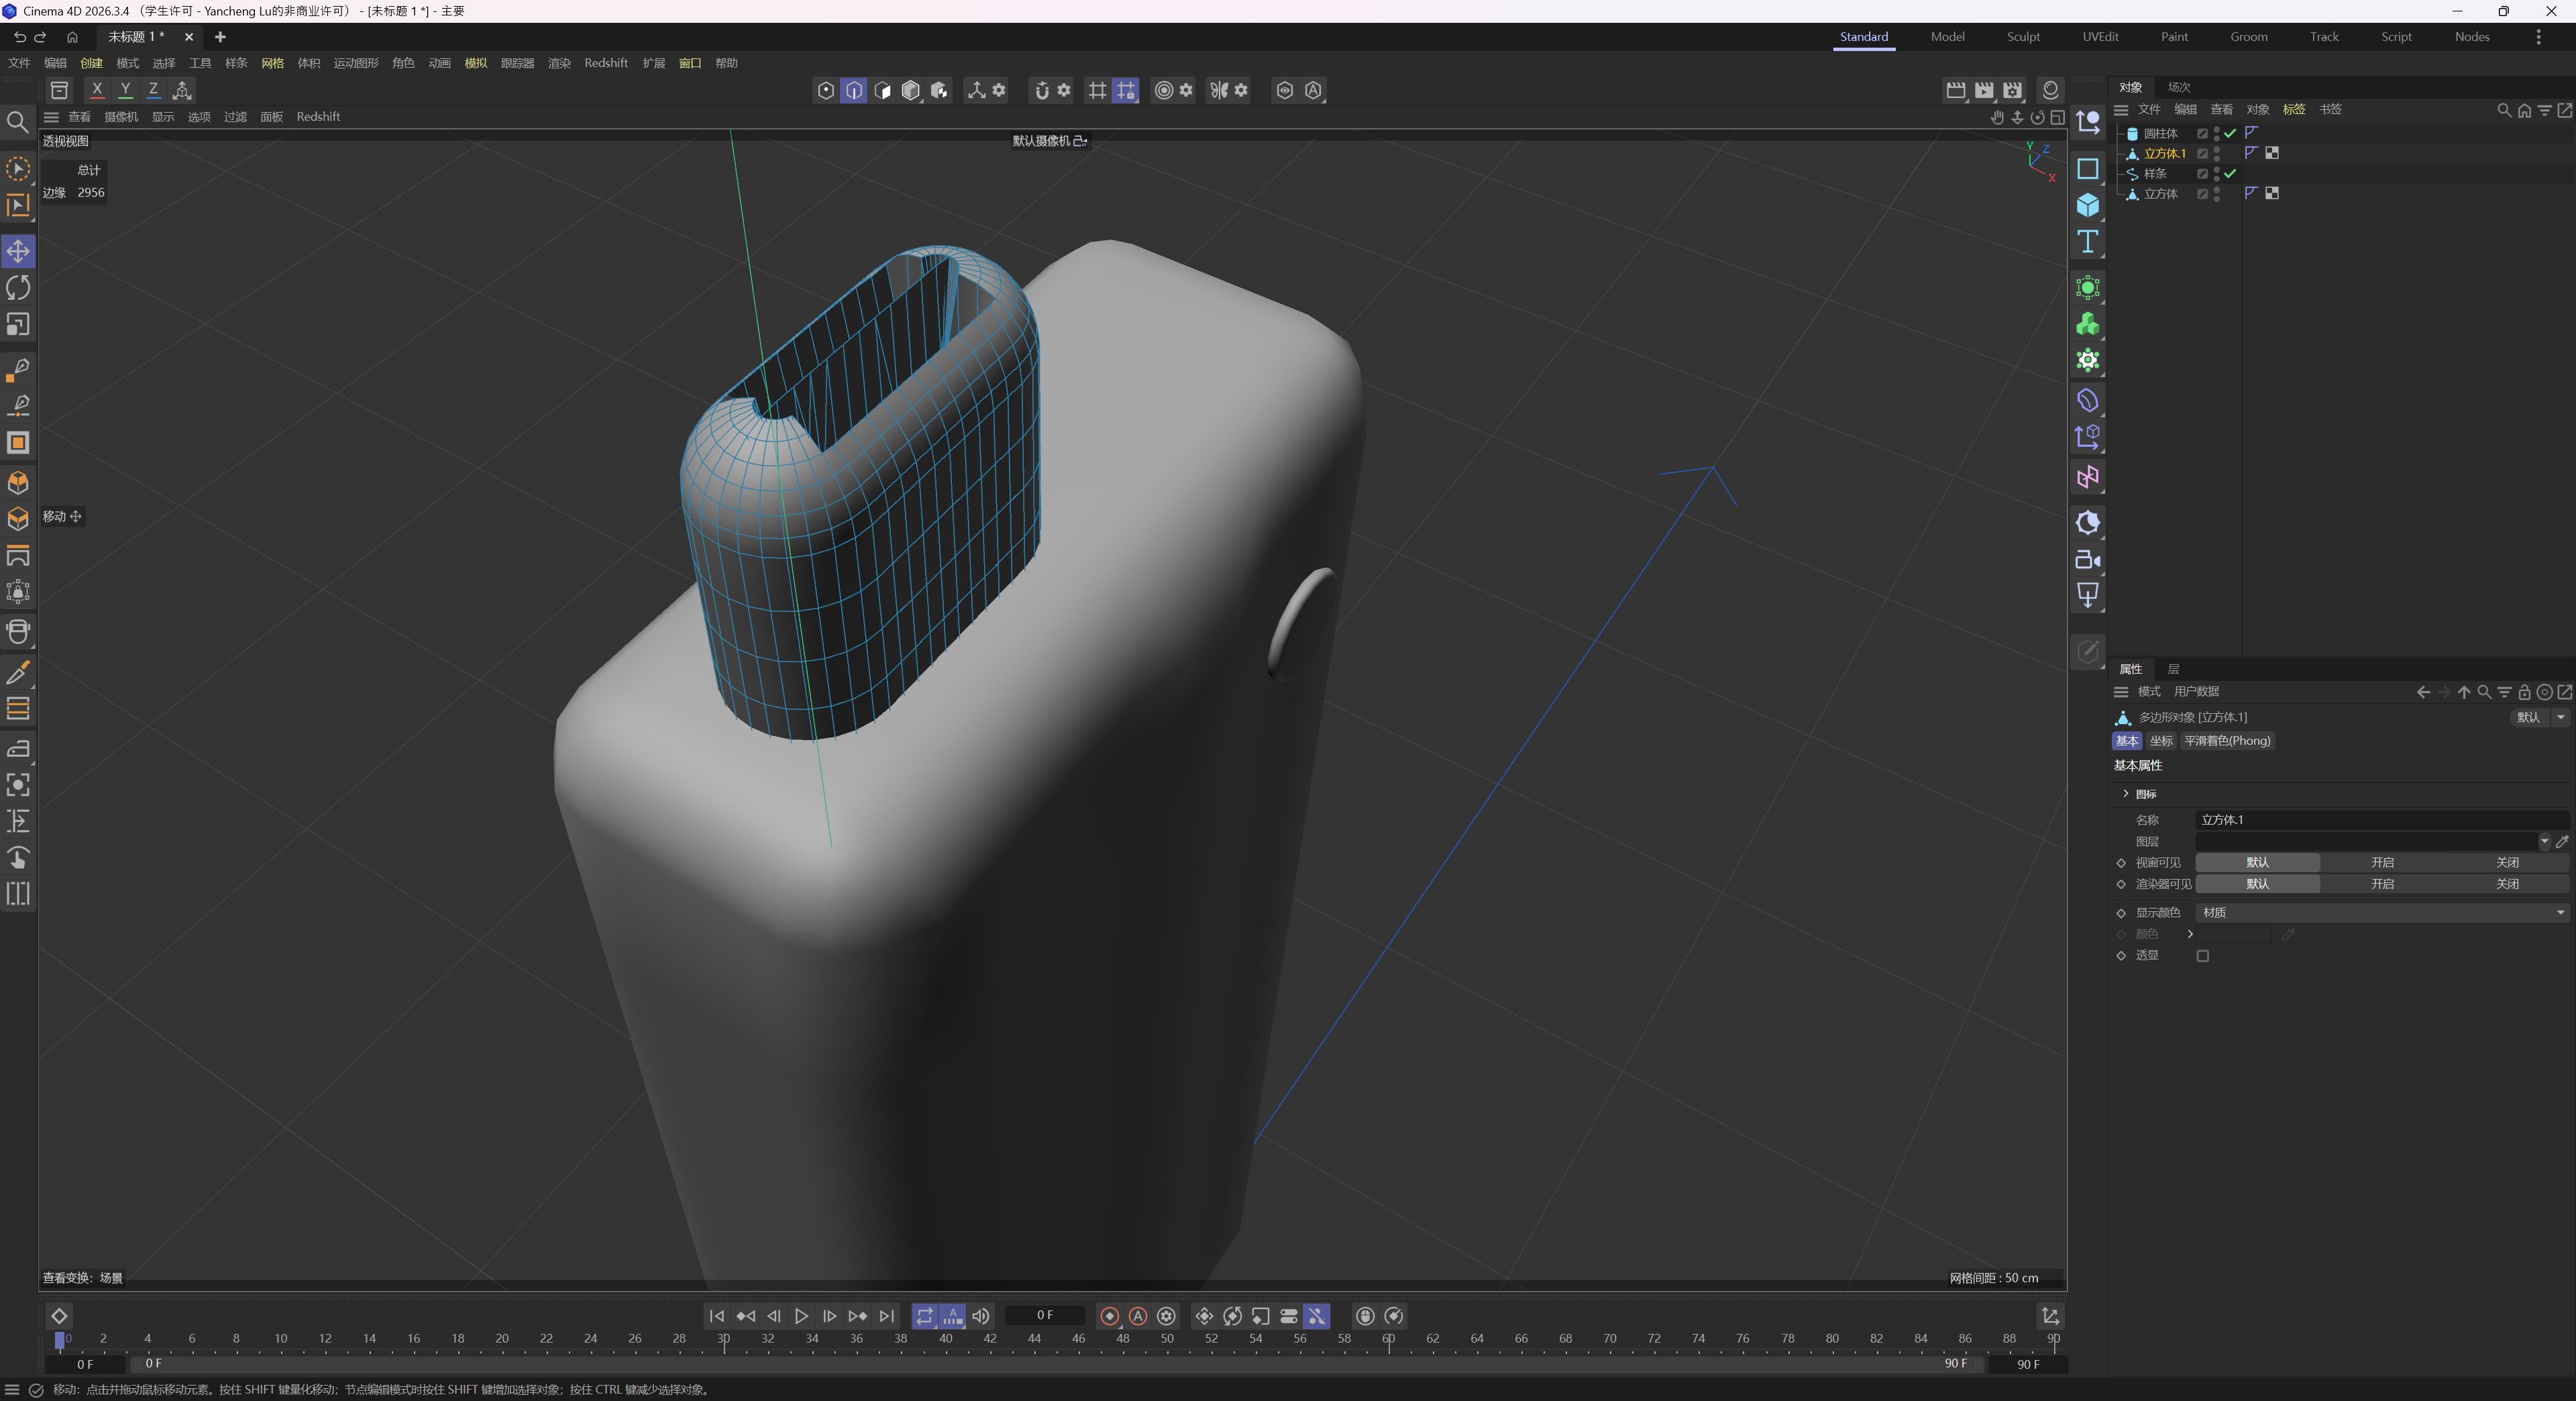
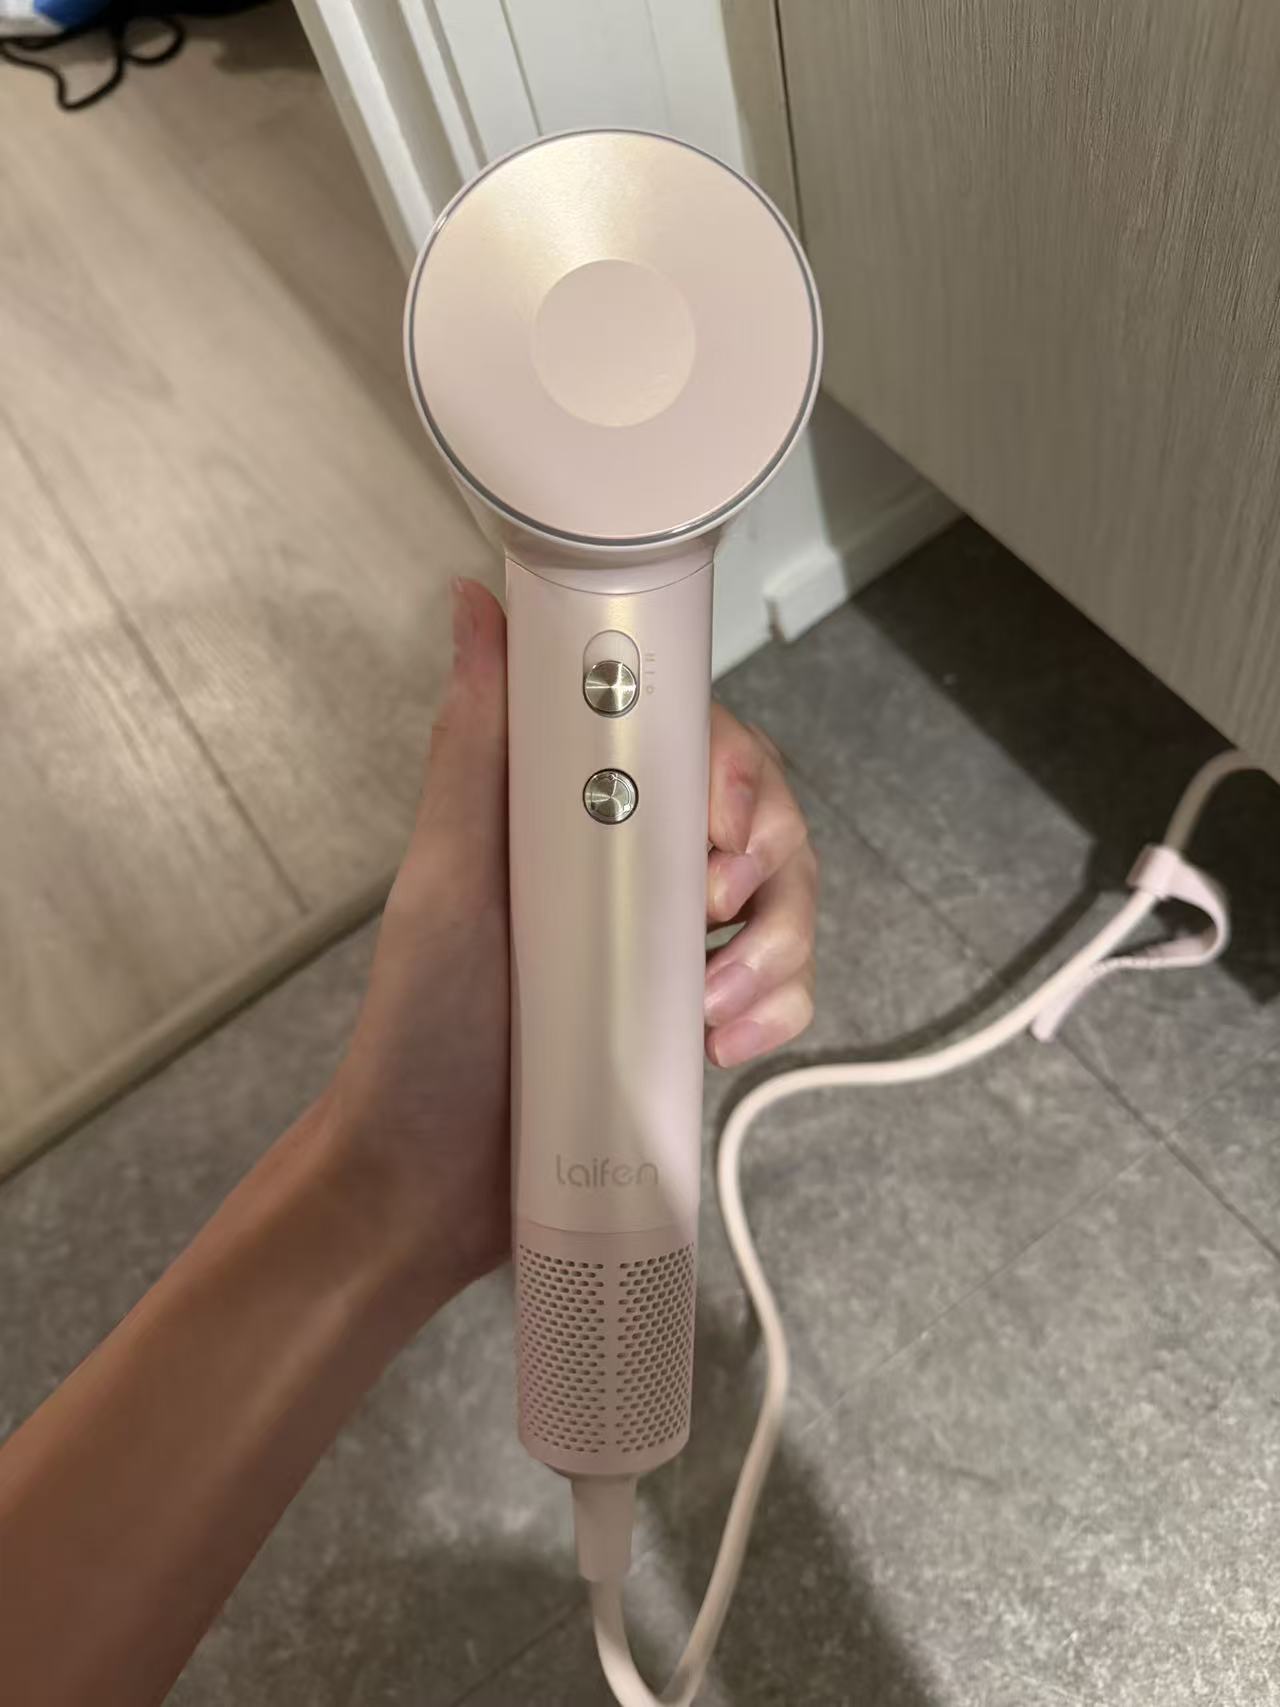
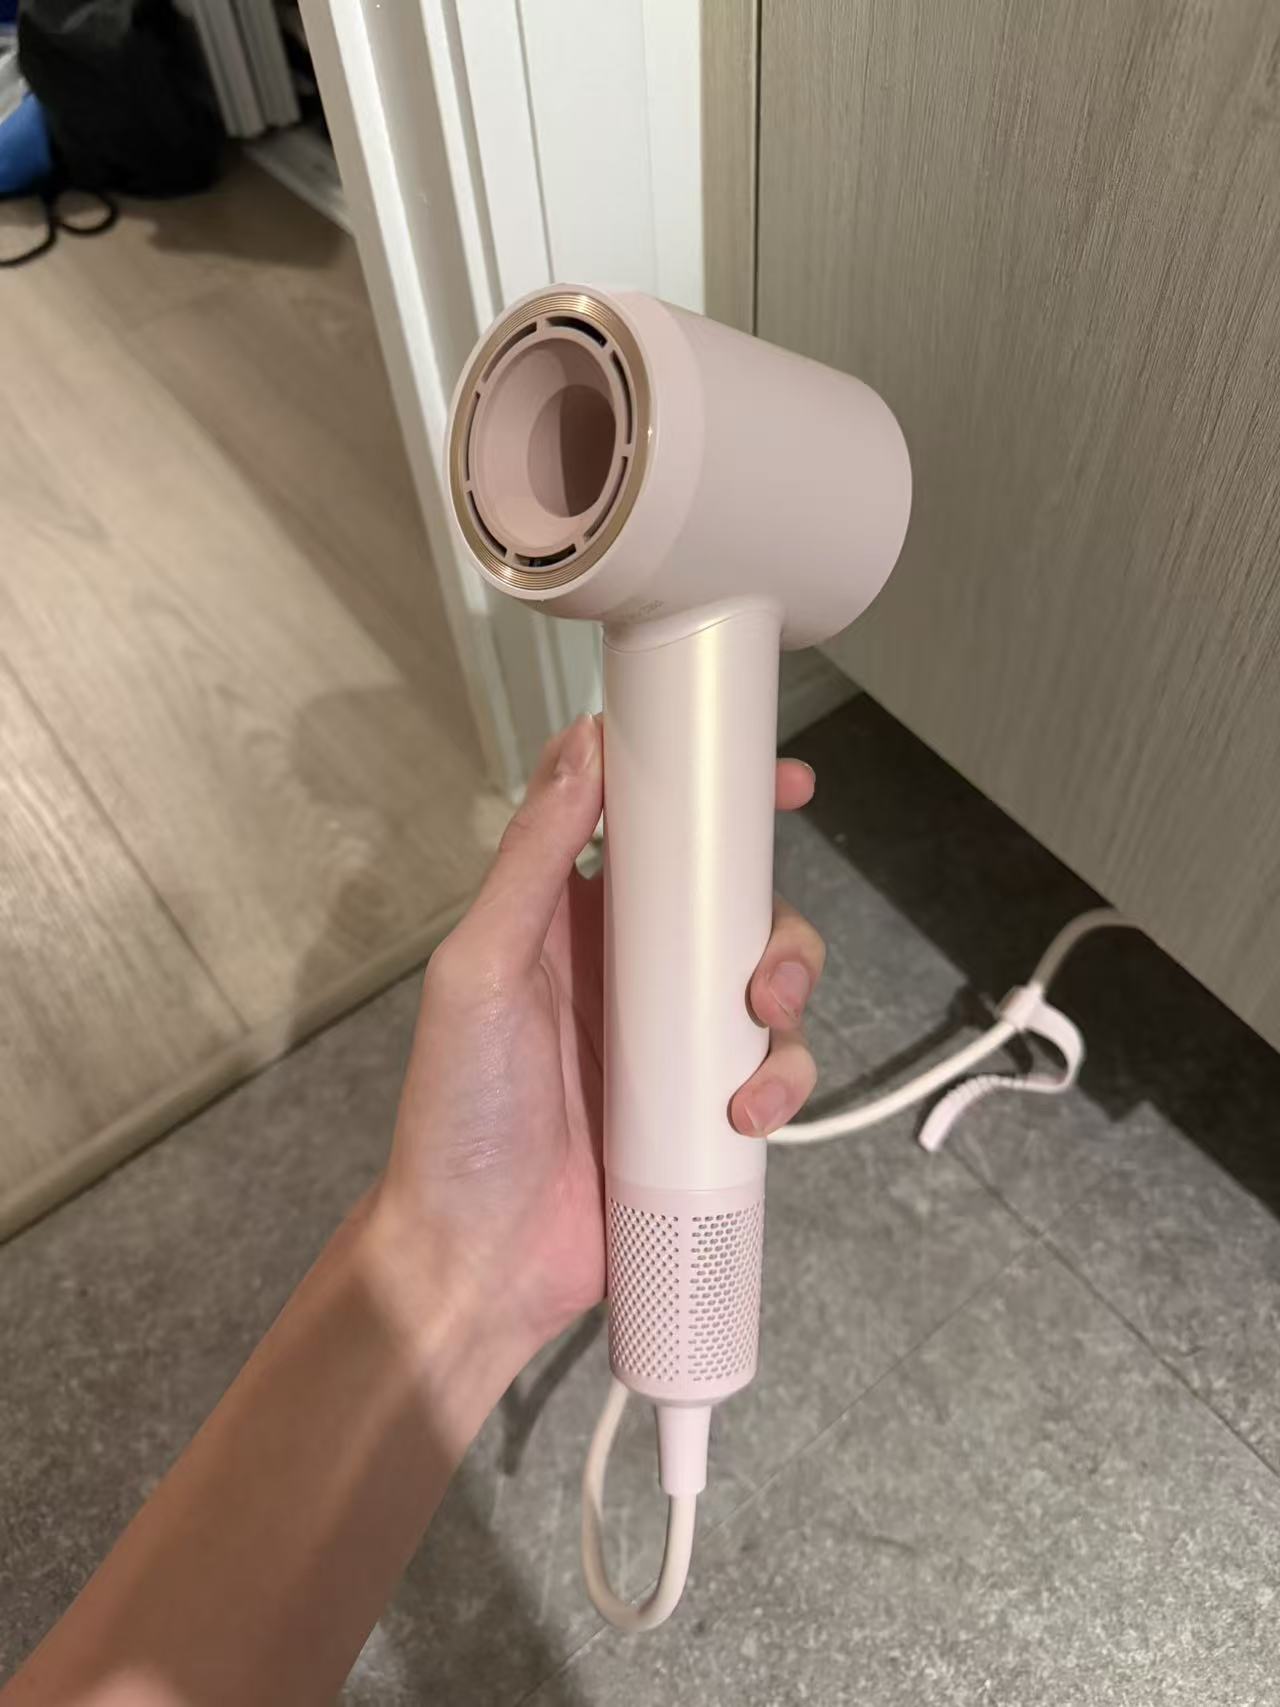
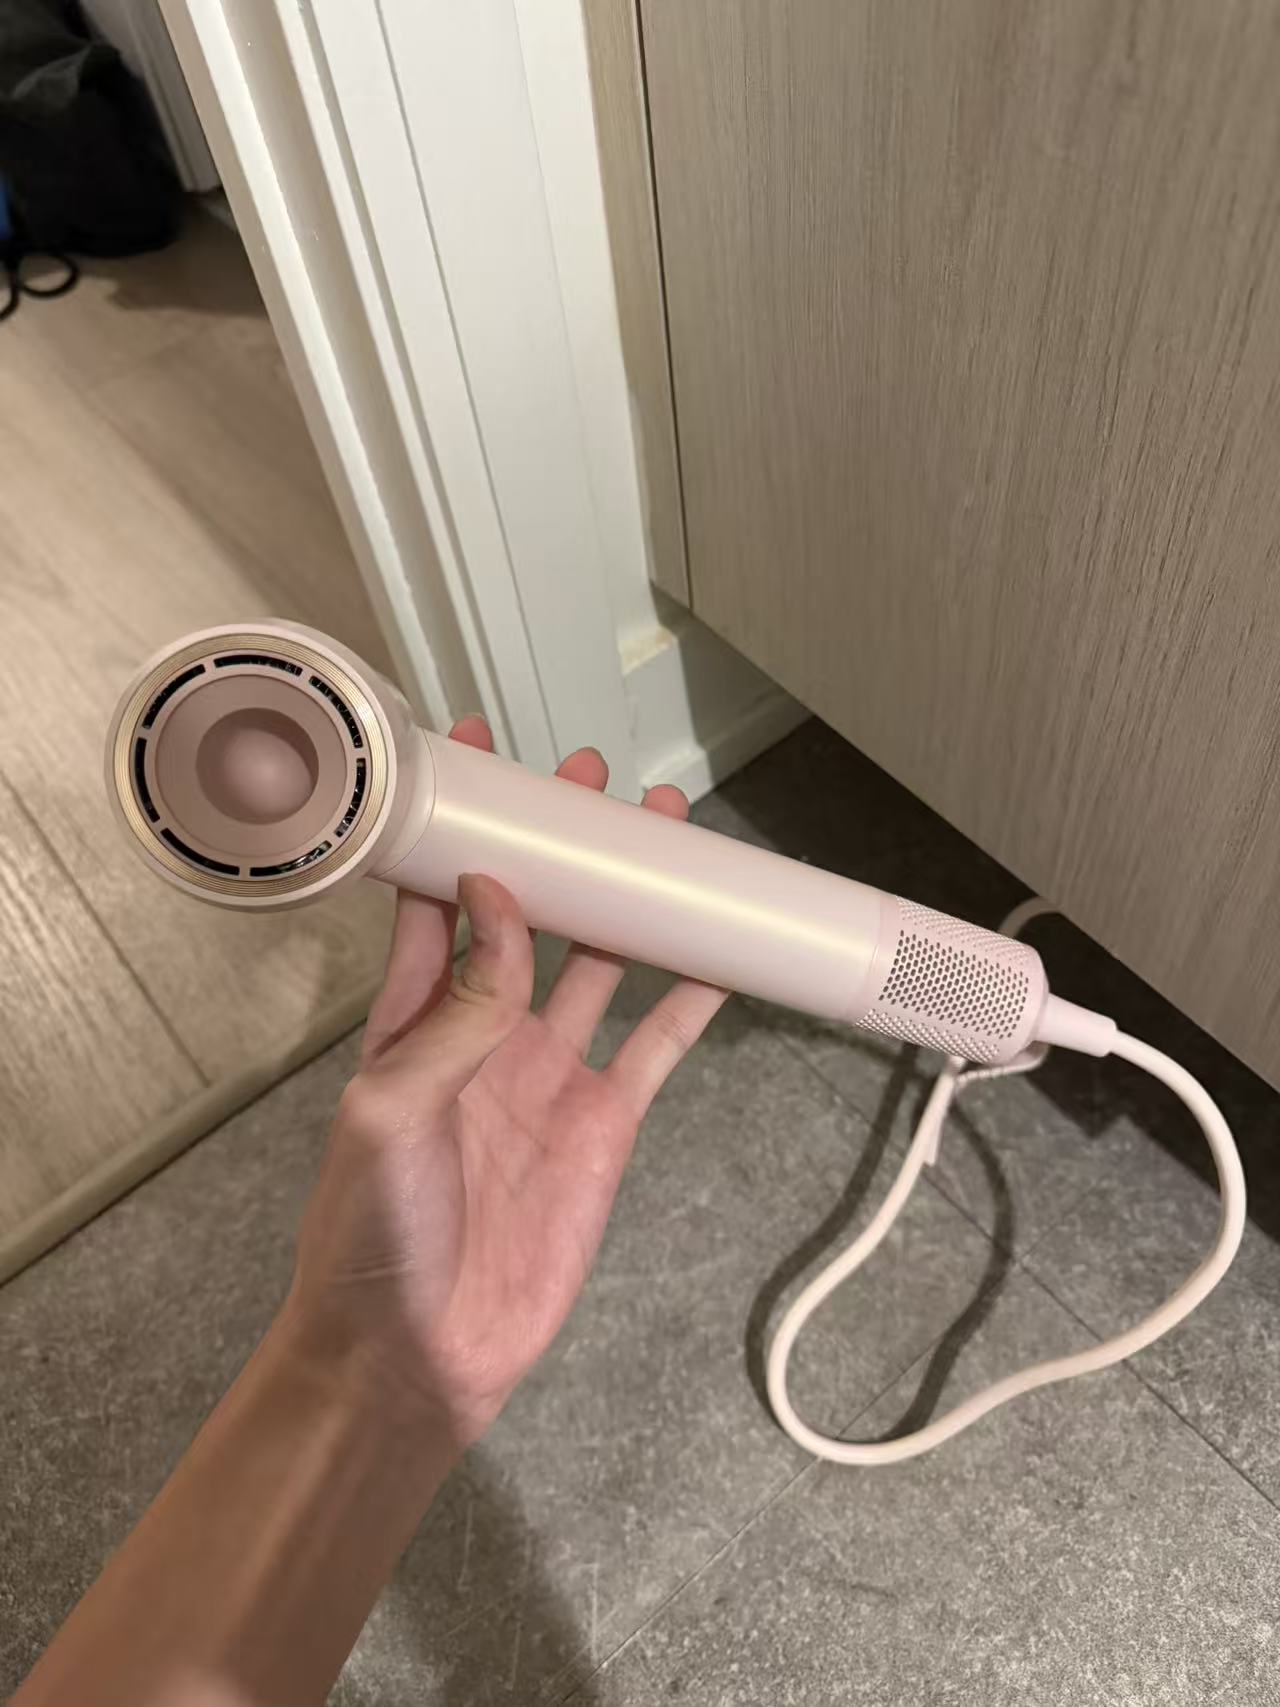
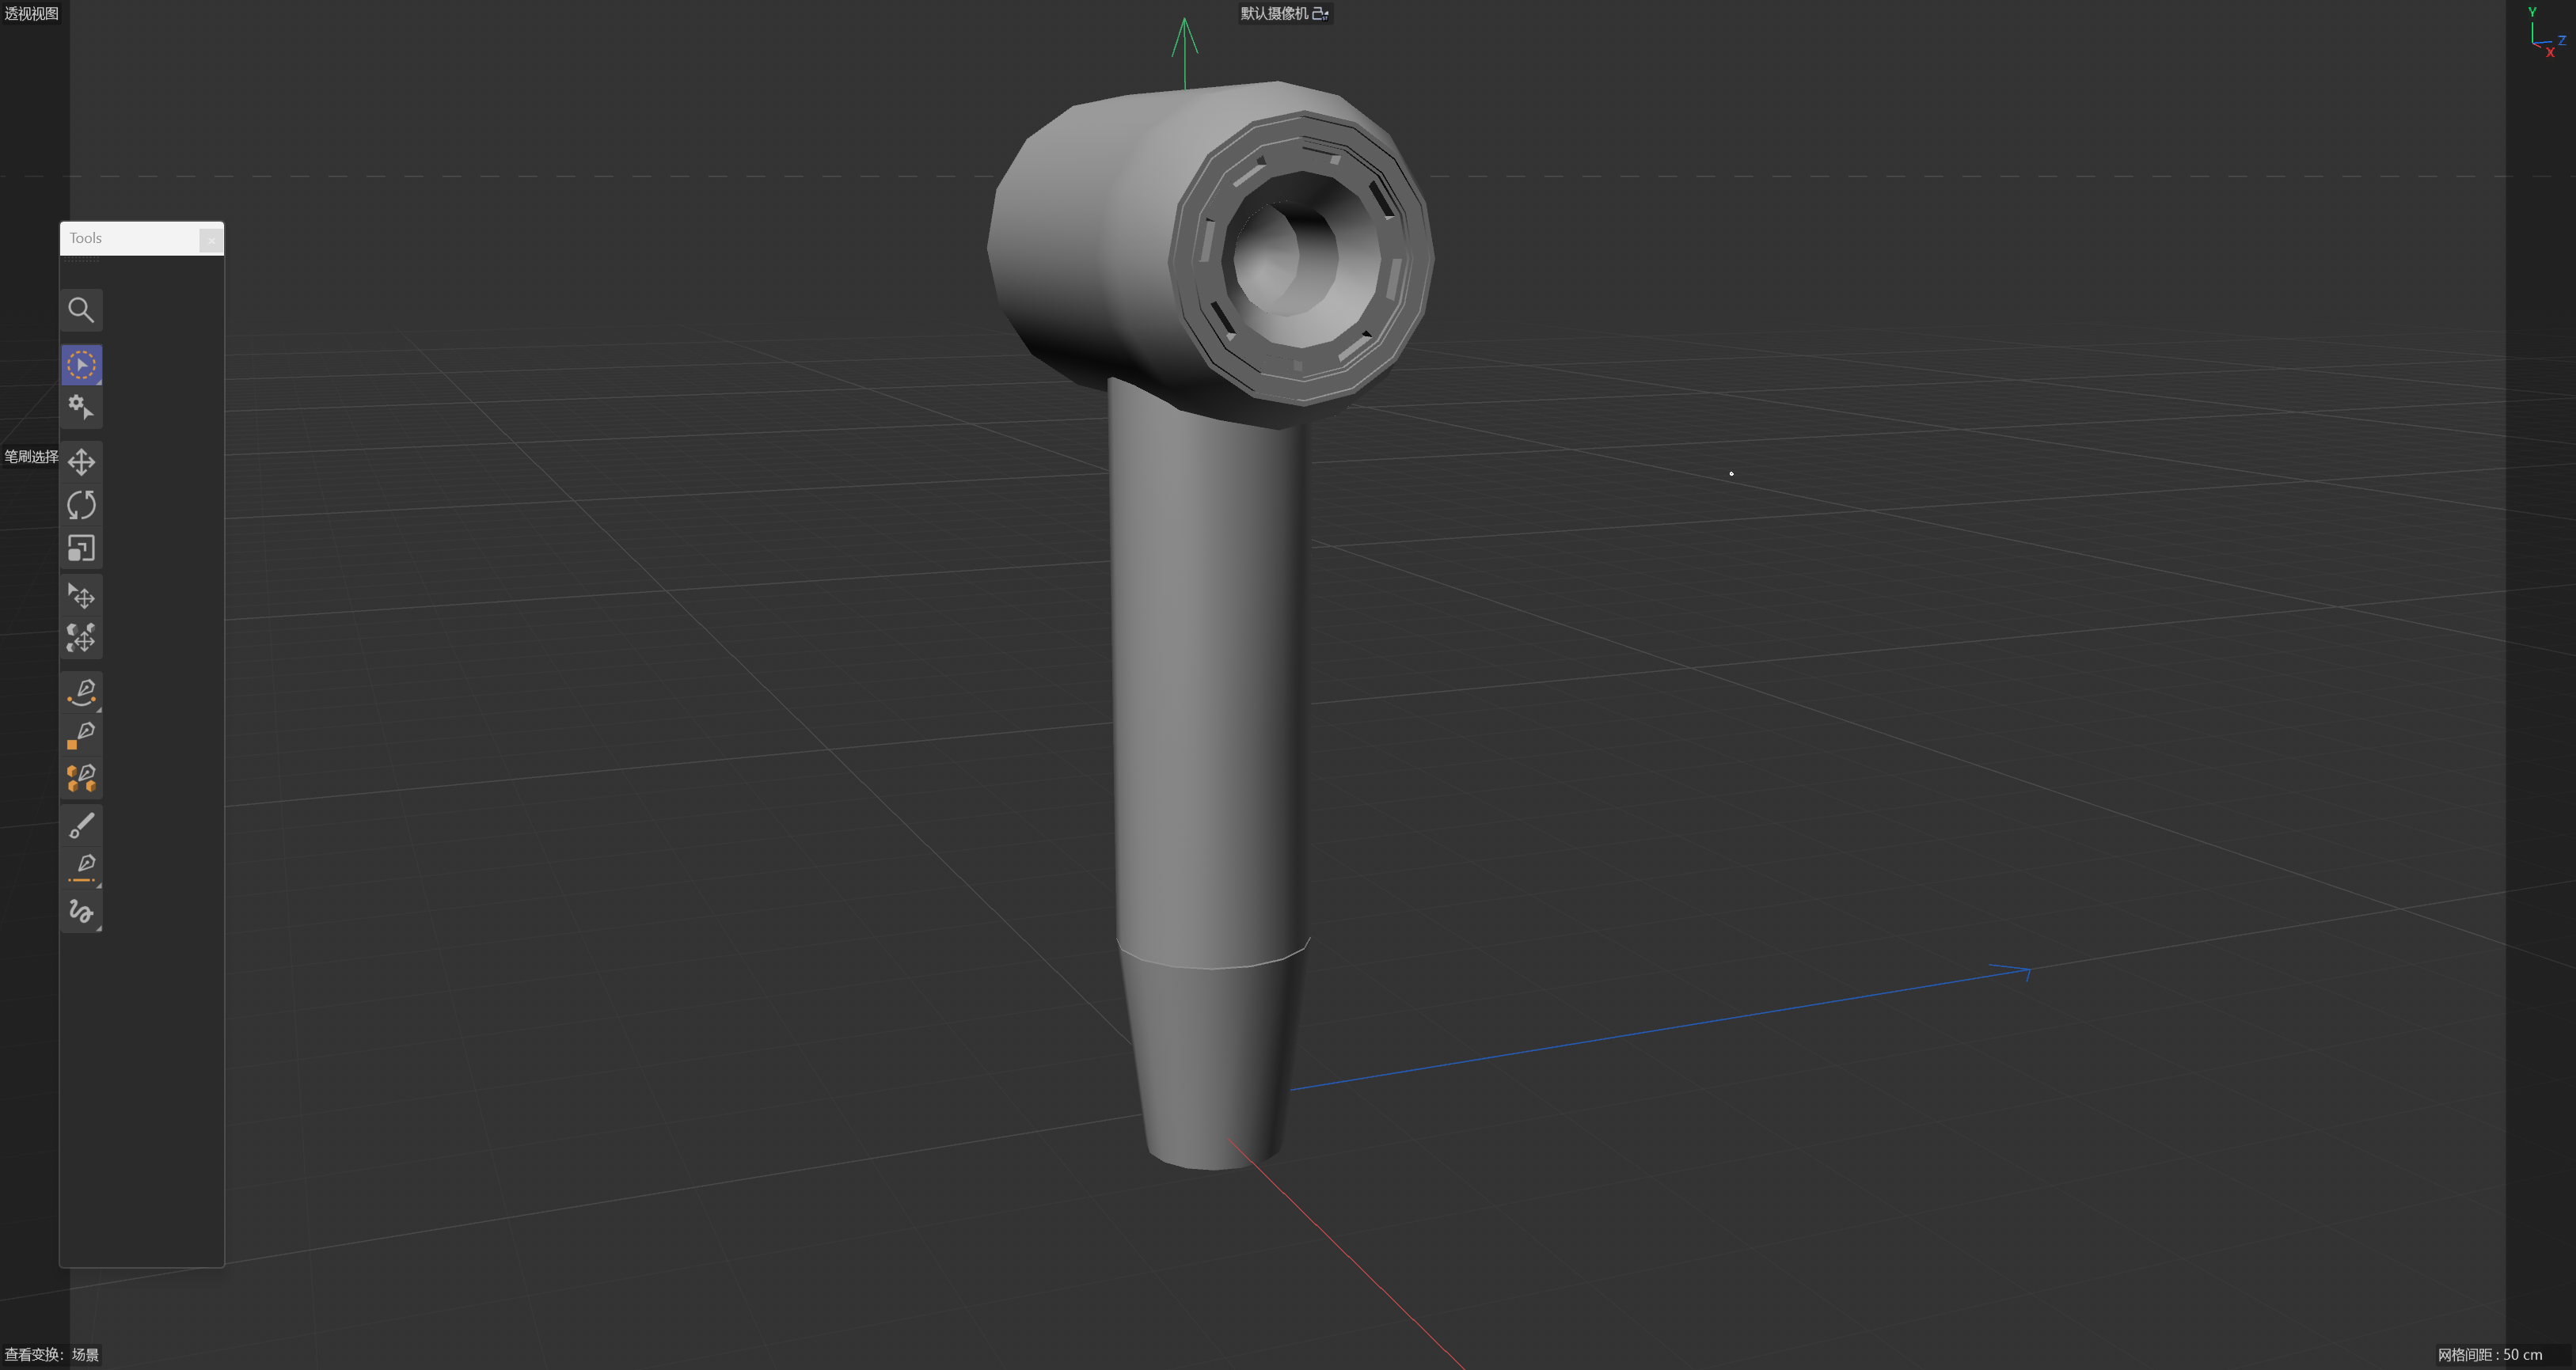
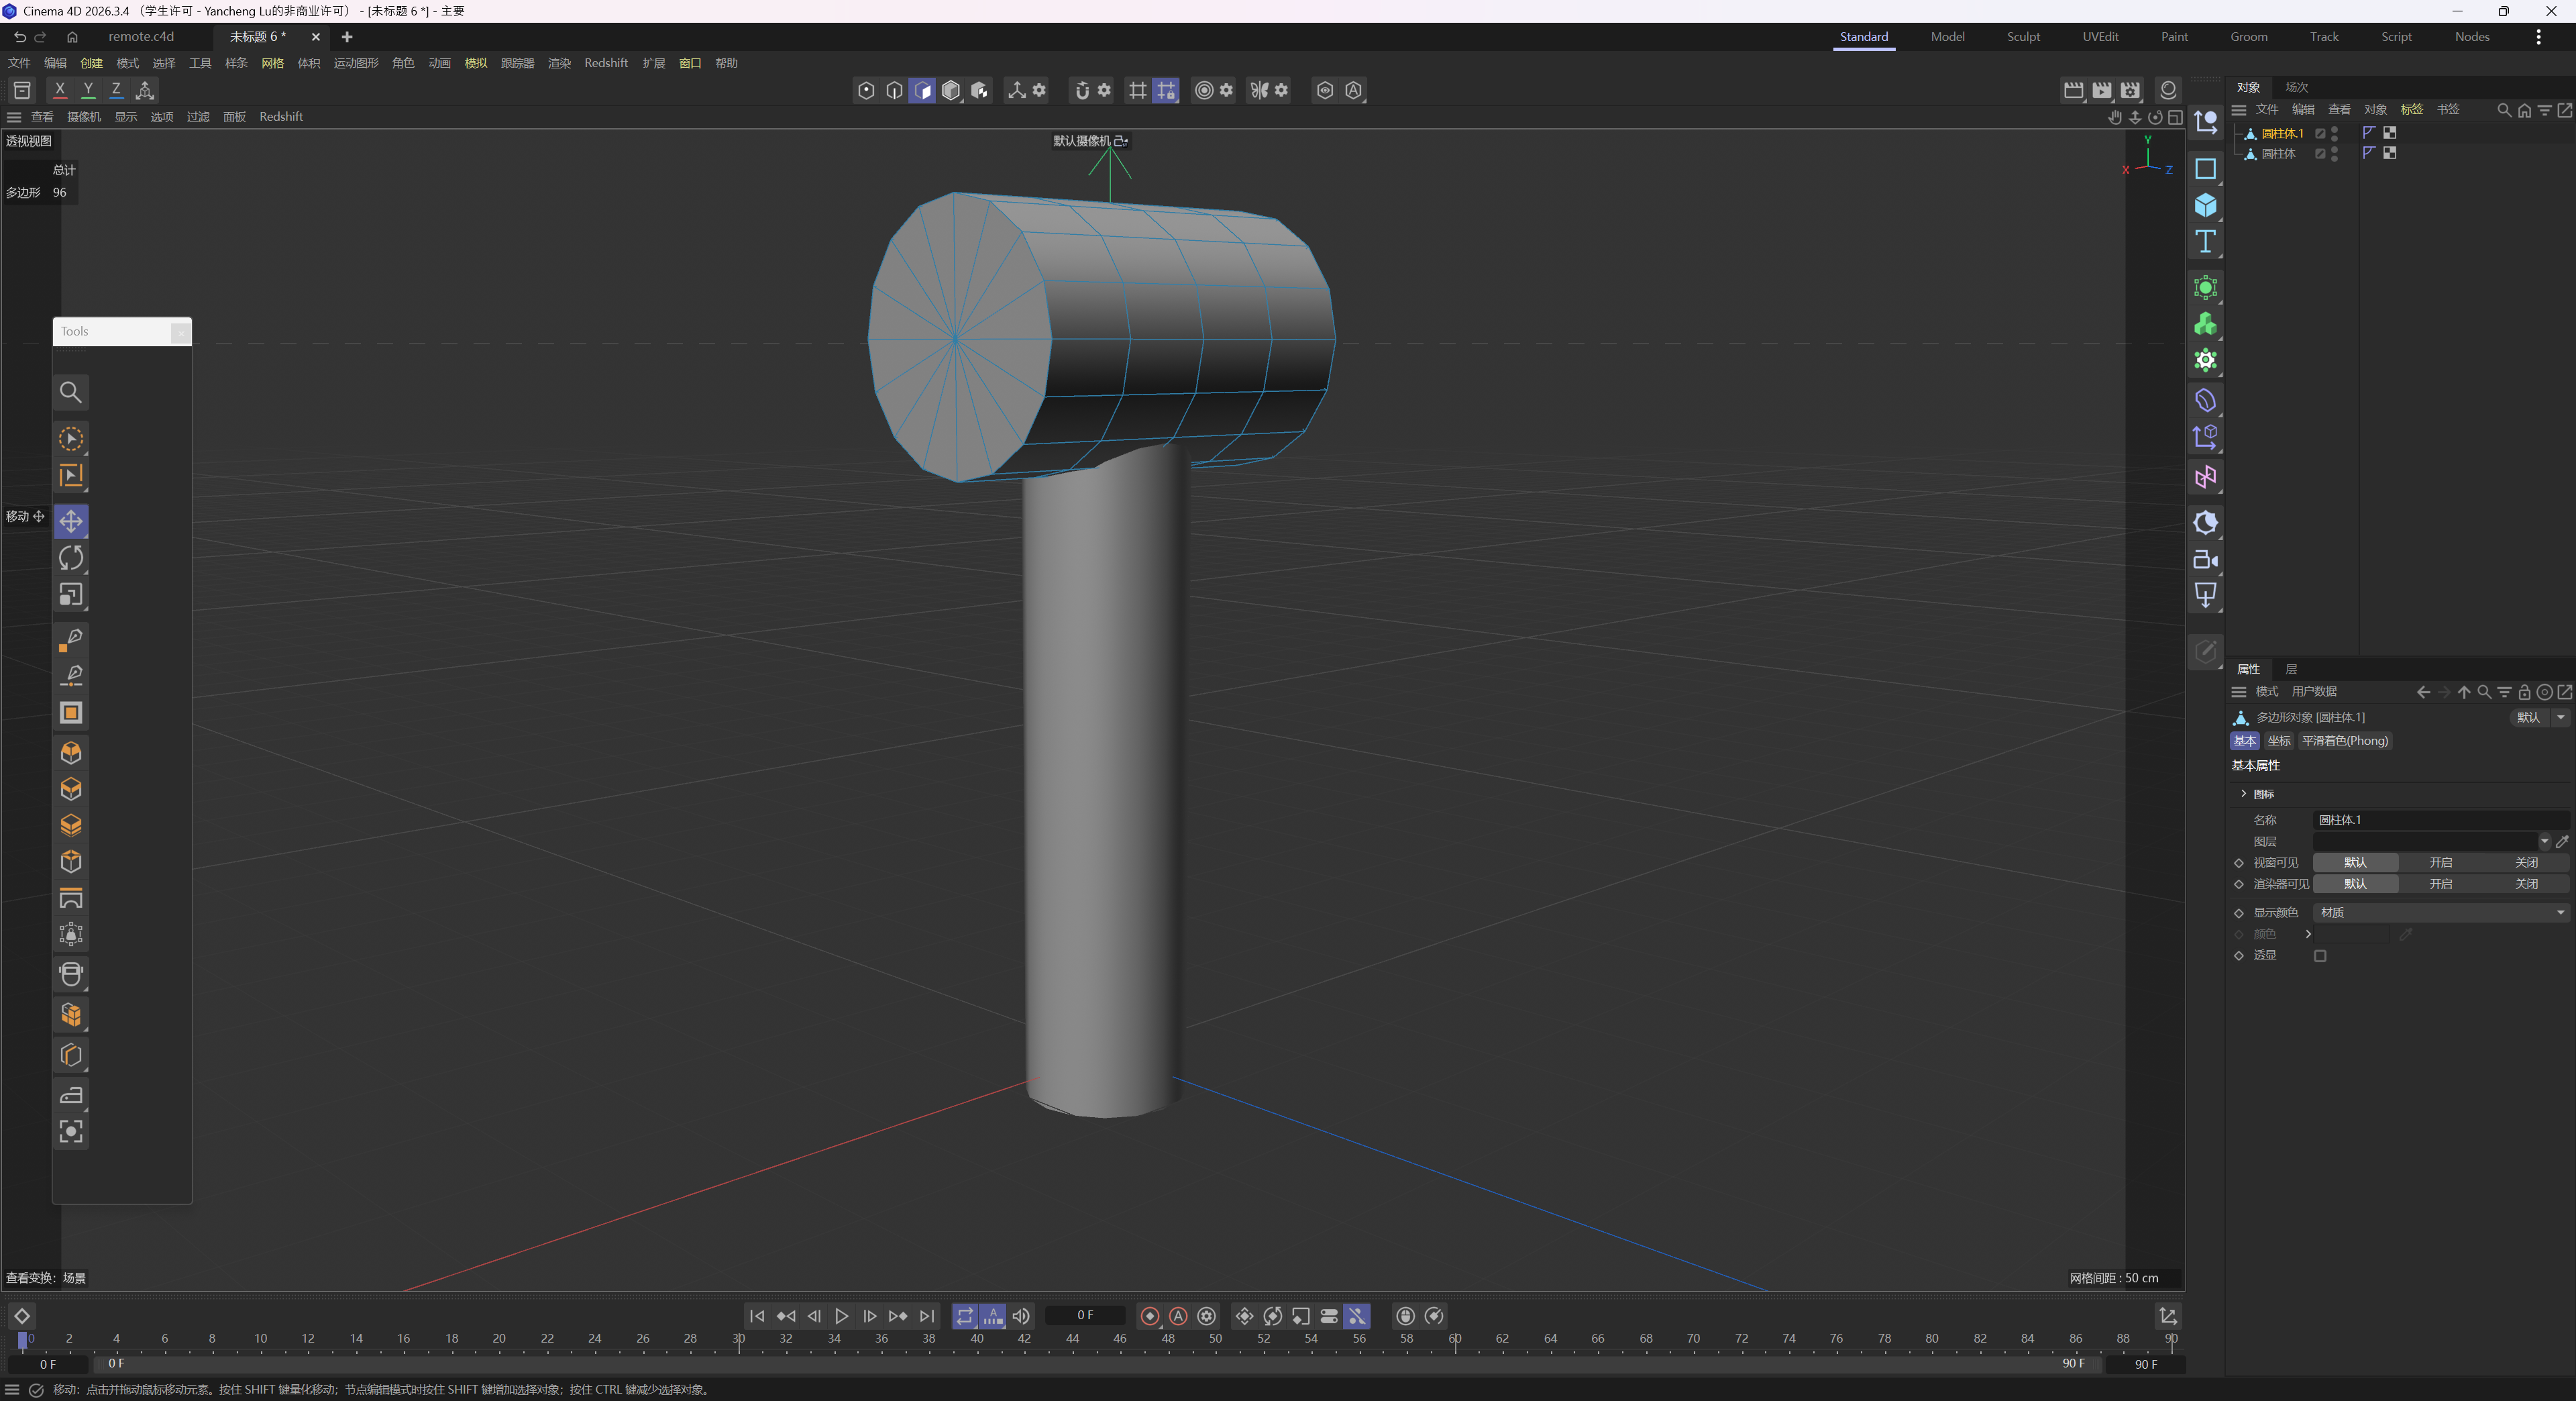
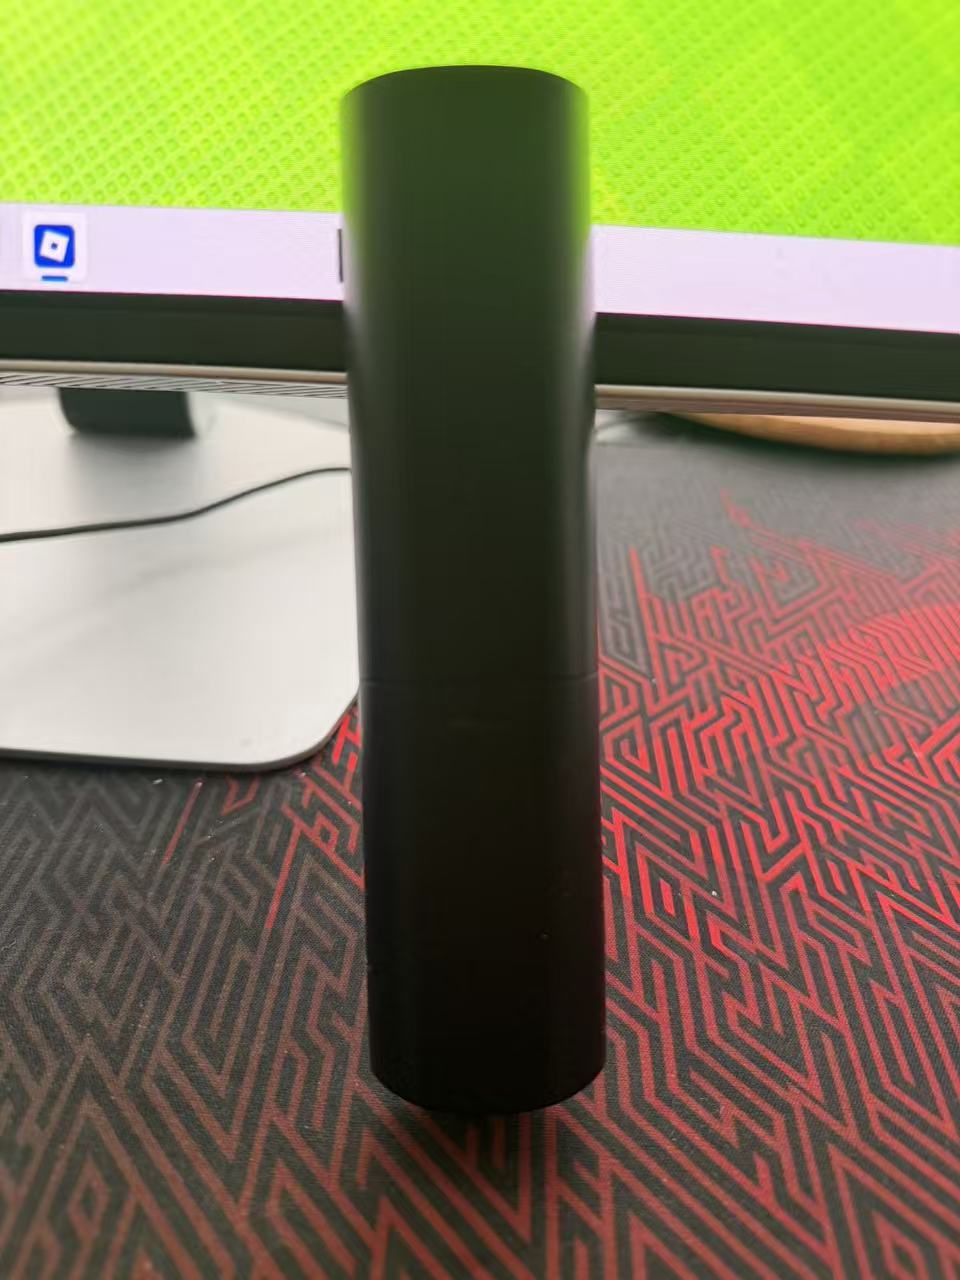
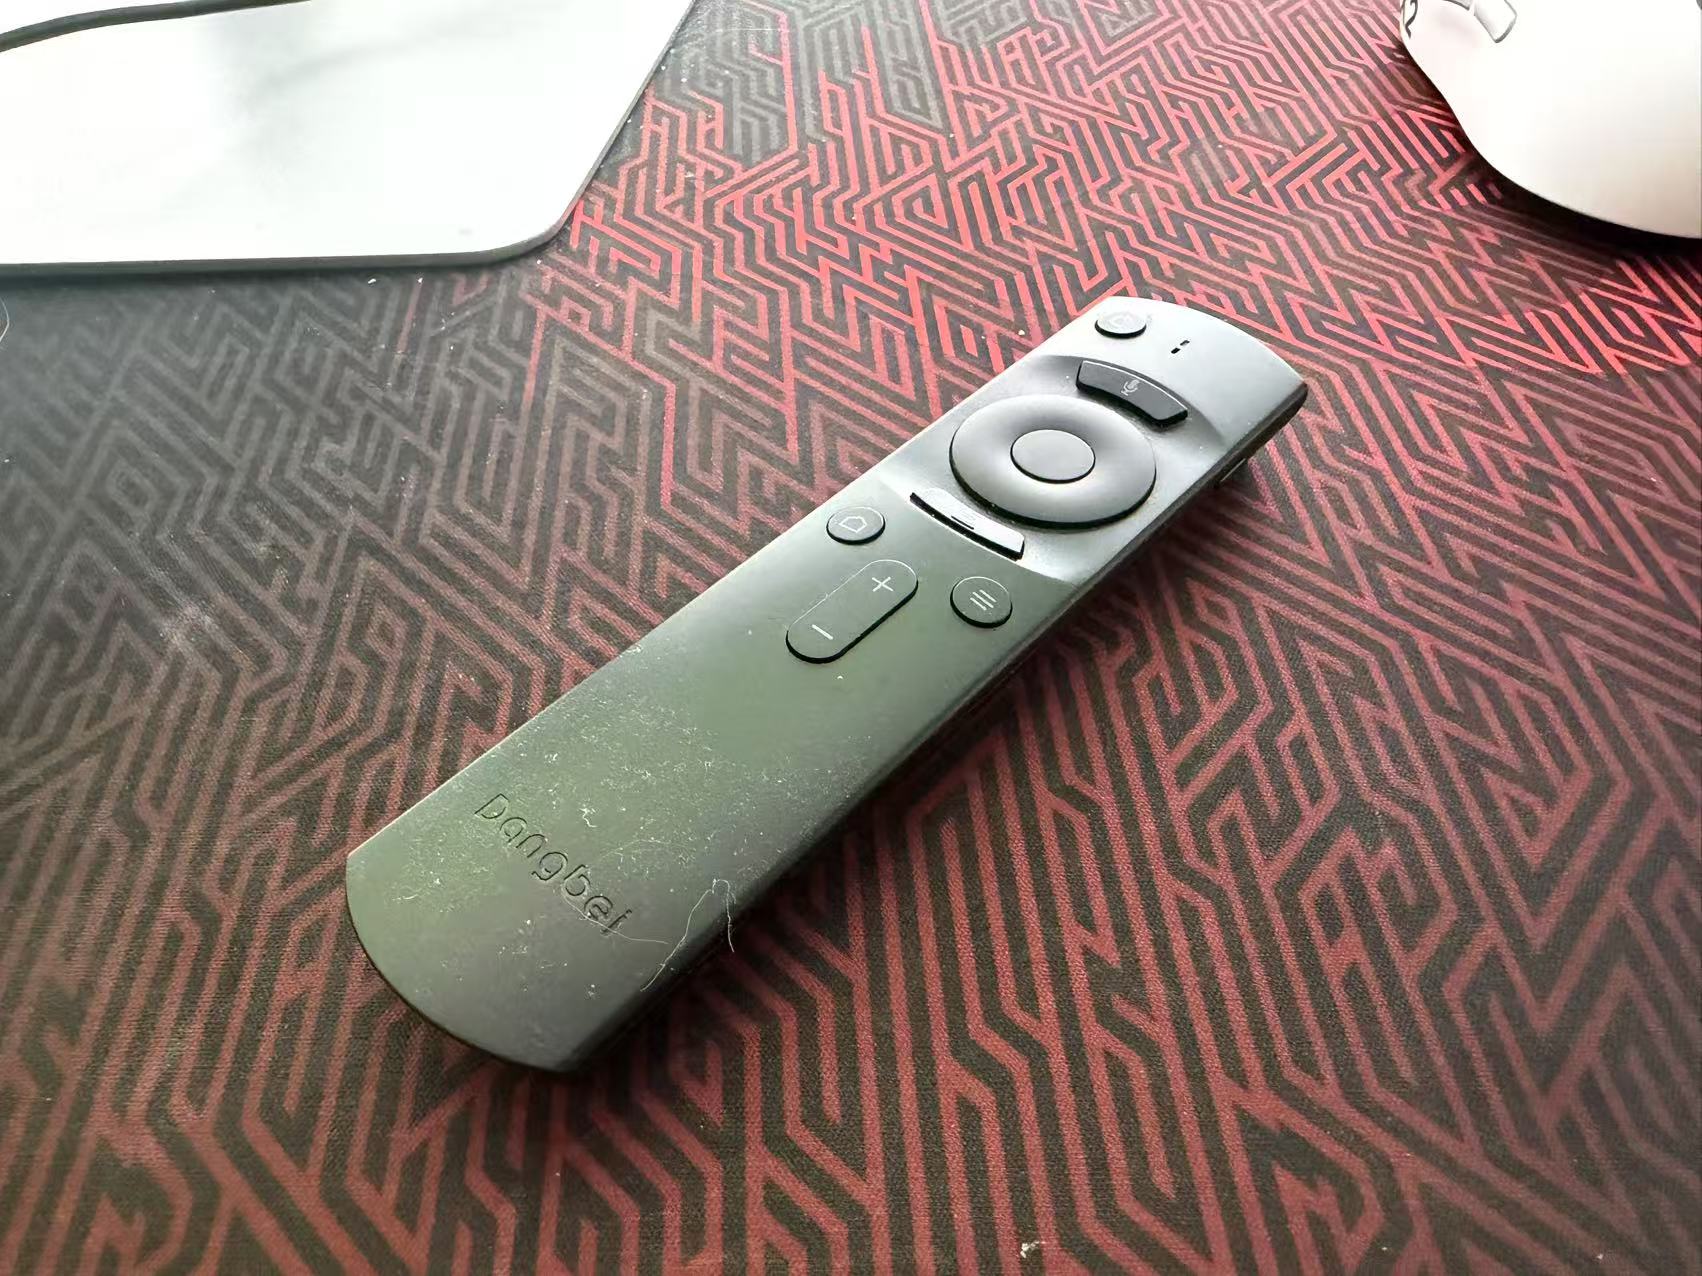
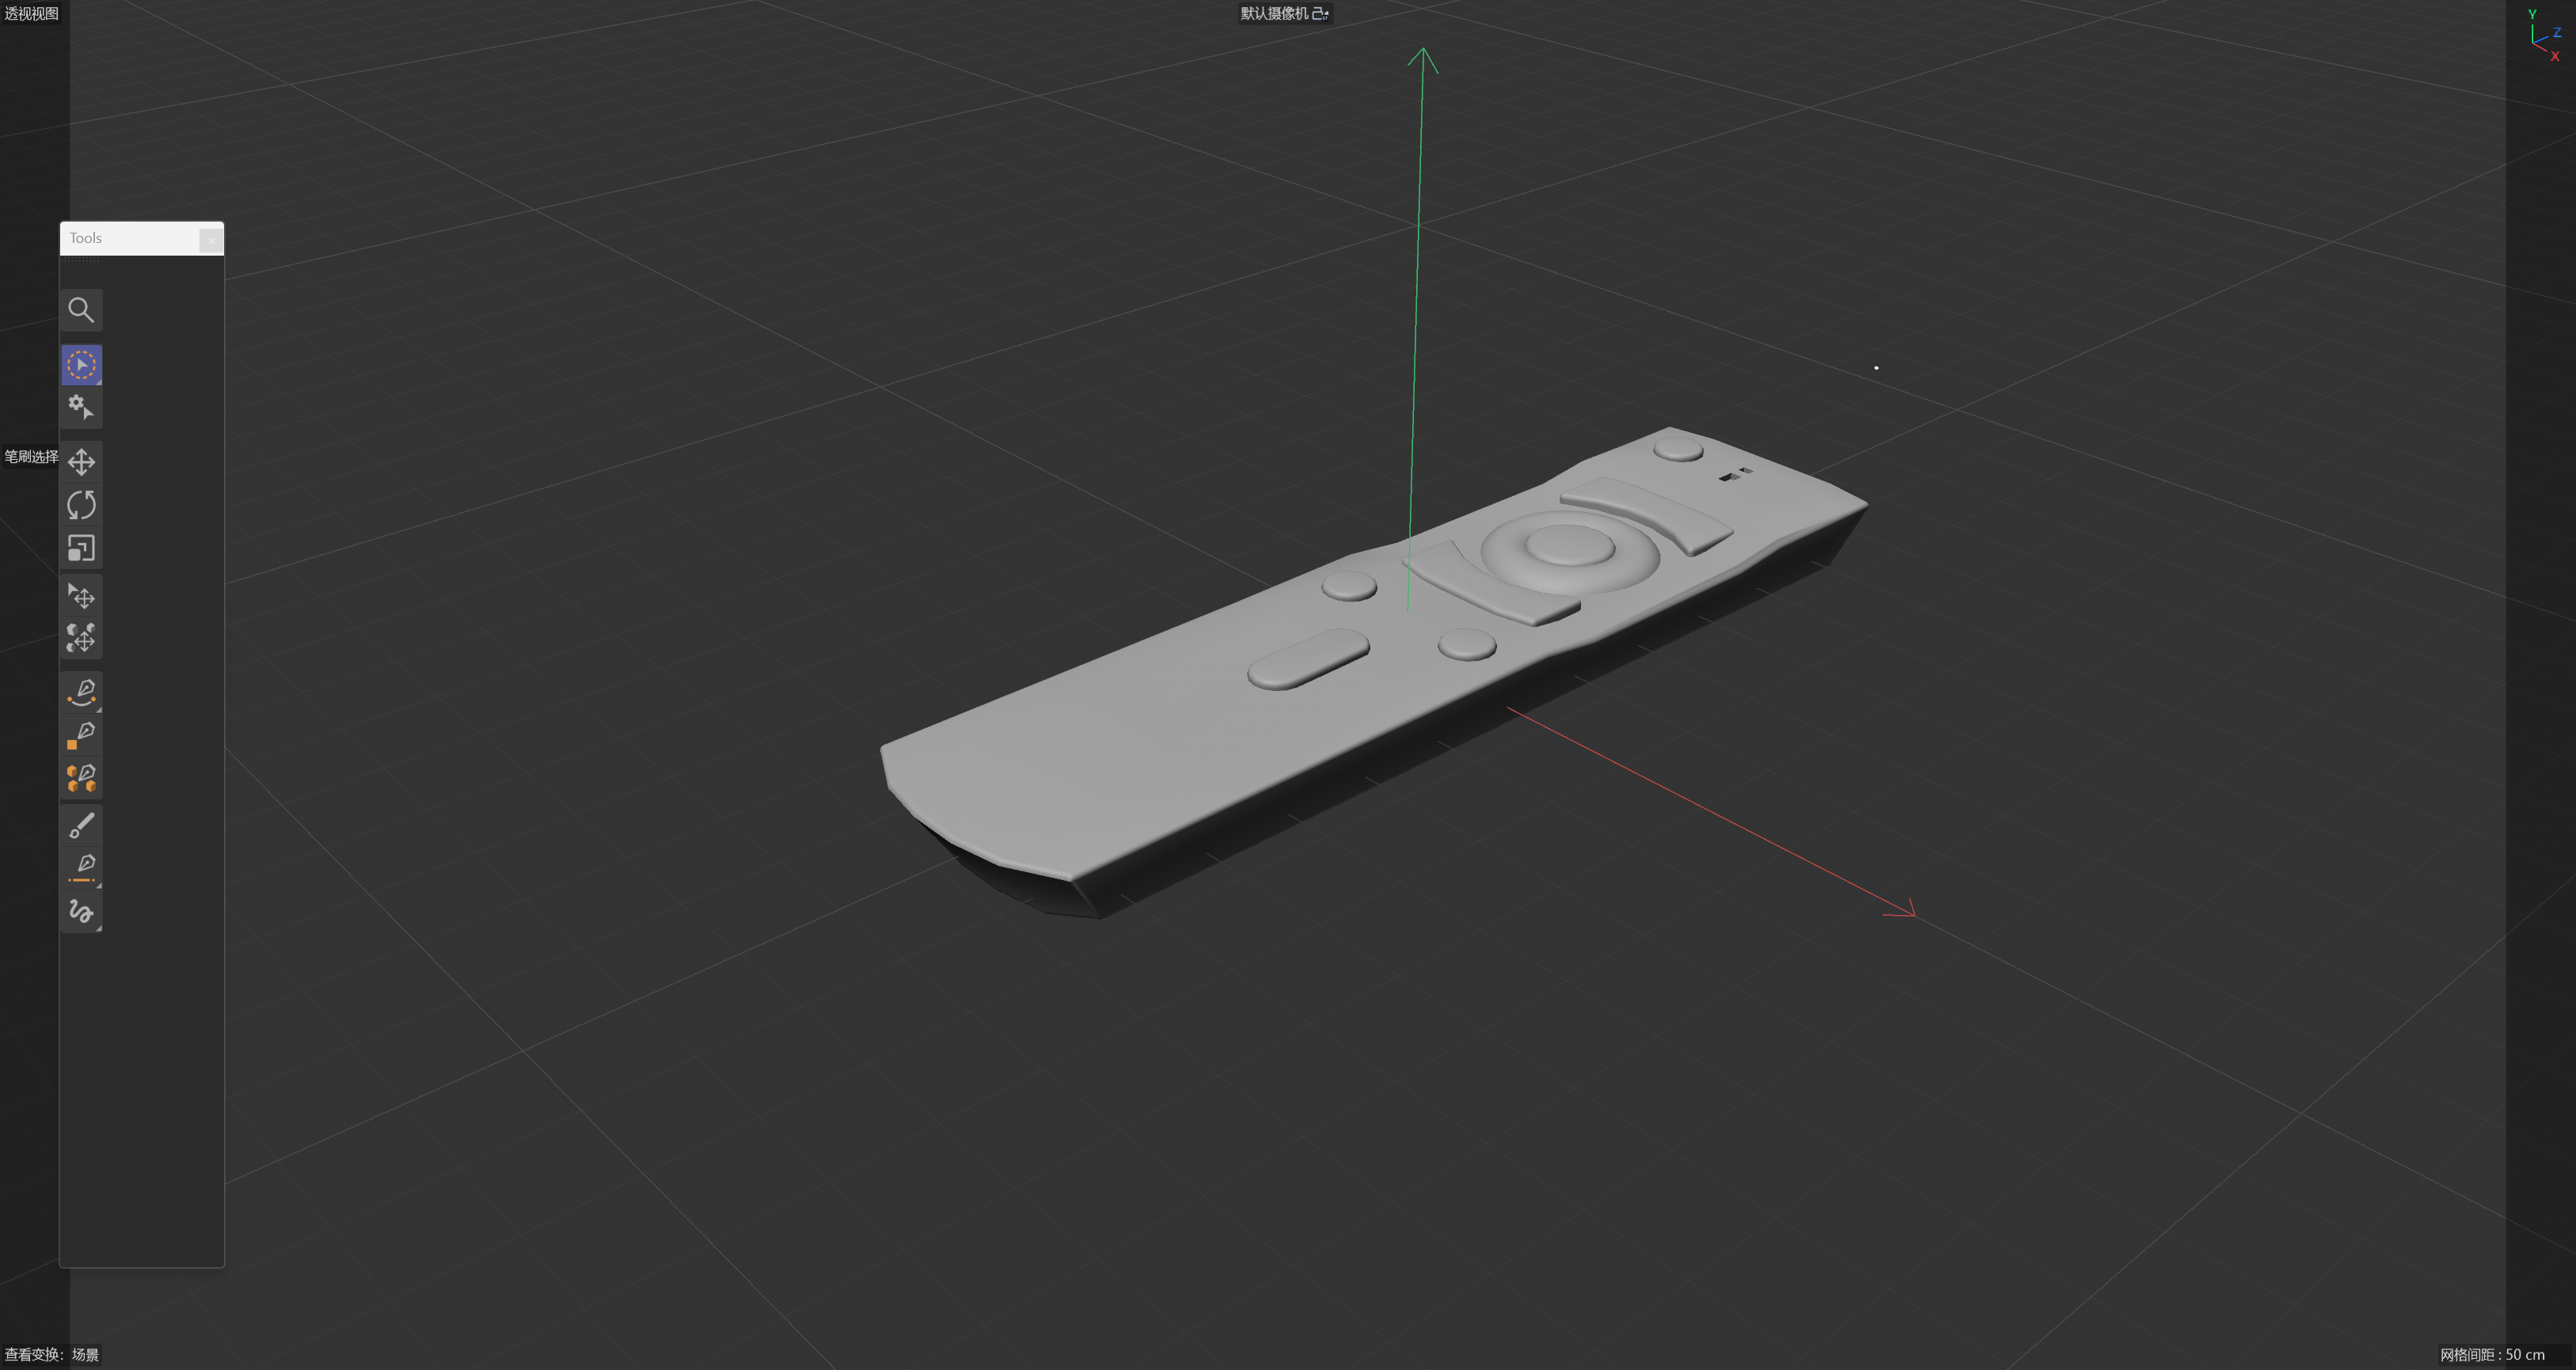
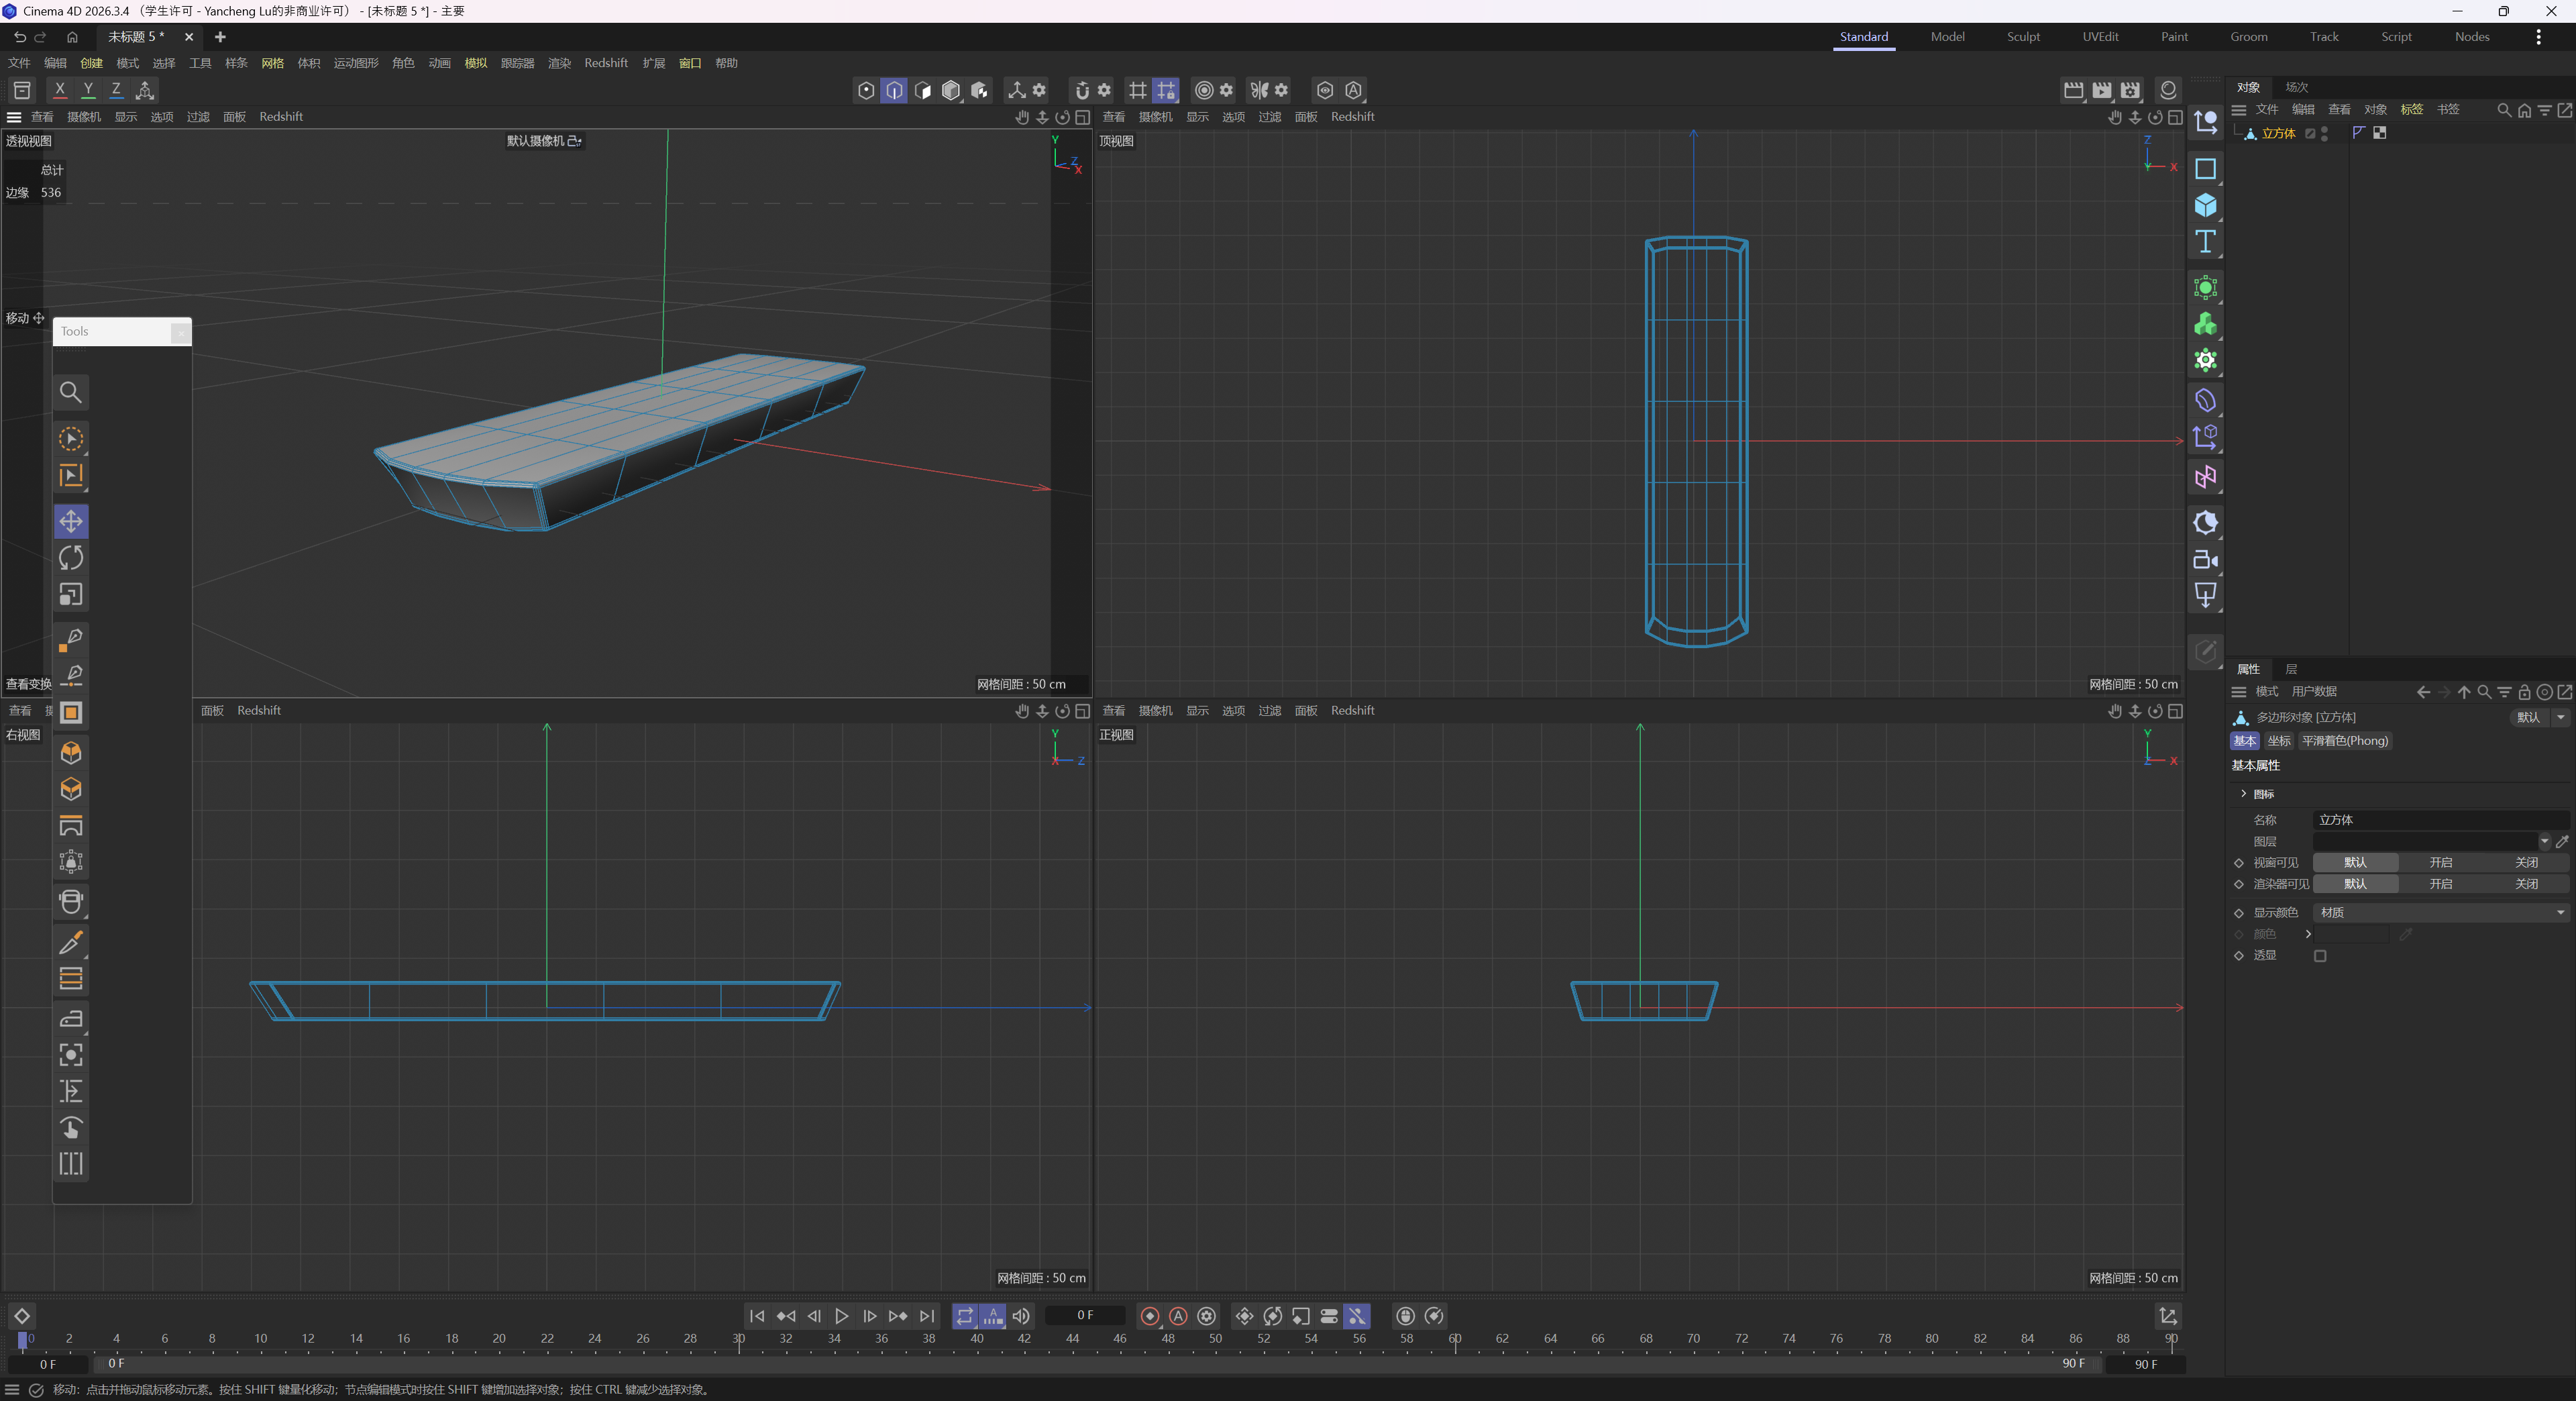
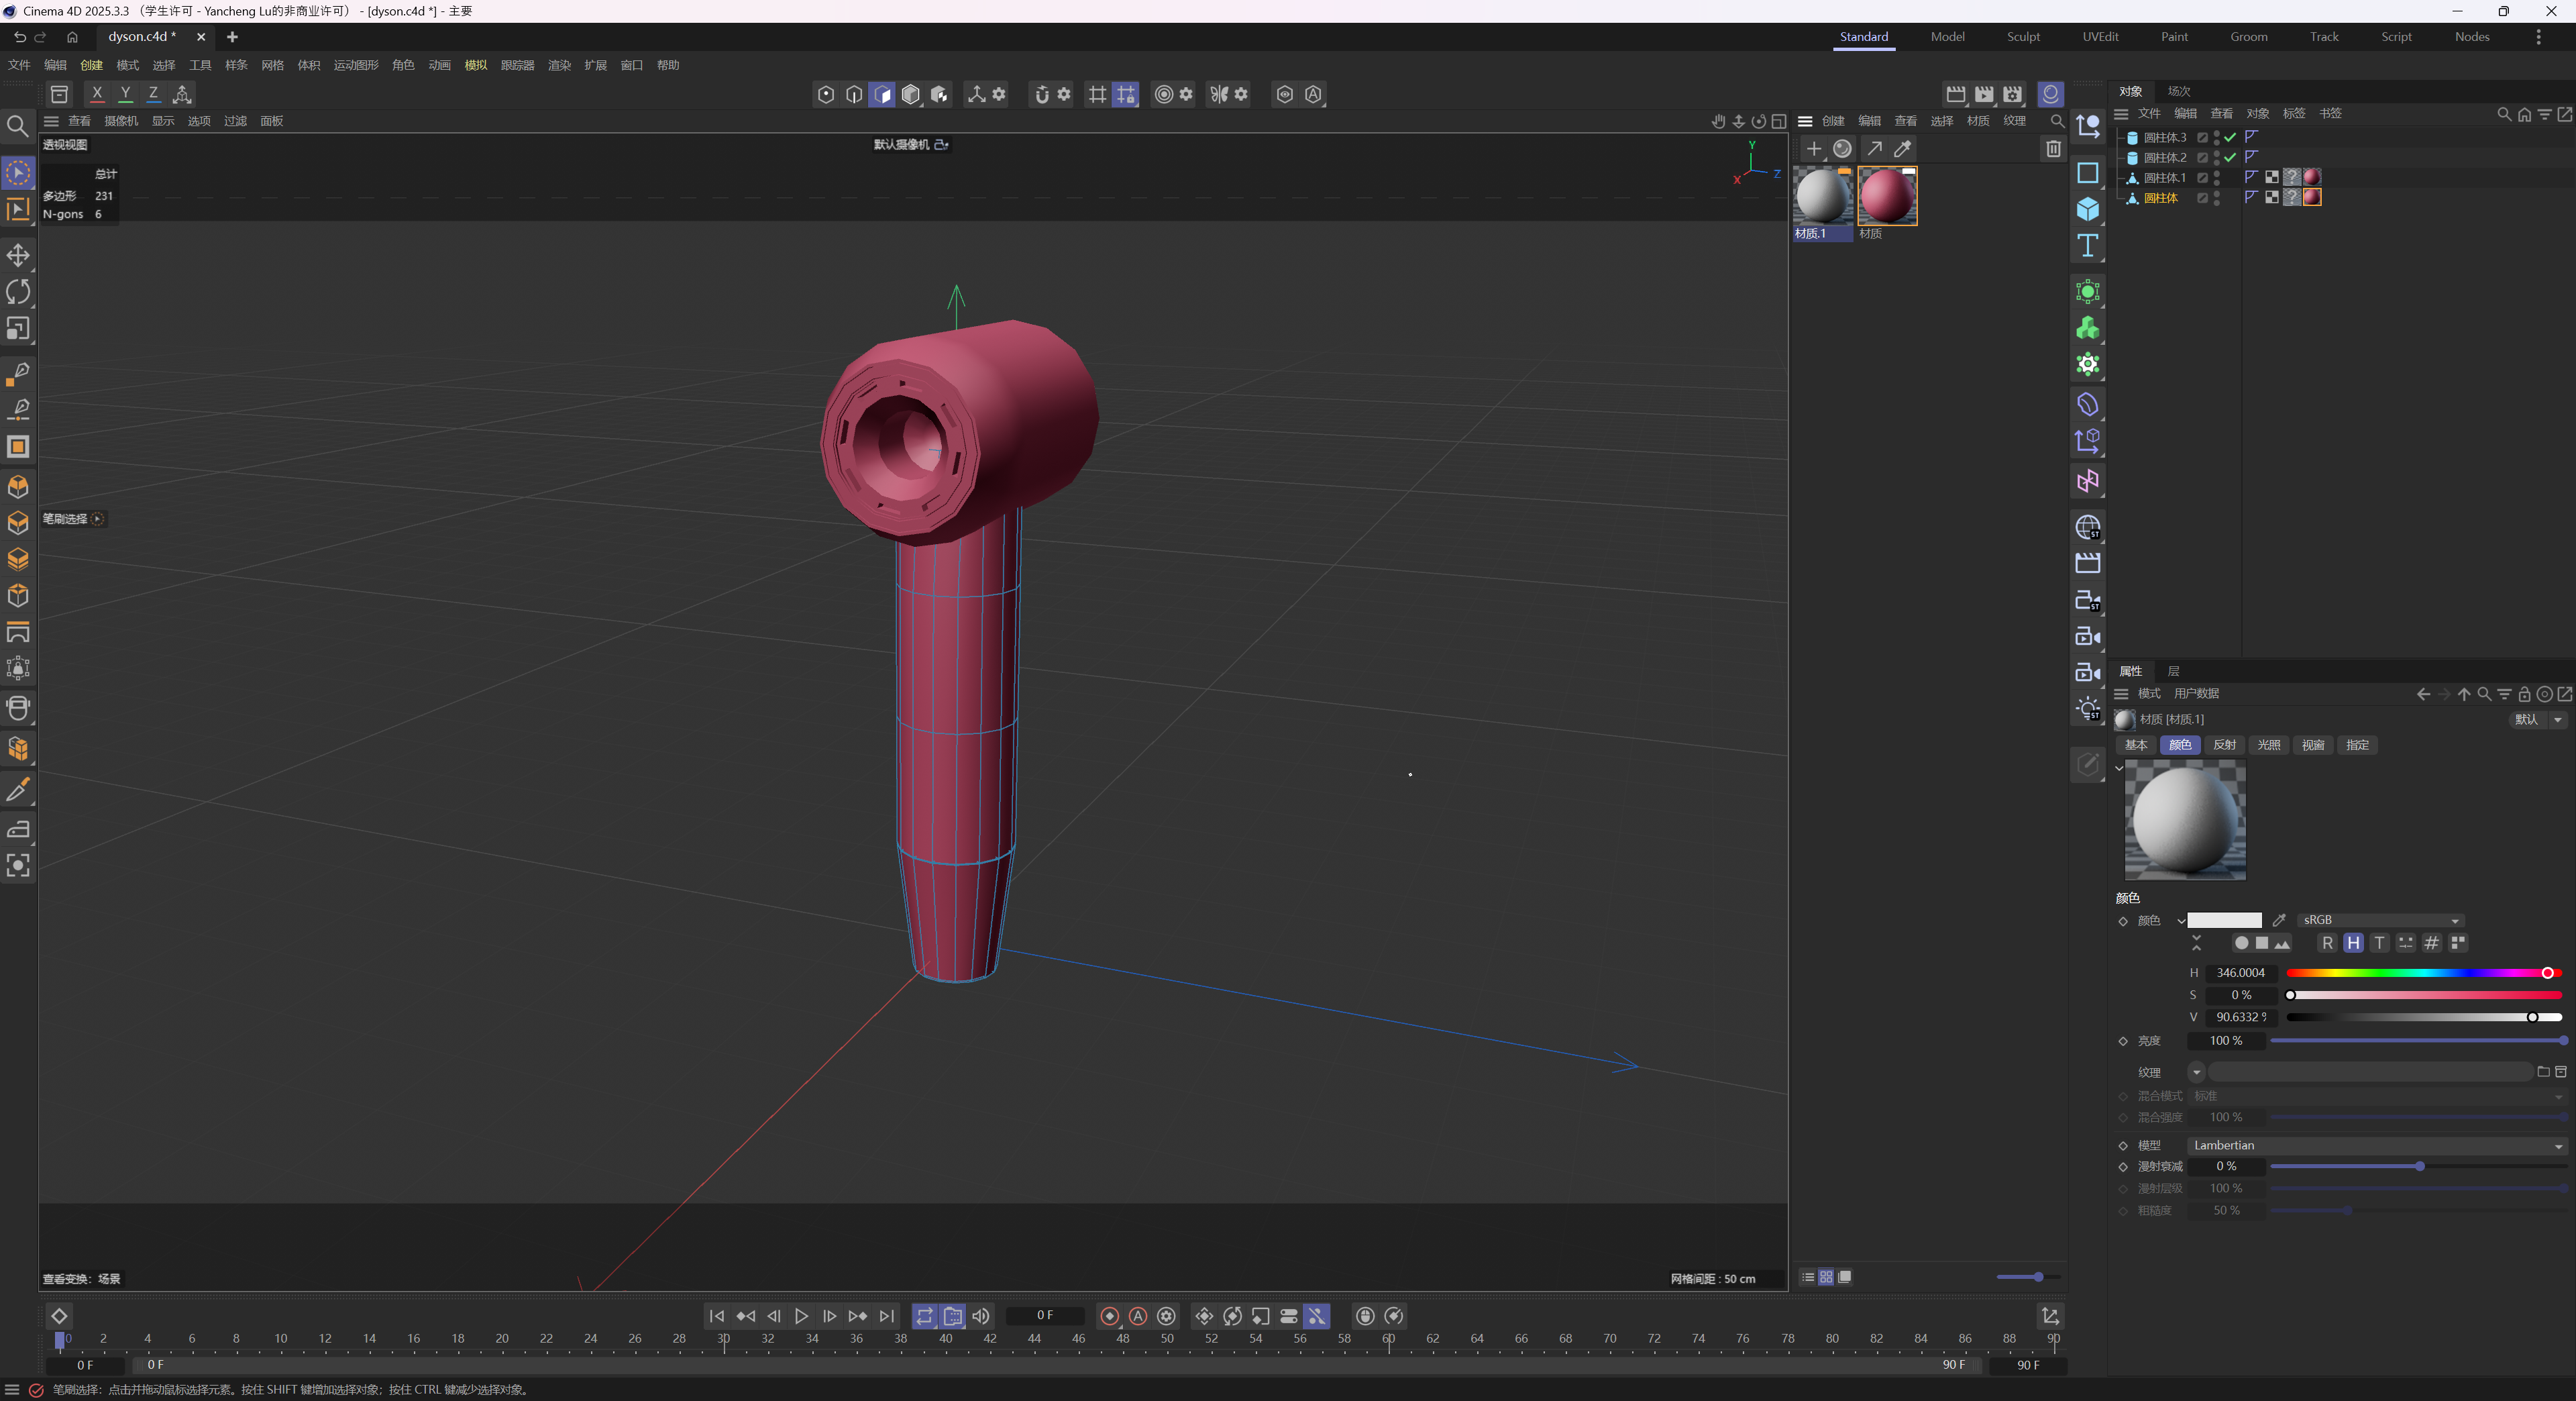
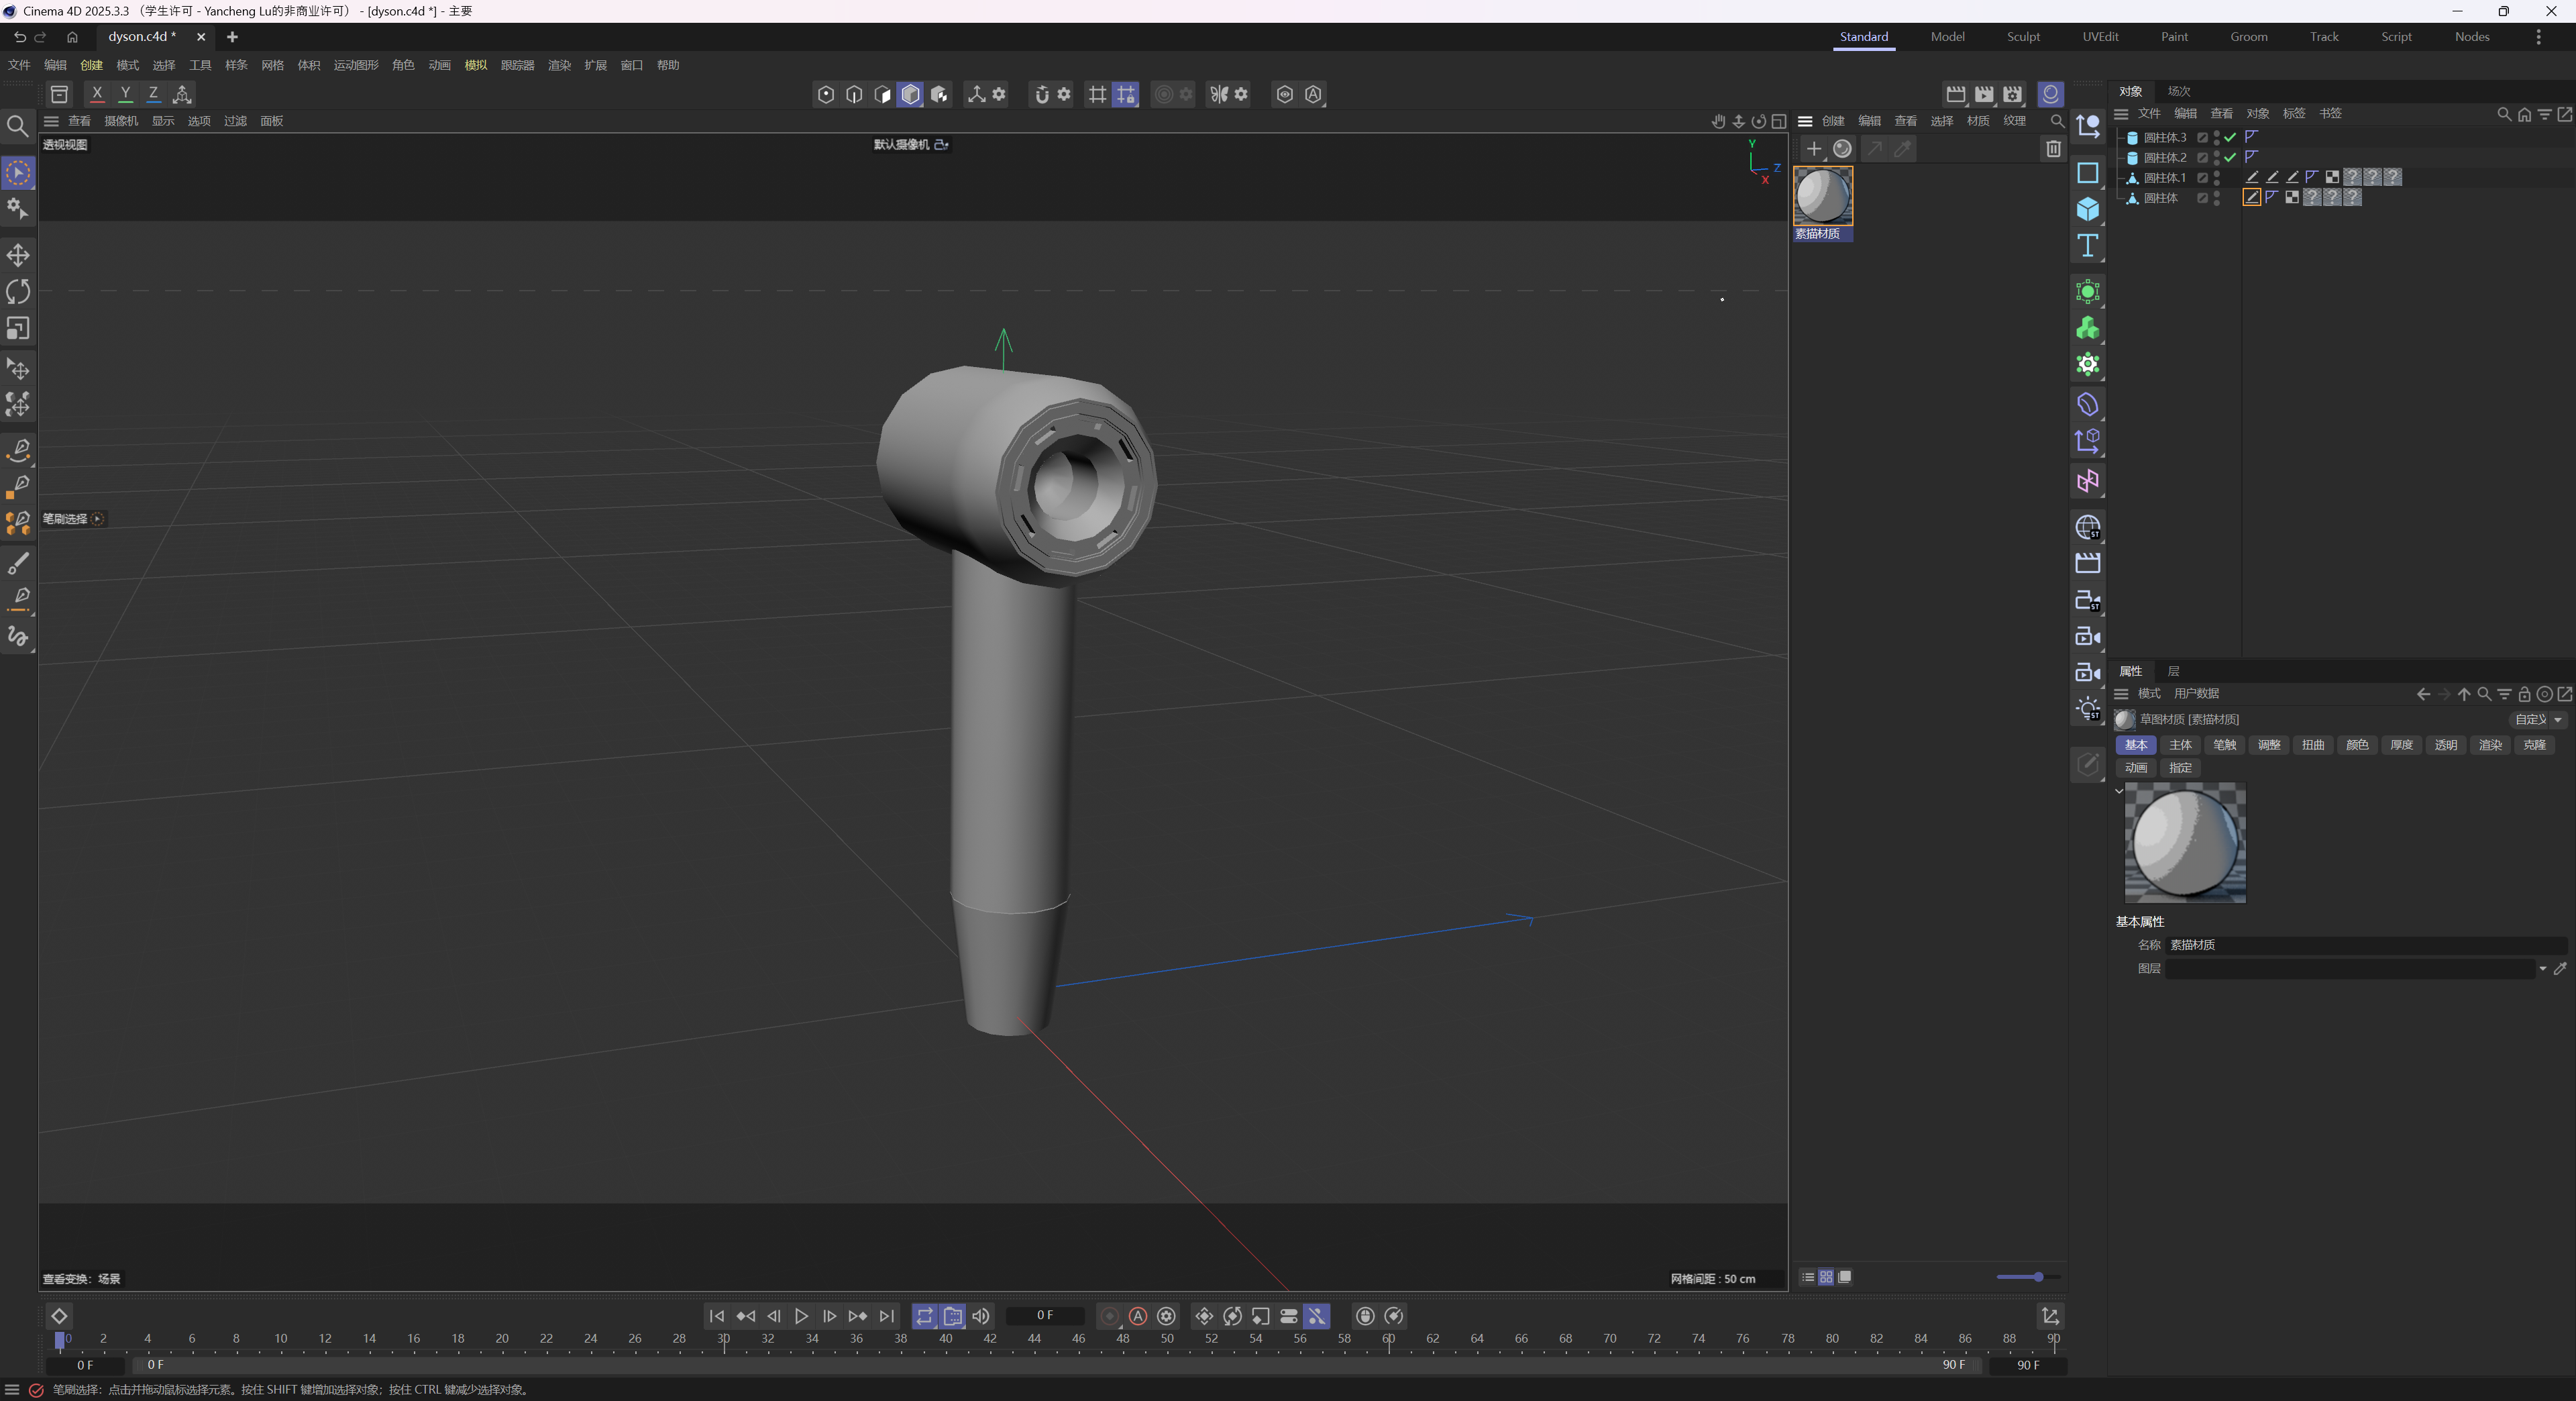
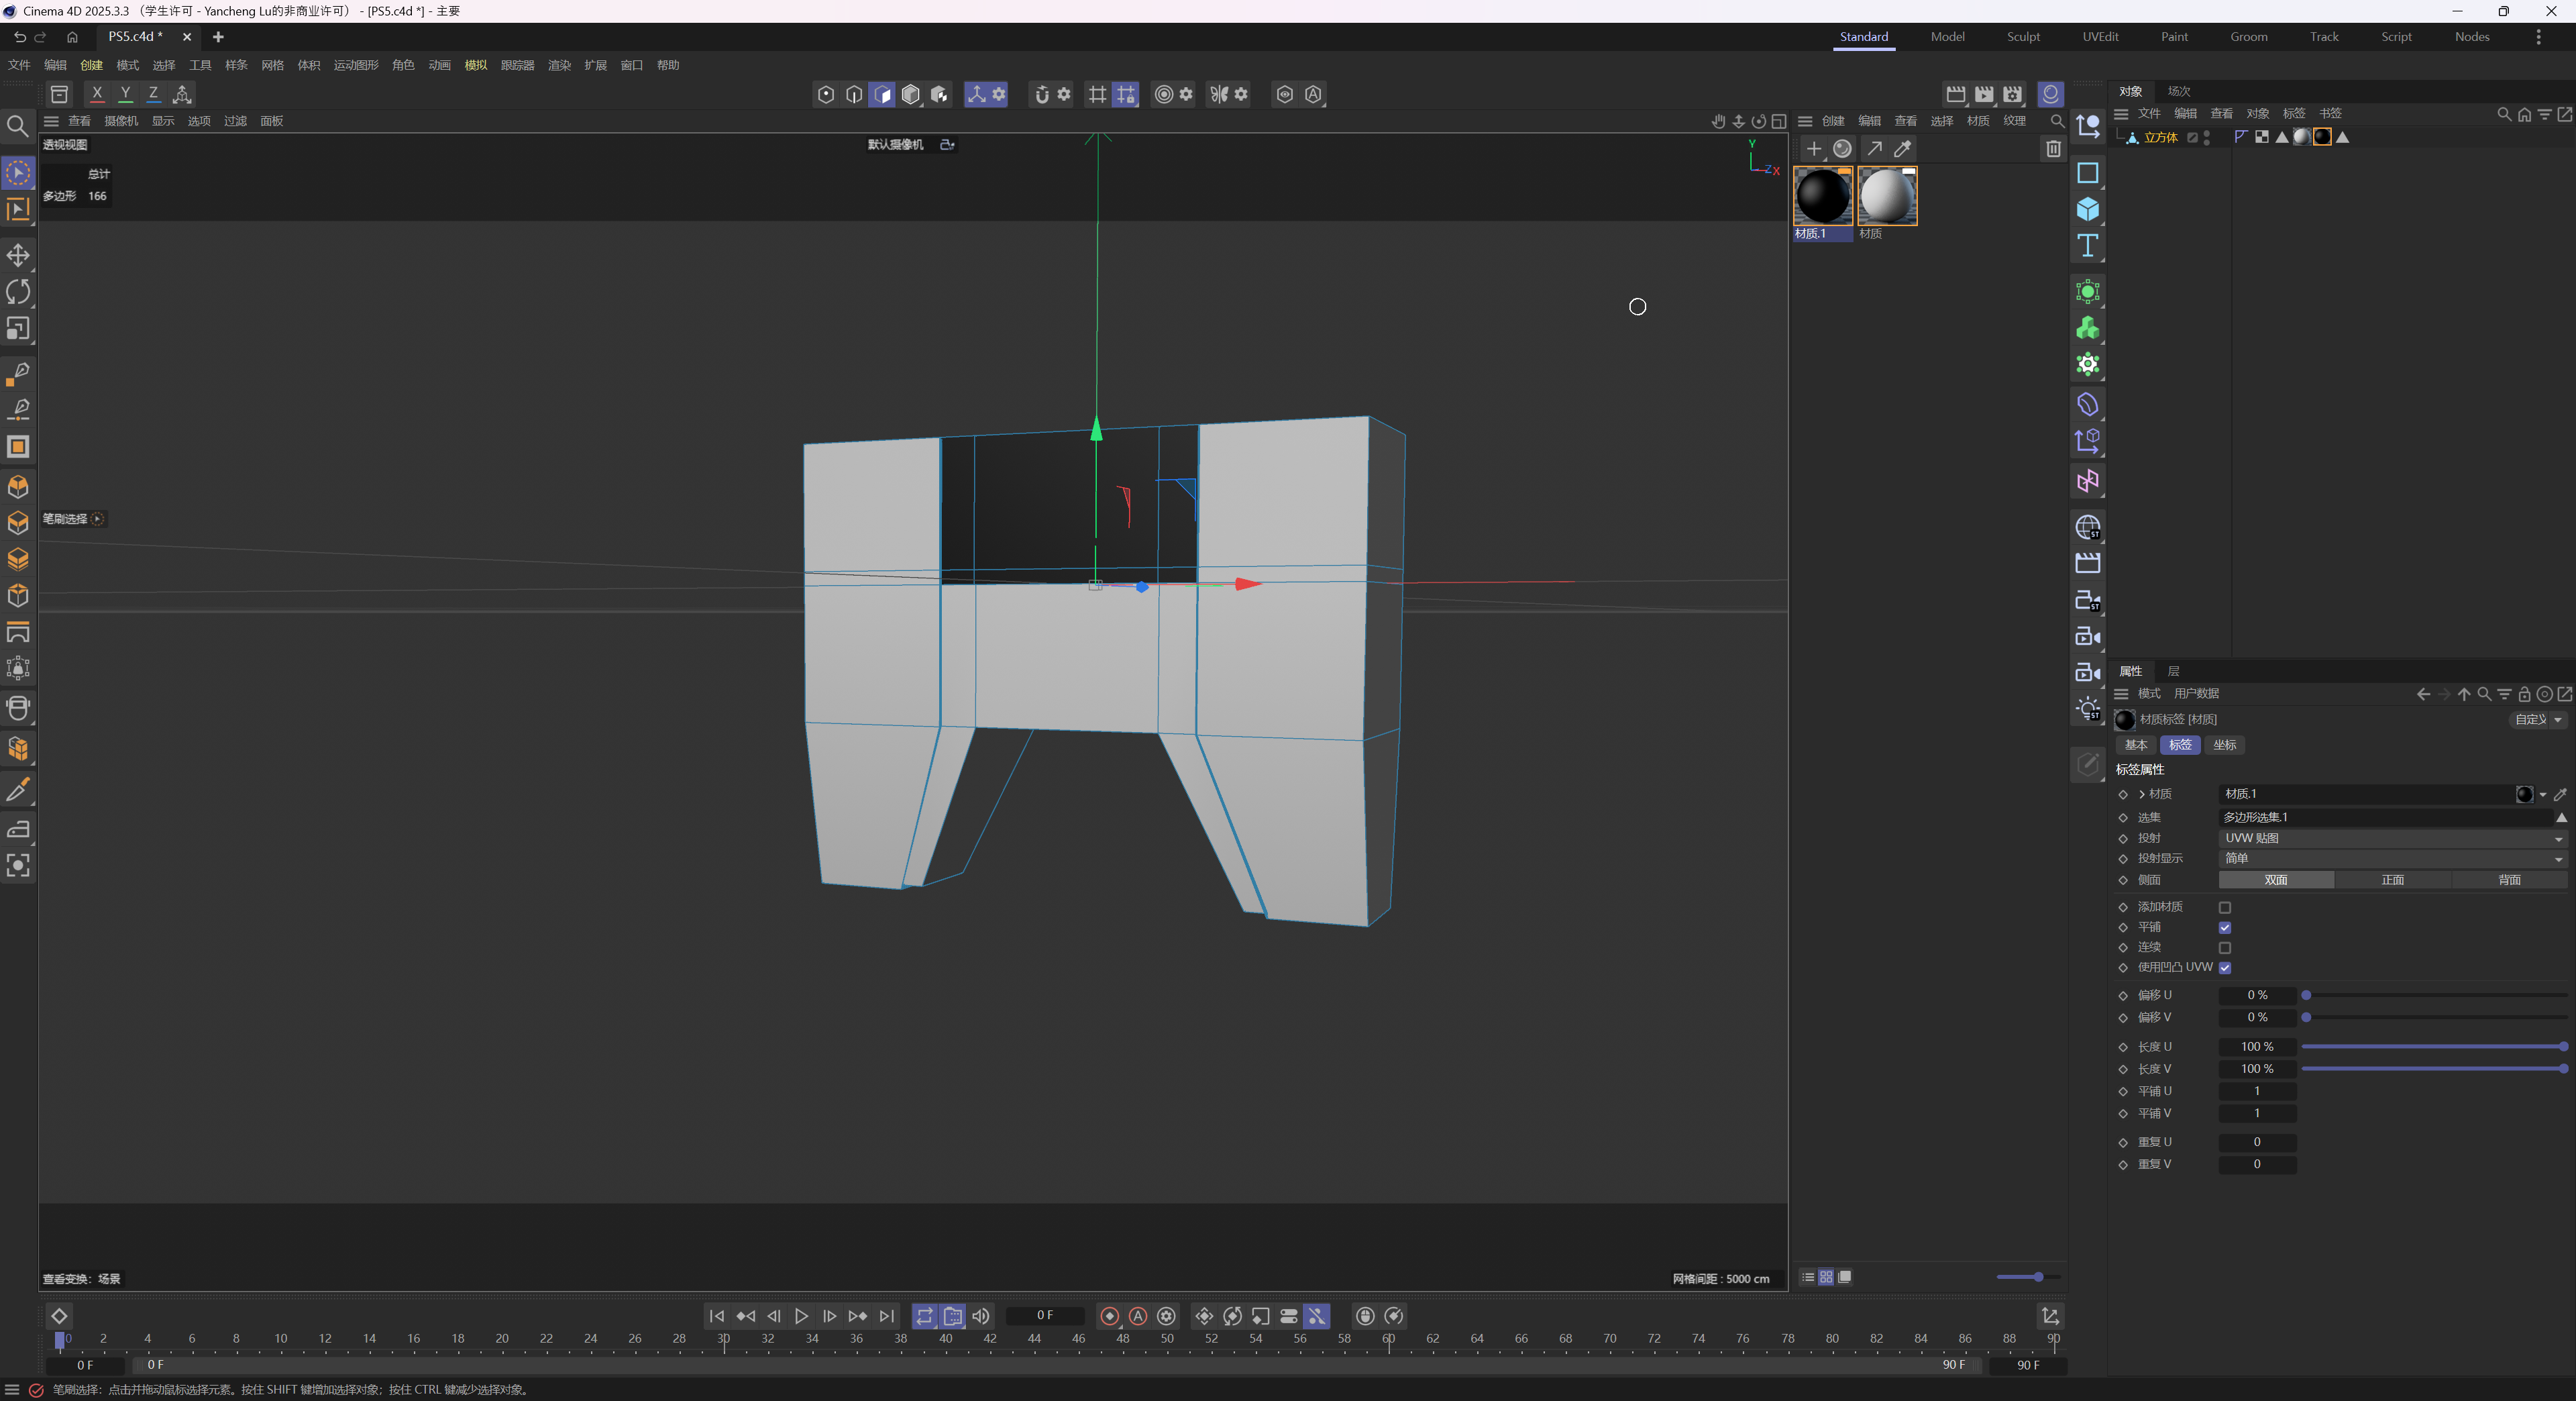
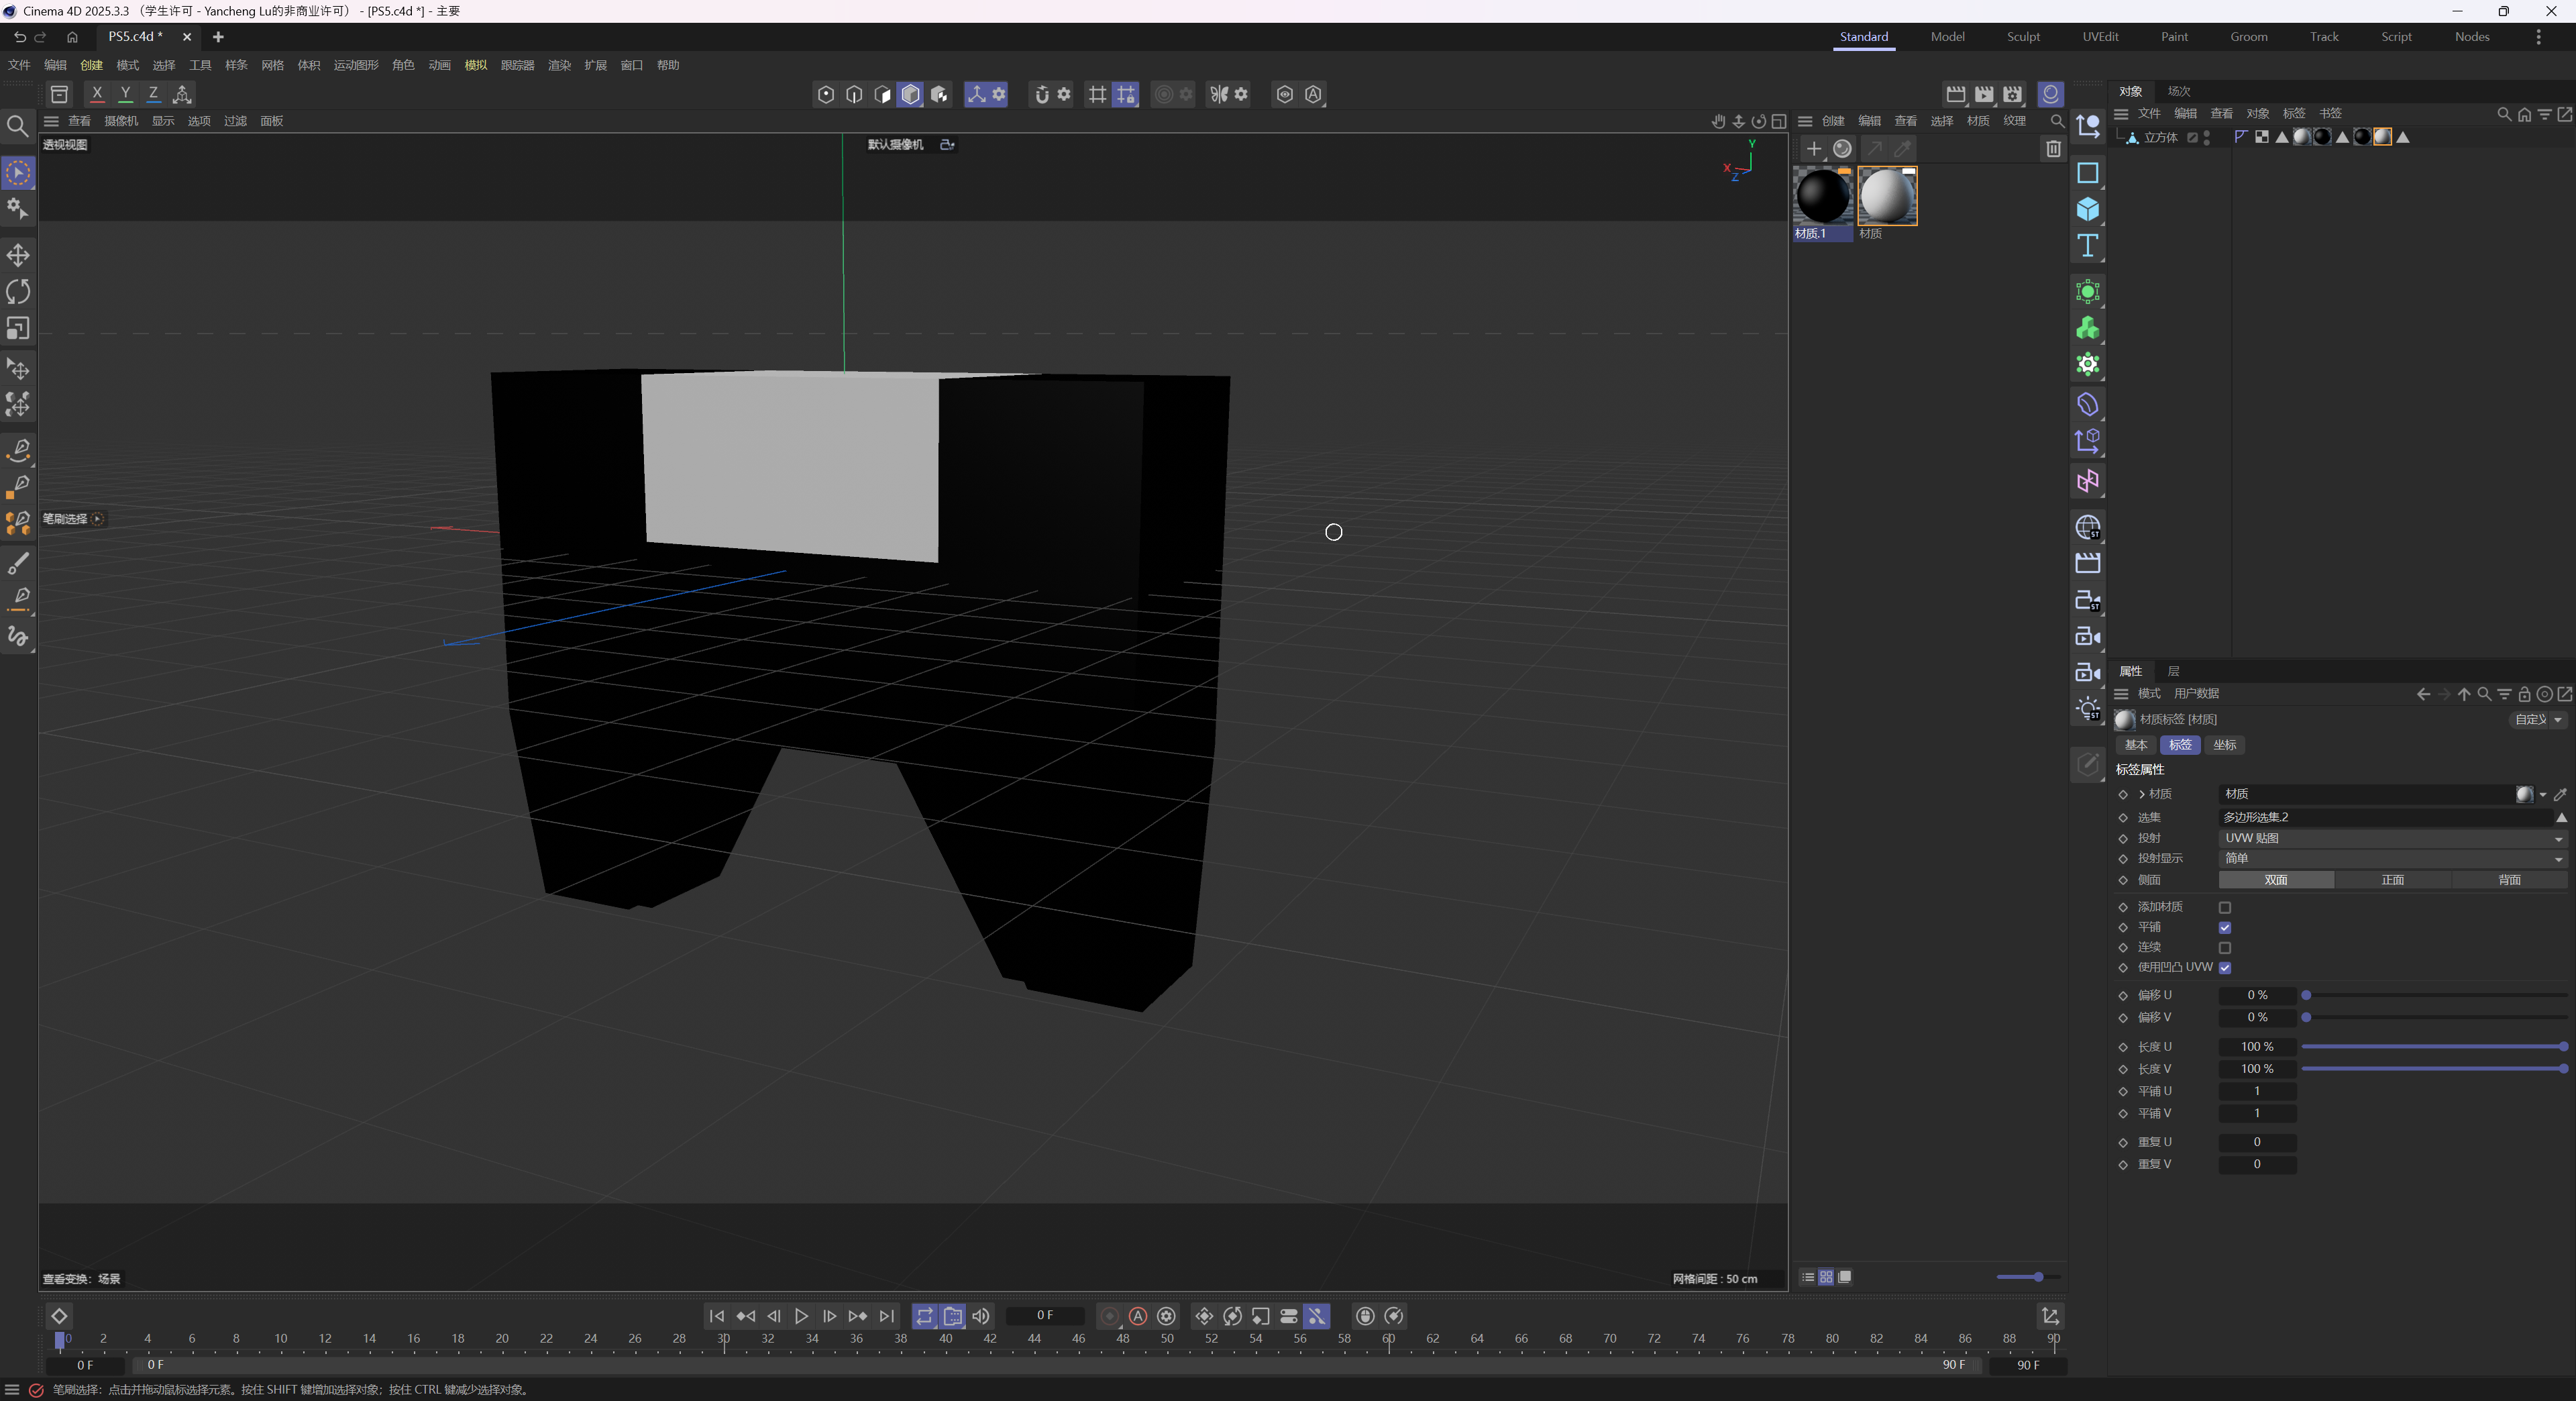
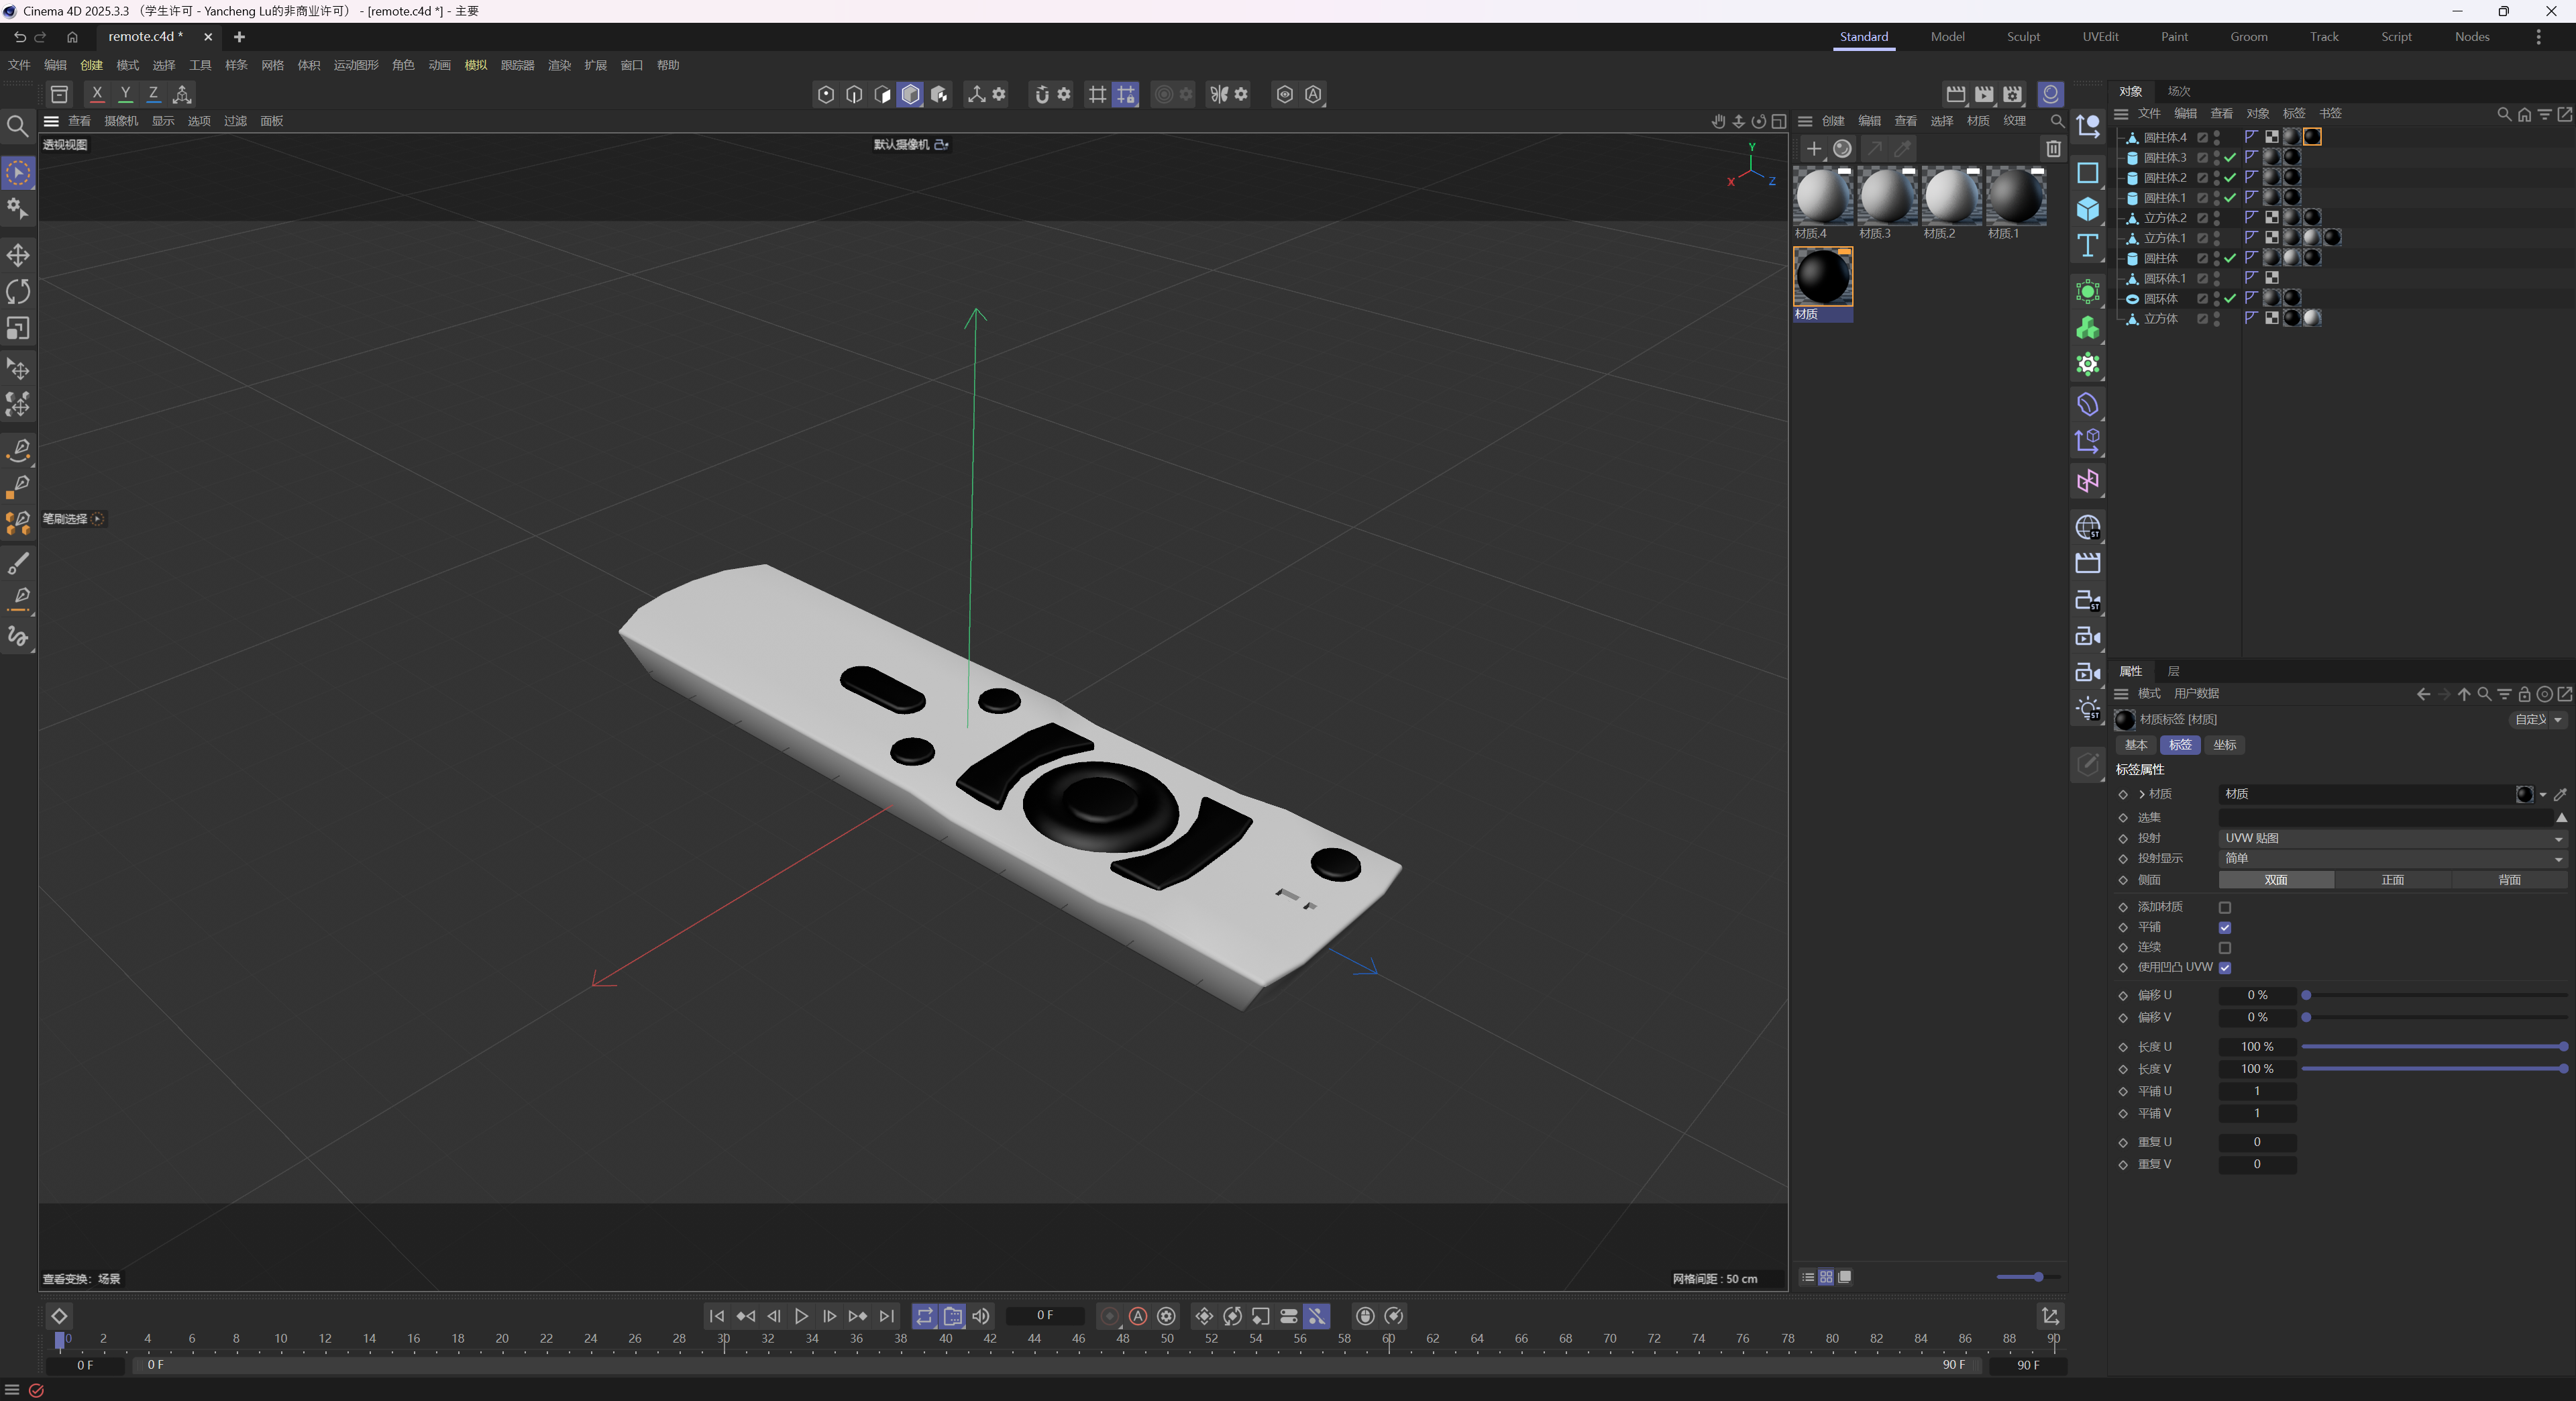
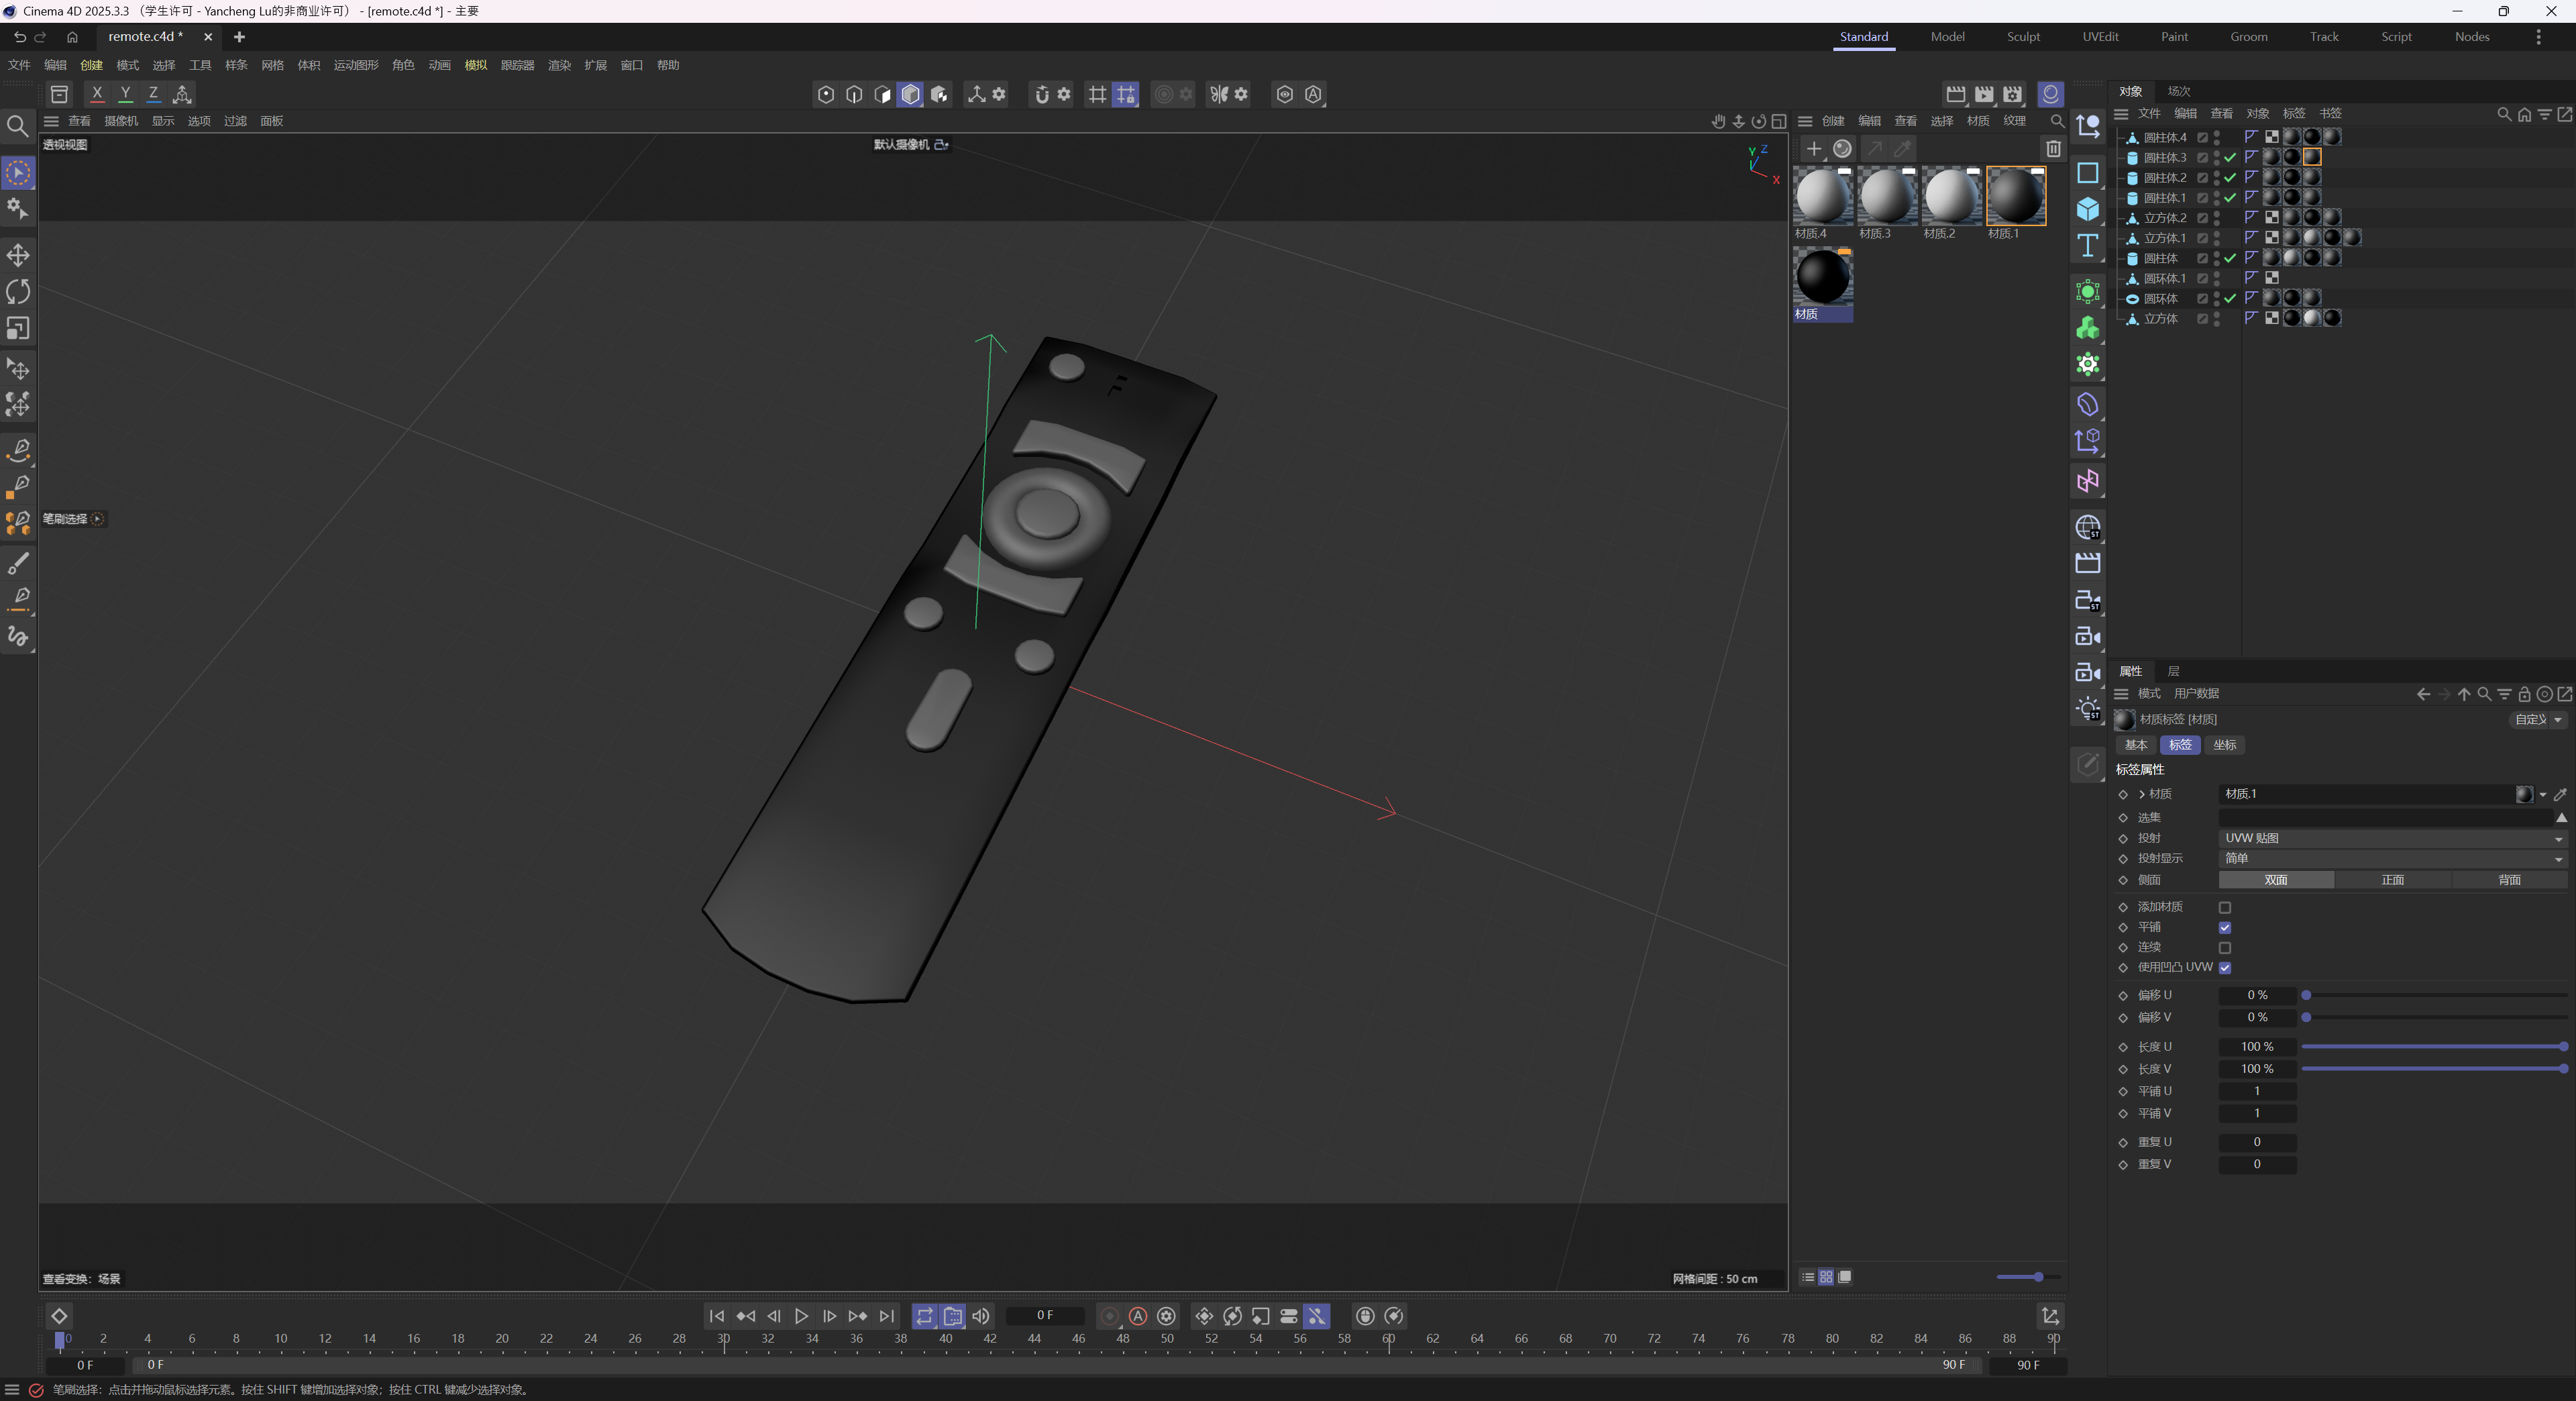
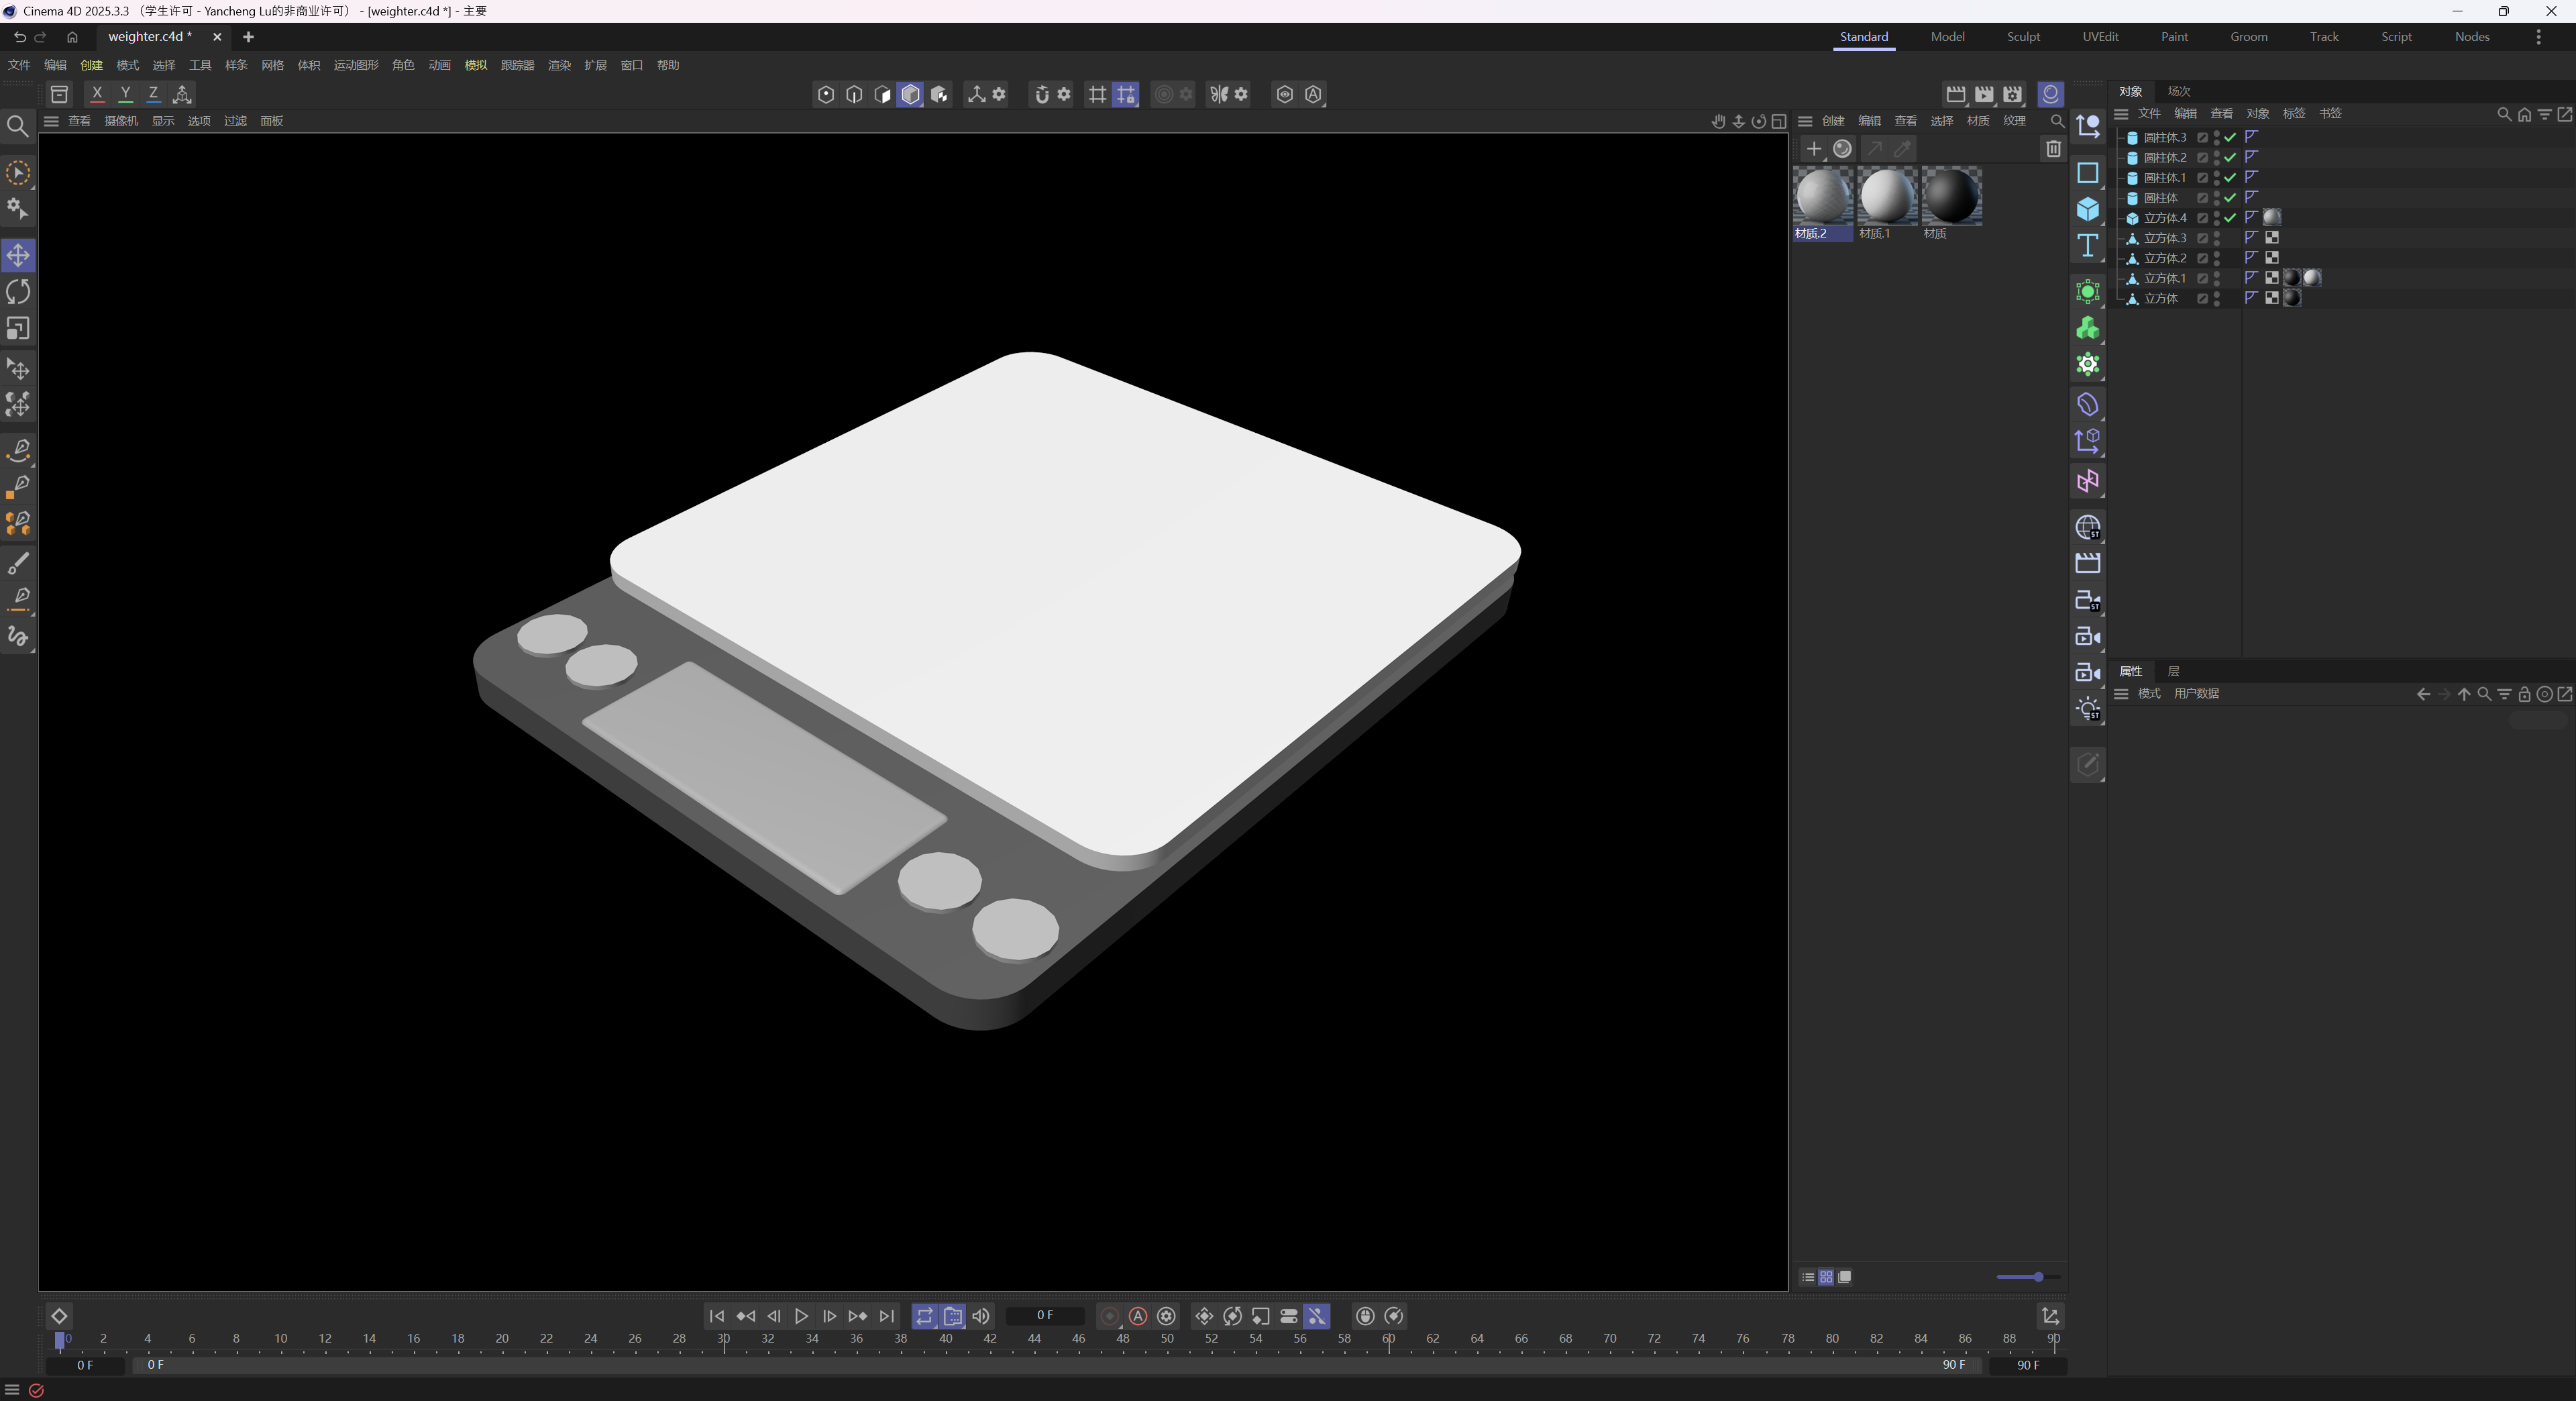
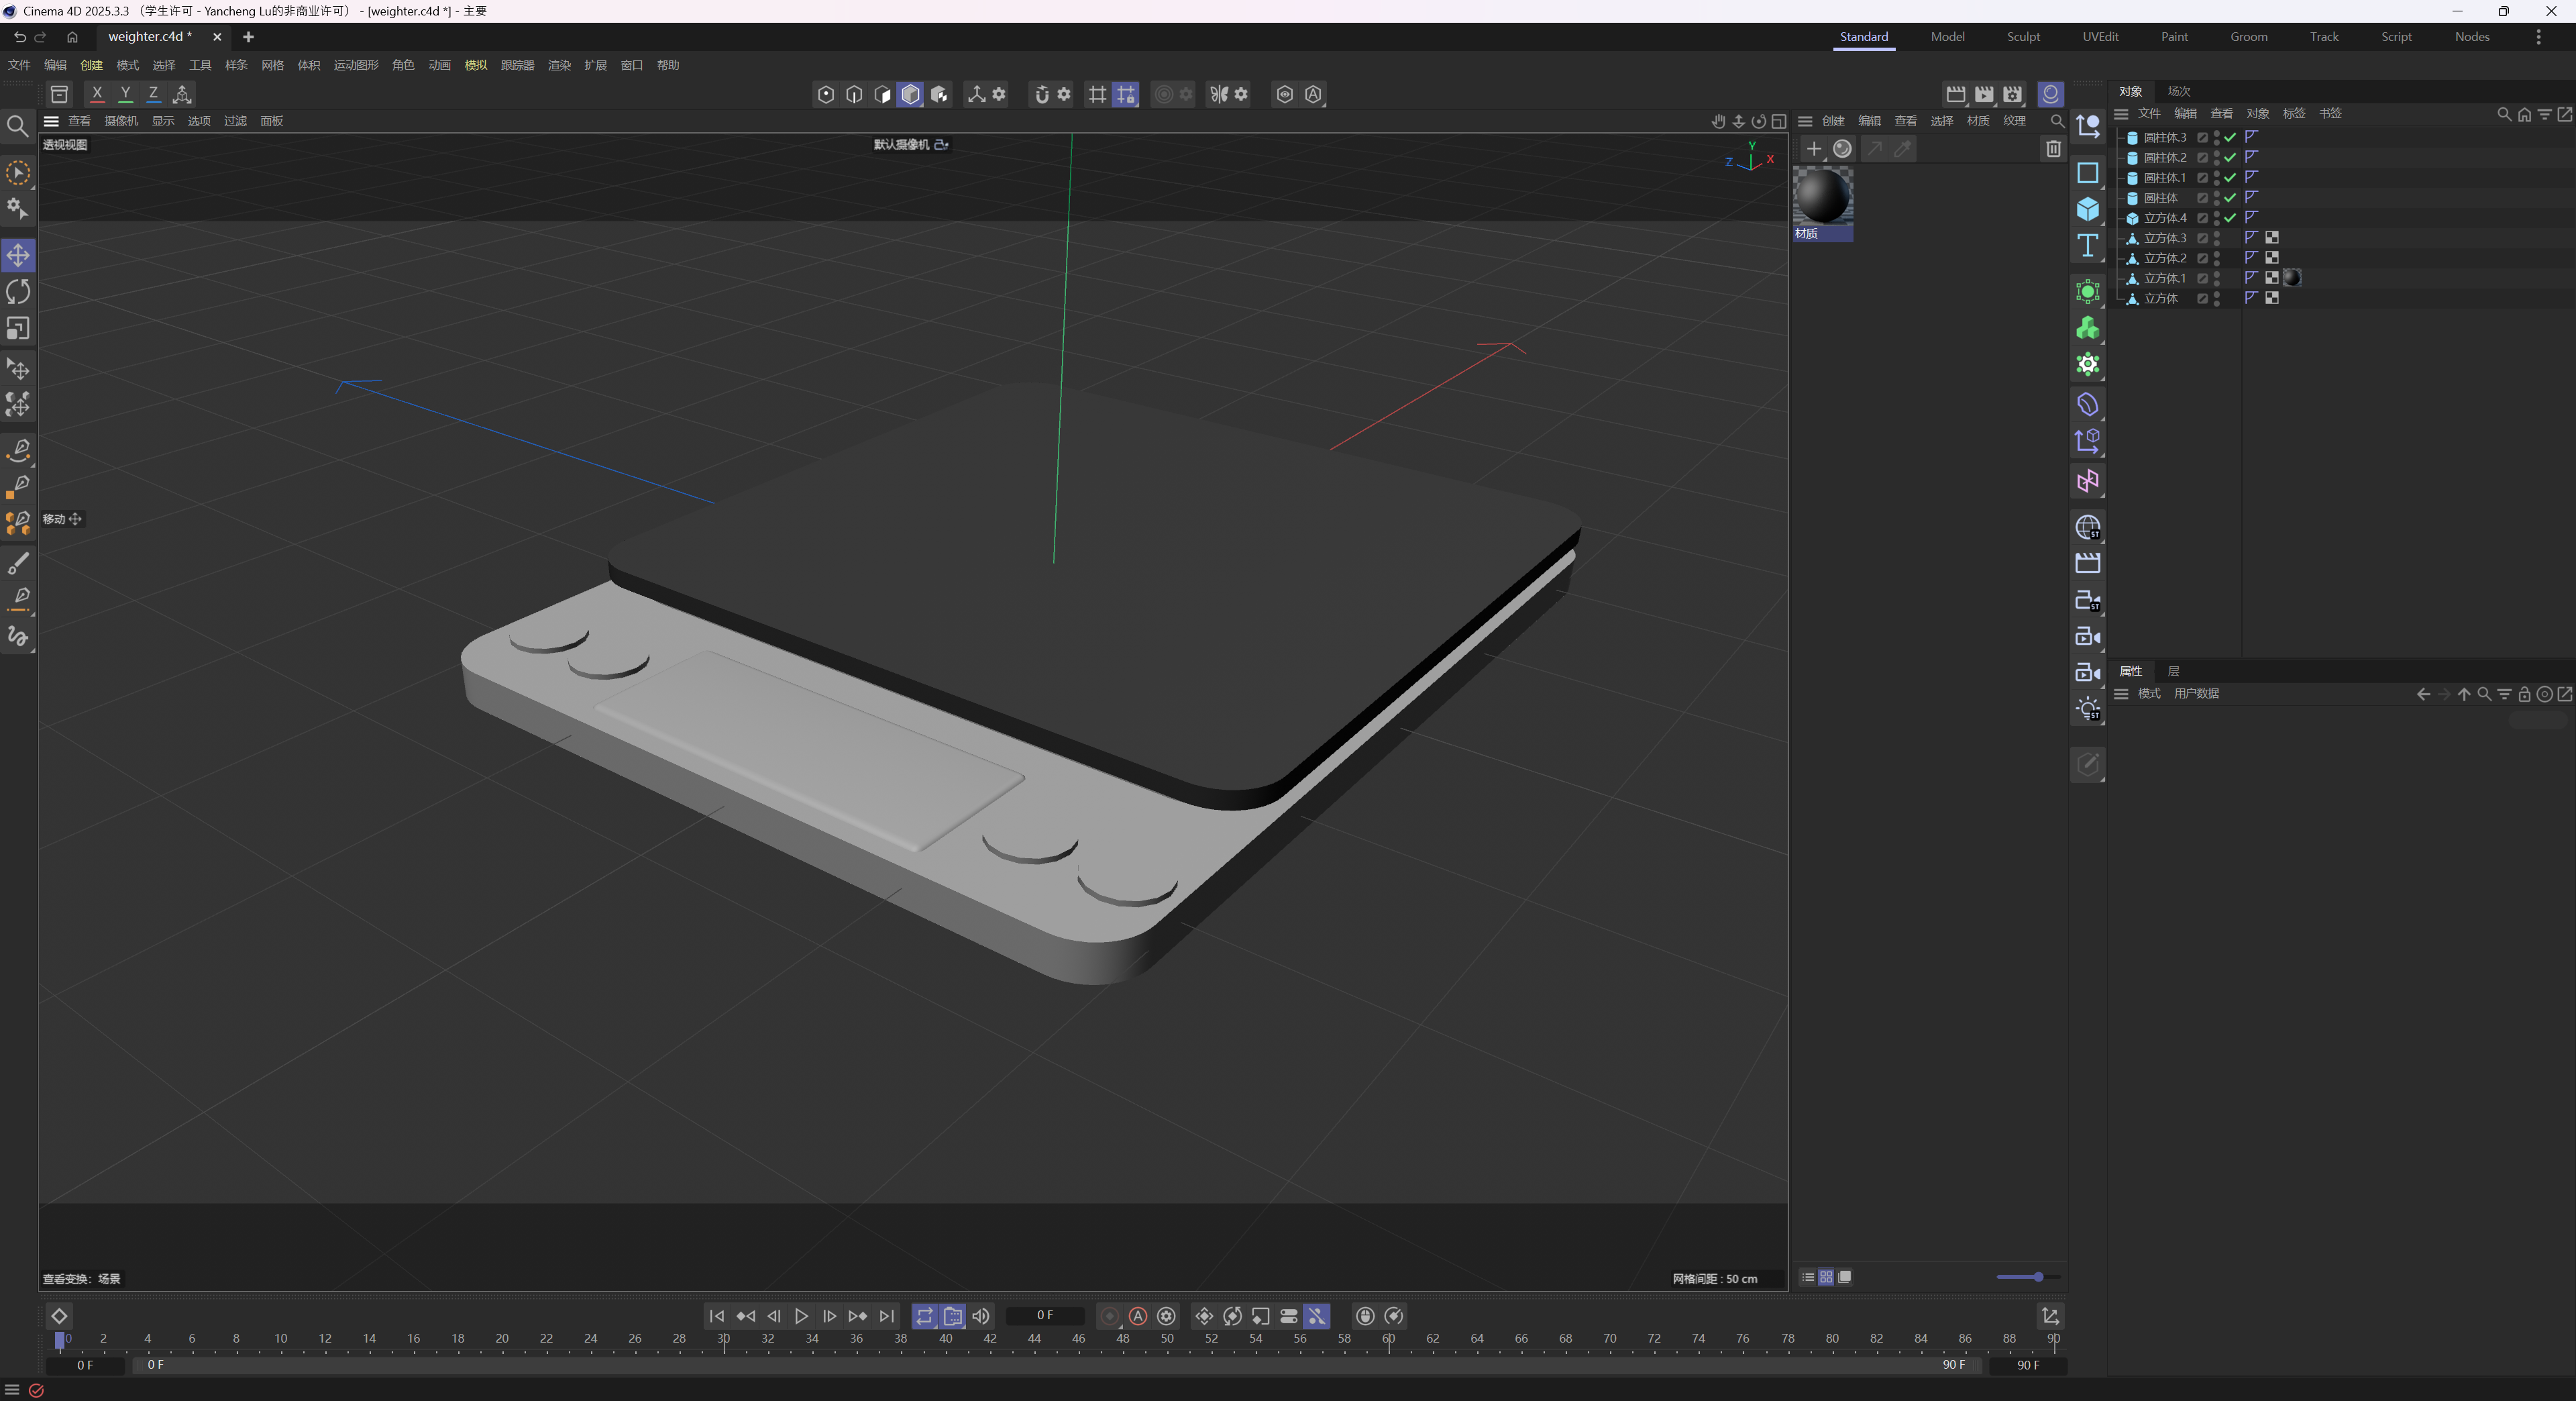
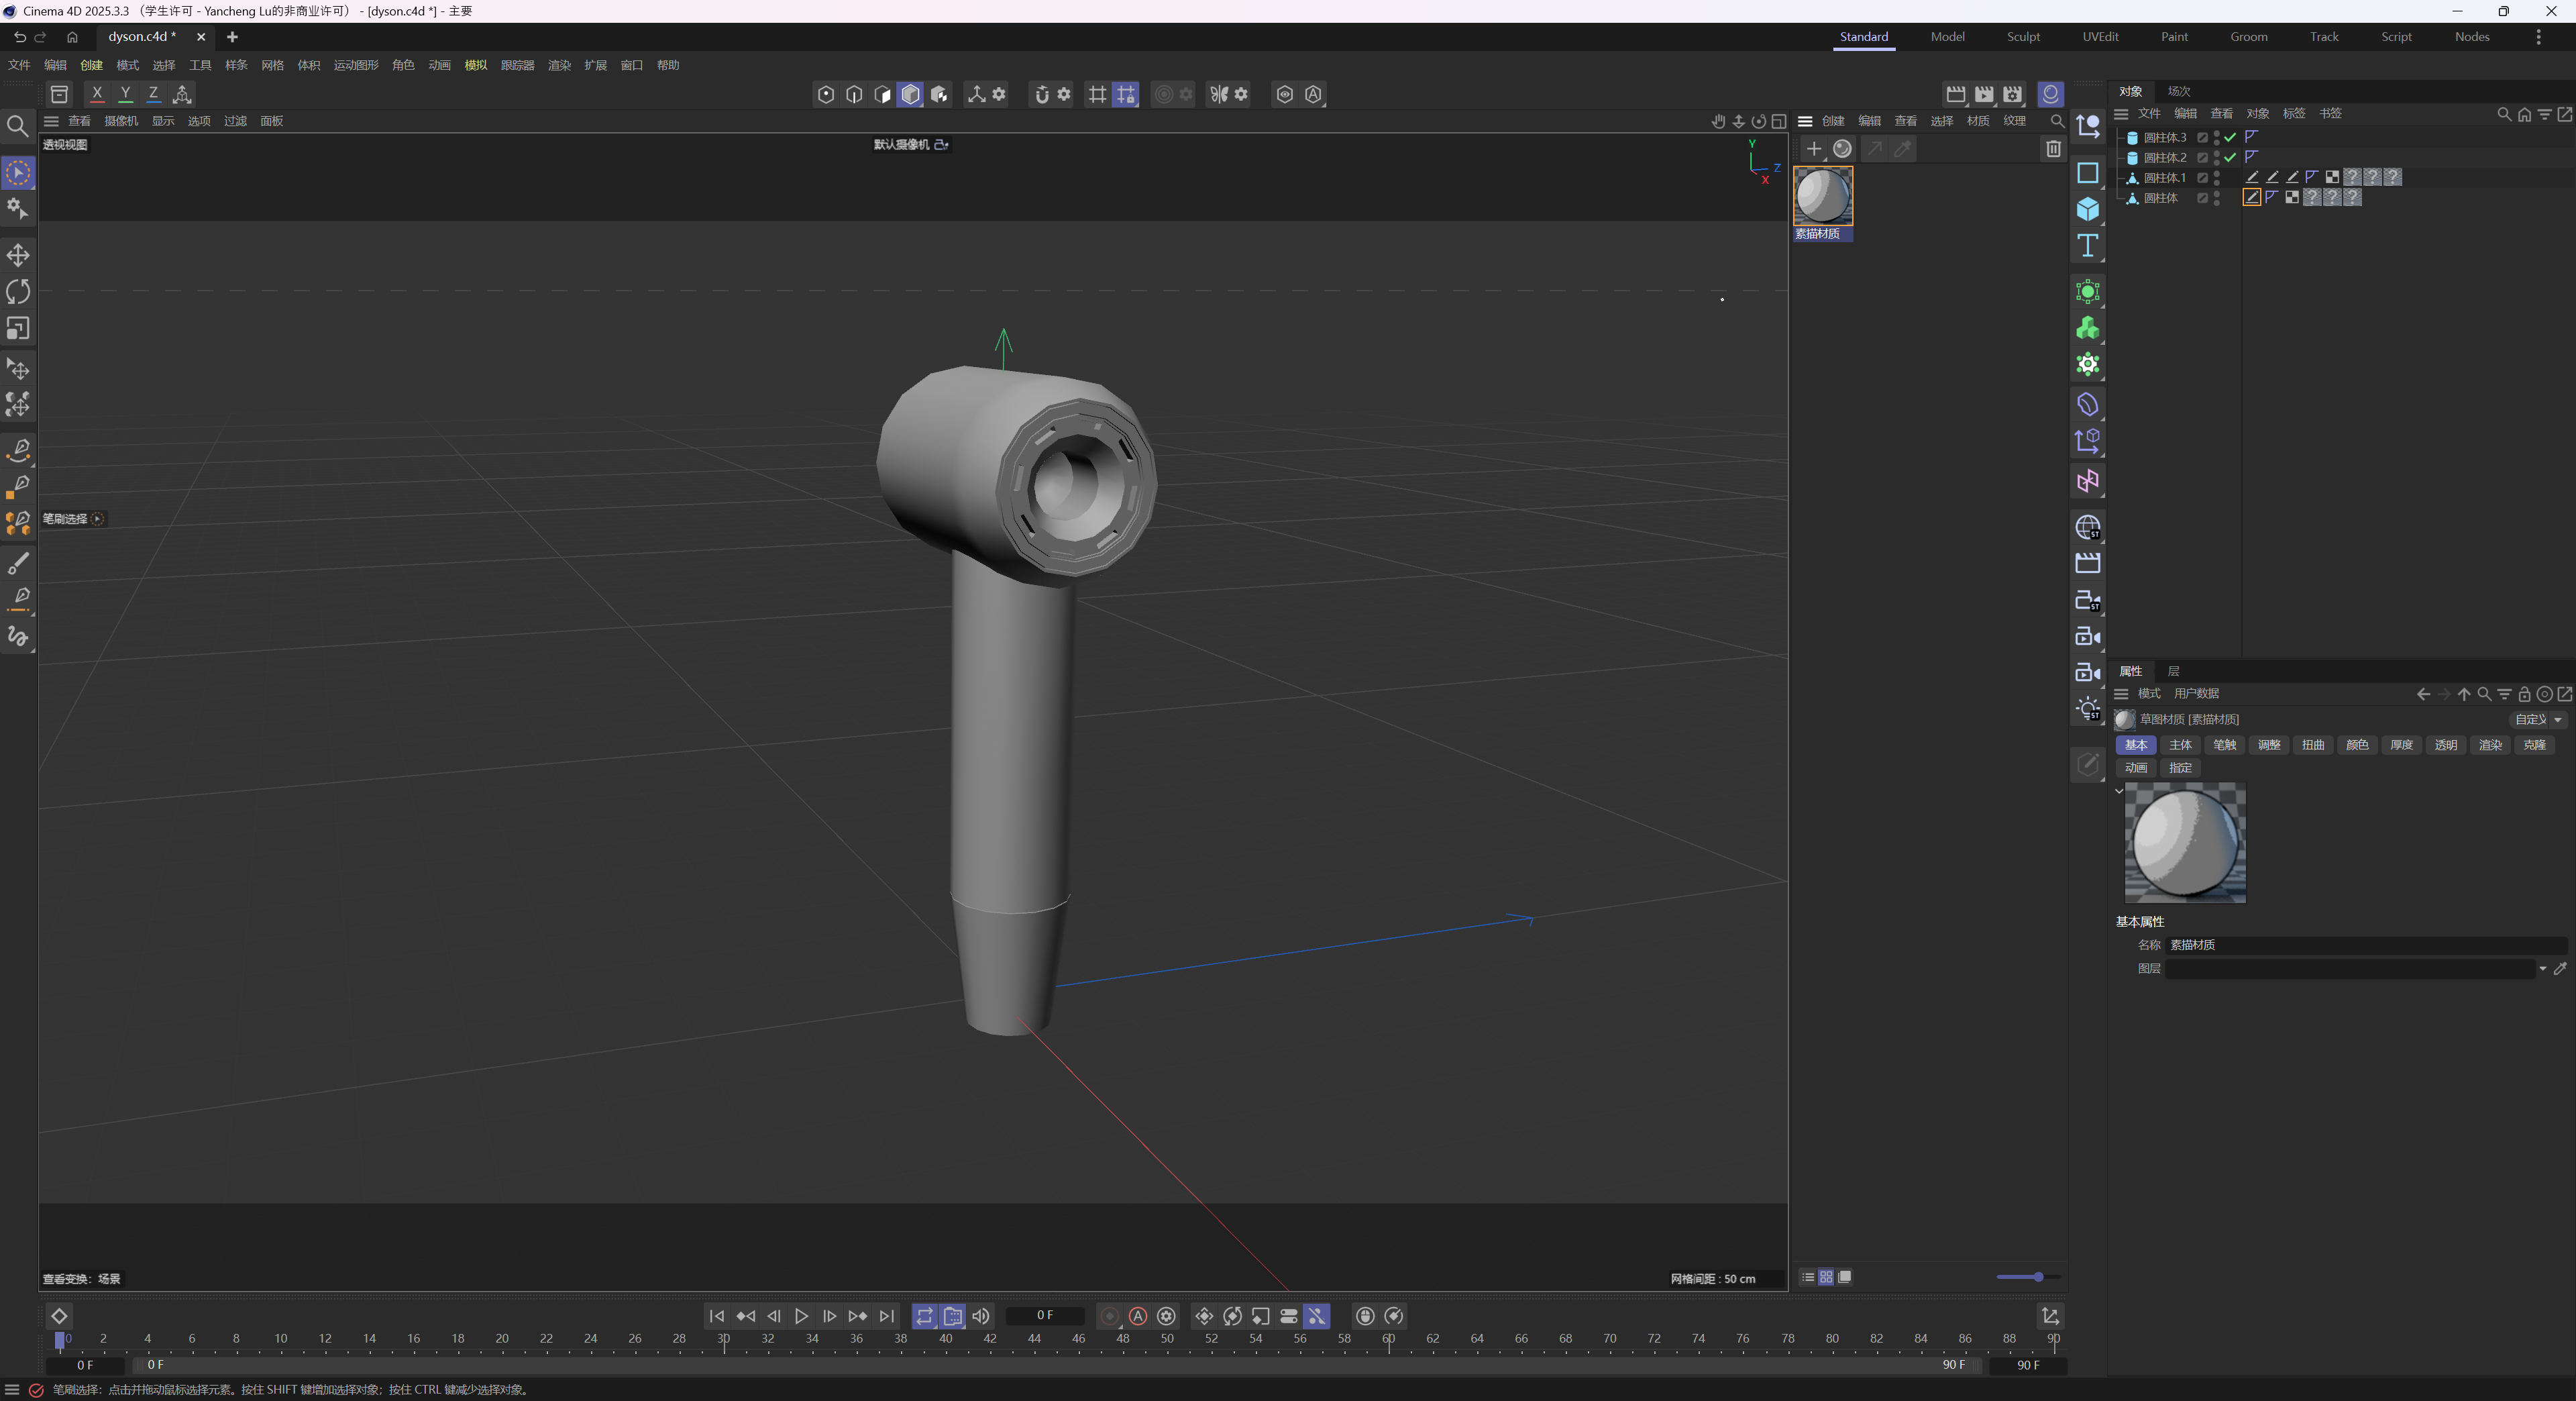
The first picture of PS5 controller The second picture of PS5 controller The third picture of PS5 controller The first process of modeling PS5 controller The second process of modeling PS5 controller The first picture of Vape The second picture of Vape The third picture of Vape The first process of modeling Vape The second process of modeling Vape The first picture of dyson hairdryer The second picture of dyson hairdryer The third picture of dyson hairdryer The first process of modeling dyson hairdryer The second process of modeling dyson hairdryer The first picture of WeightScale The first picture of WeightScale The third picture of WeightScale The first process of modeling WeightScale The second process of modeling WeightScale The first picture of Remote The first picture of Remote The third picture of Remote The first process of modeling Remote The second process of modeling Remote

Design Challenge 2
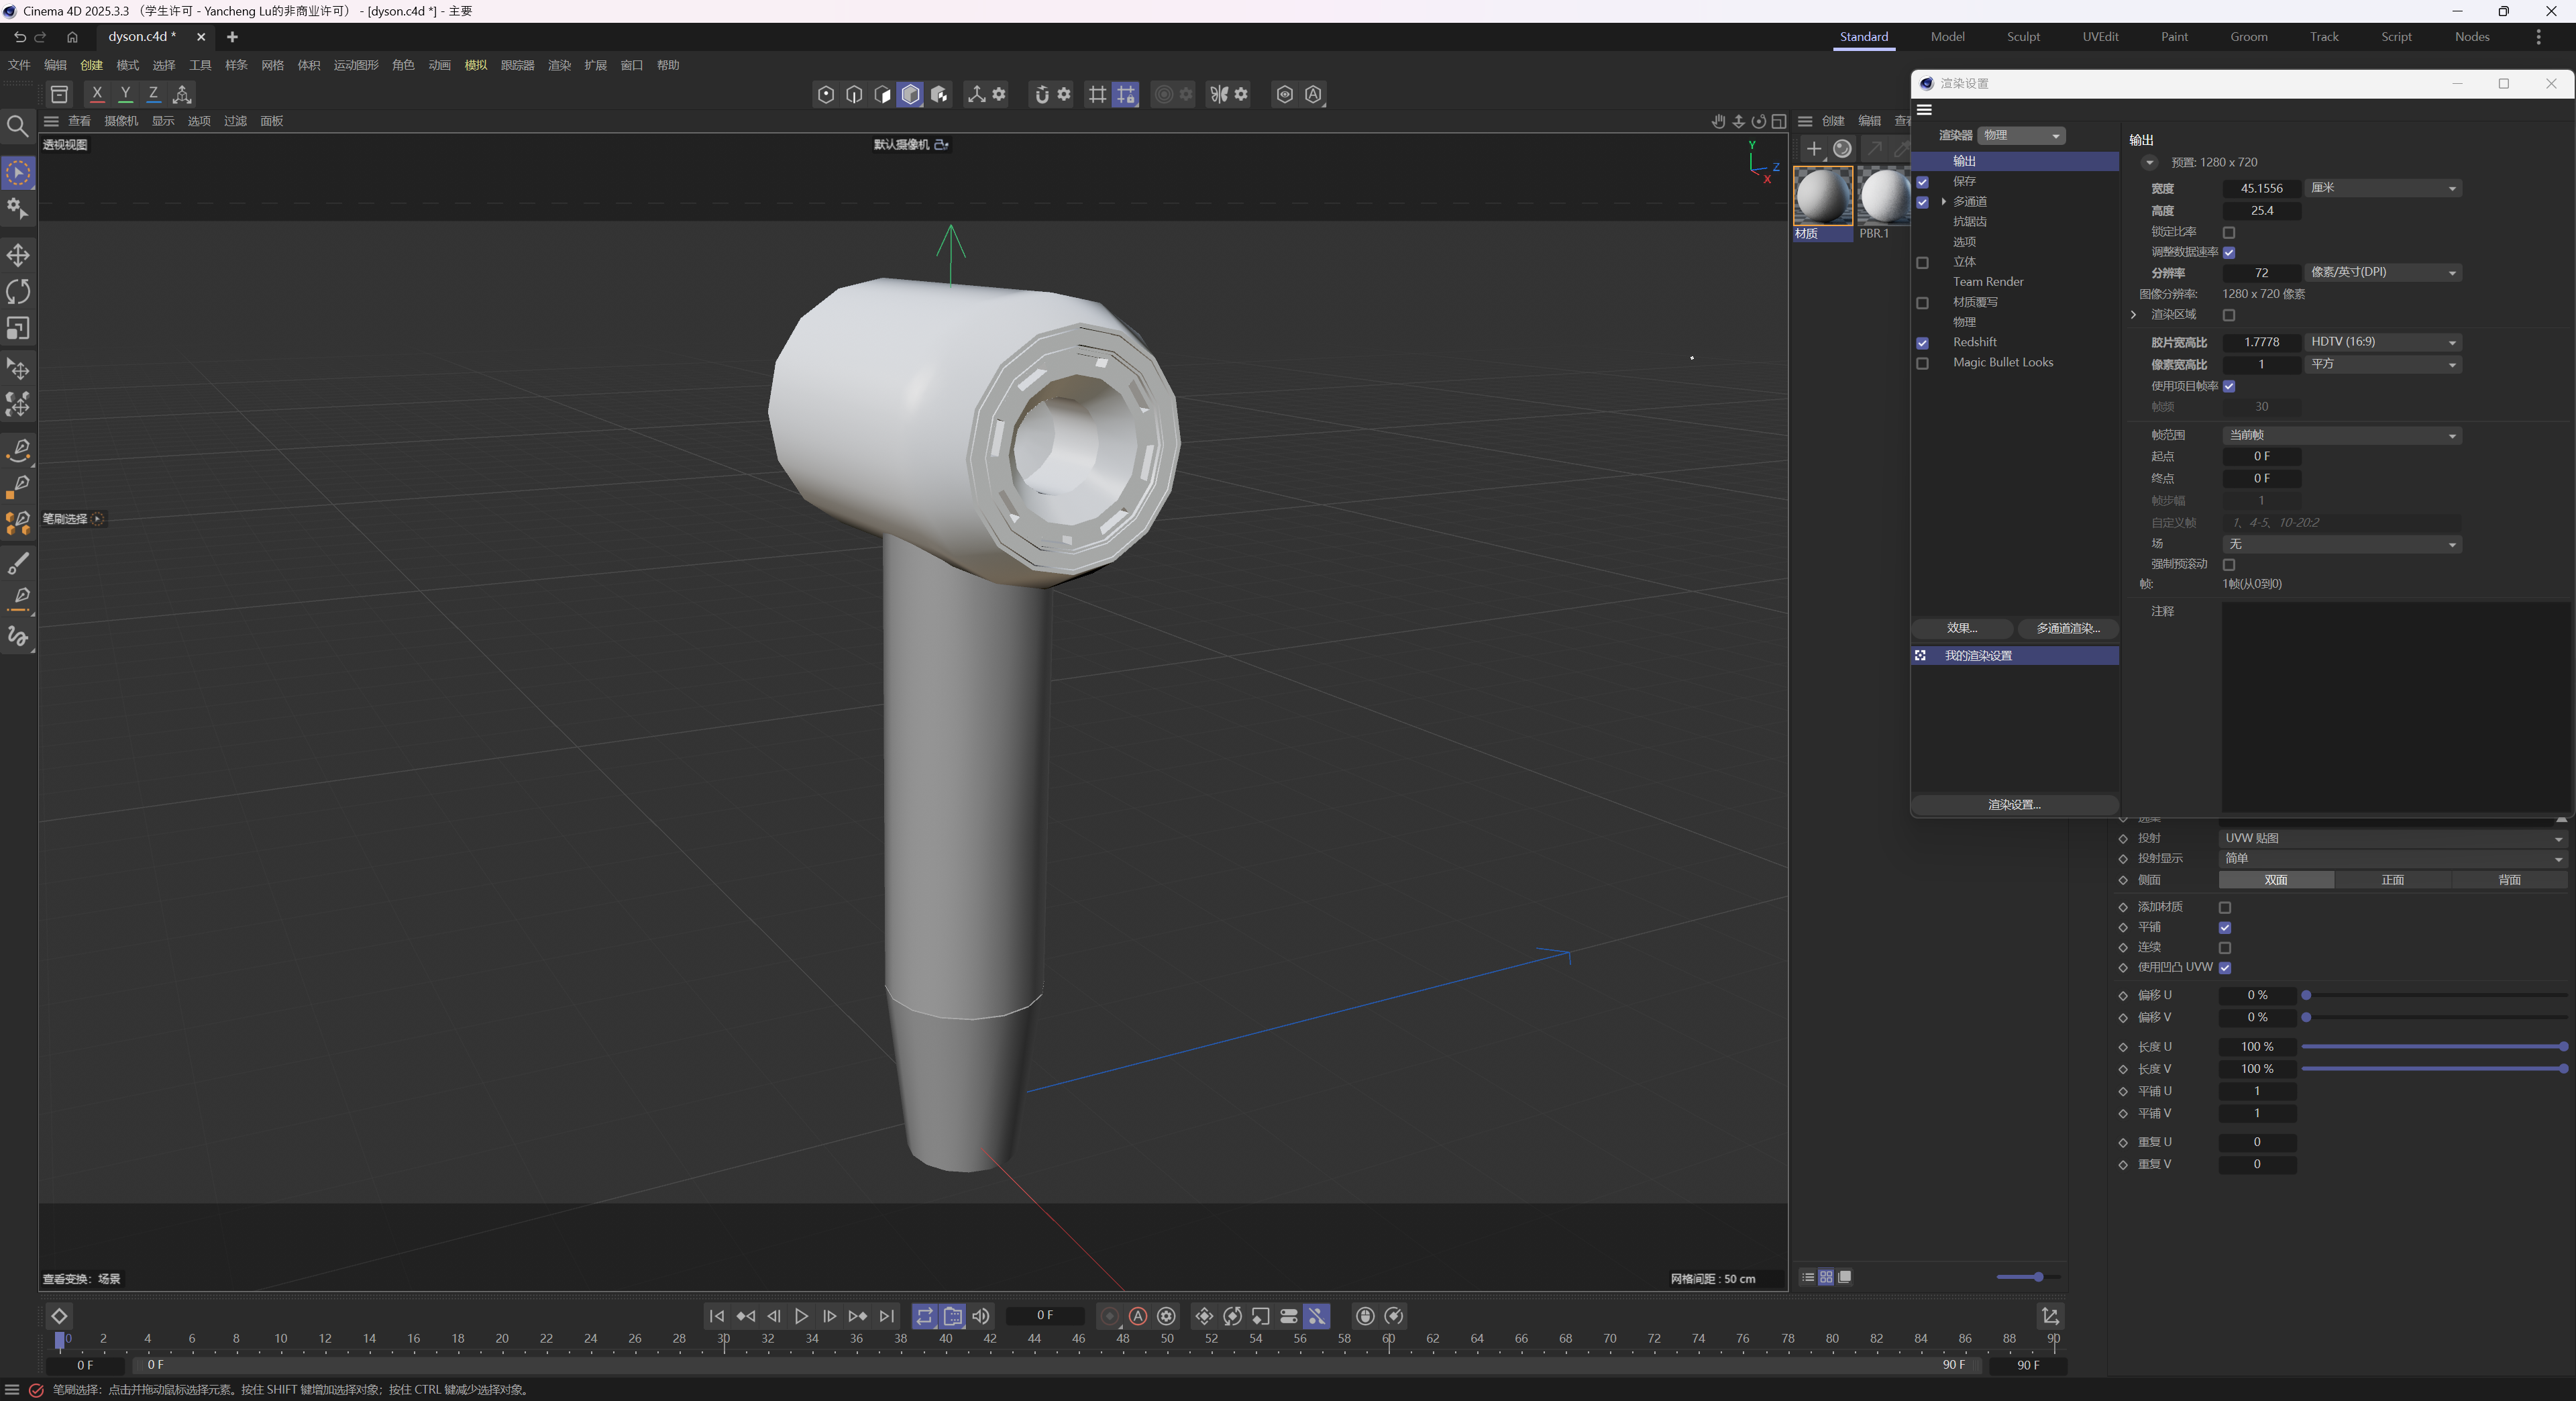
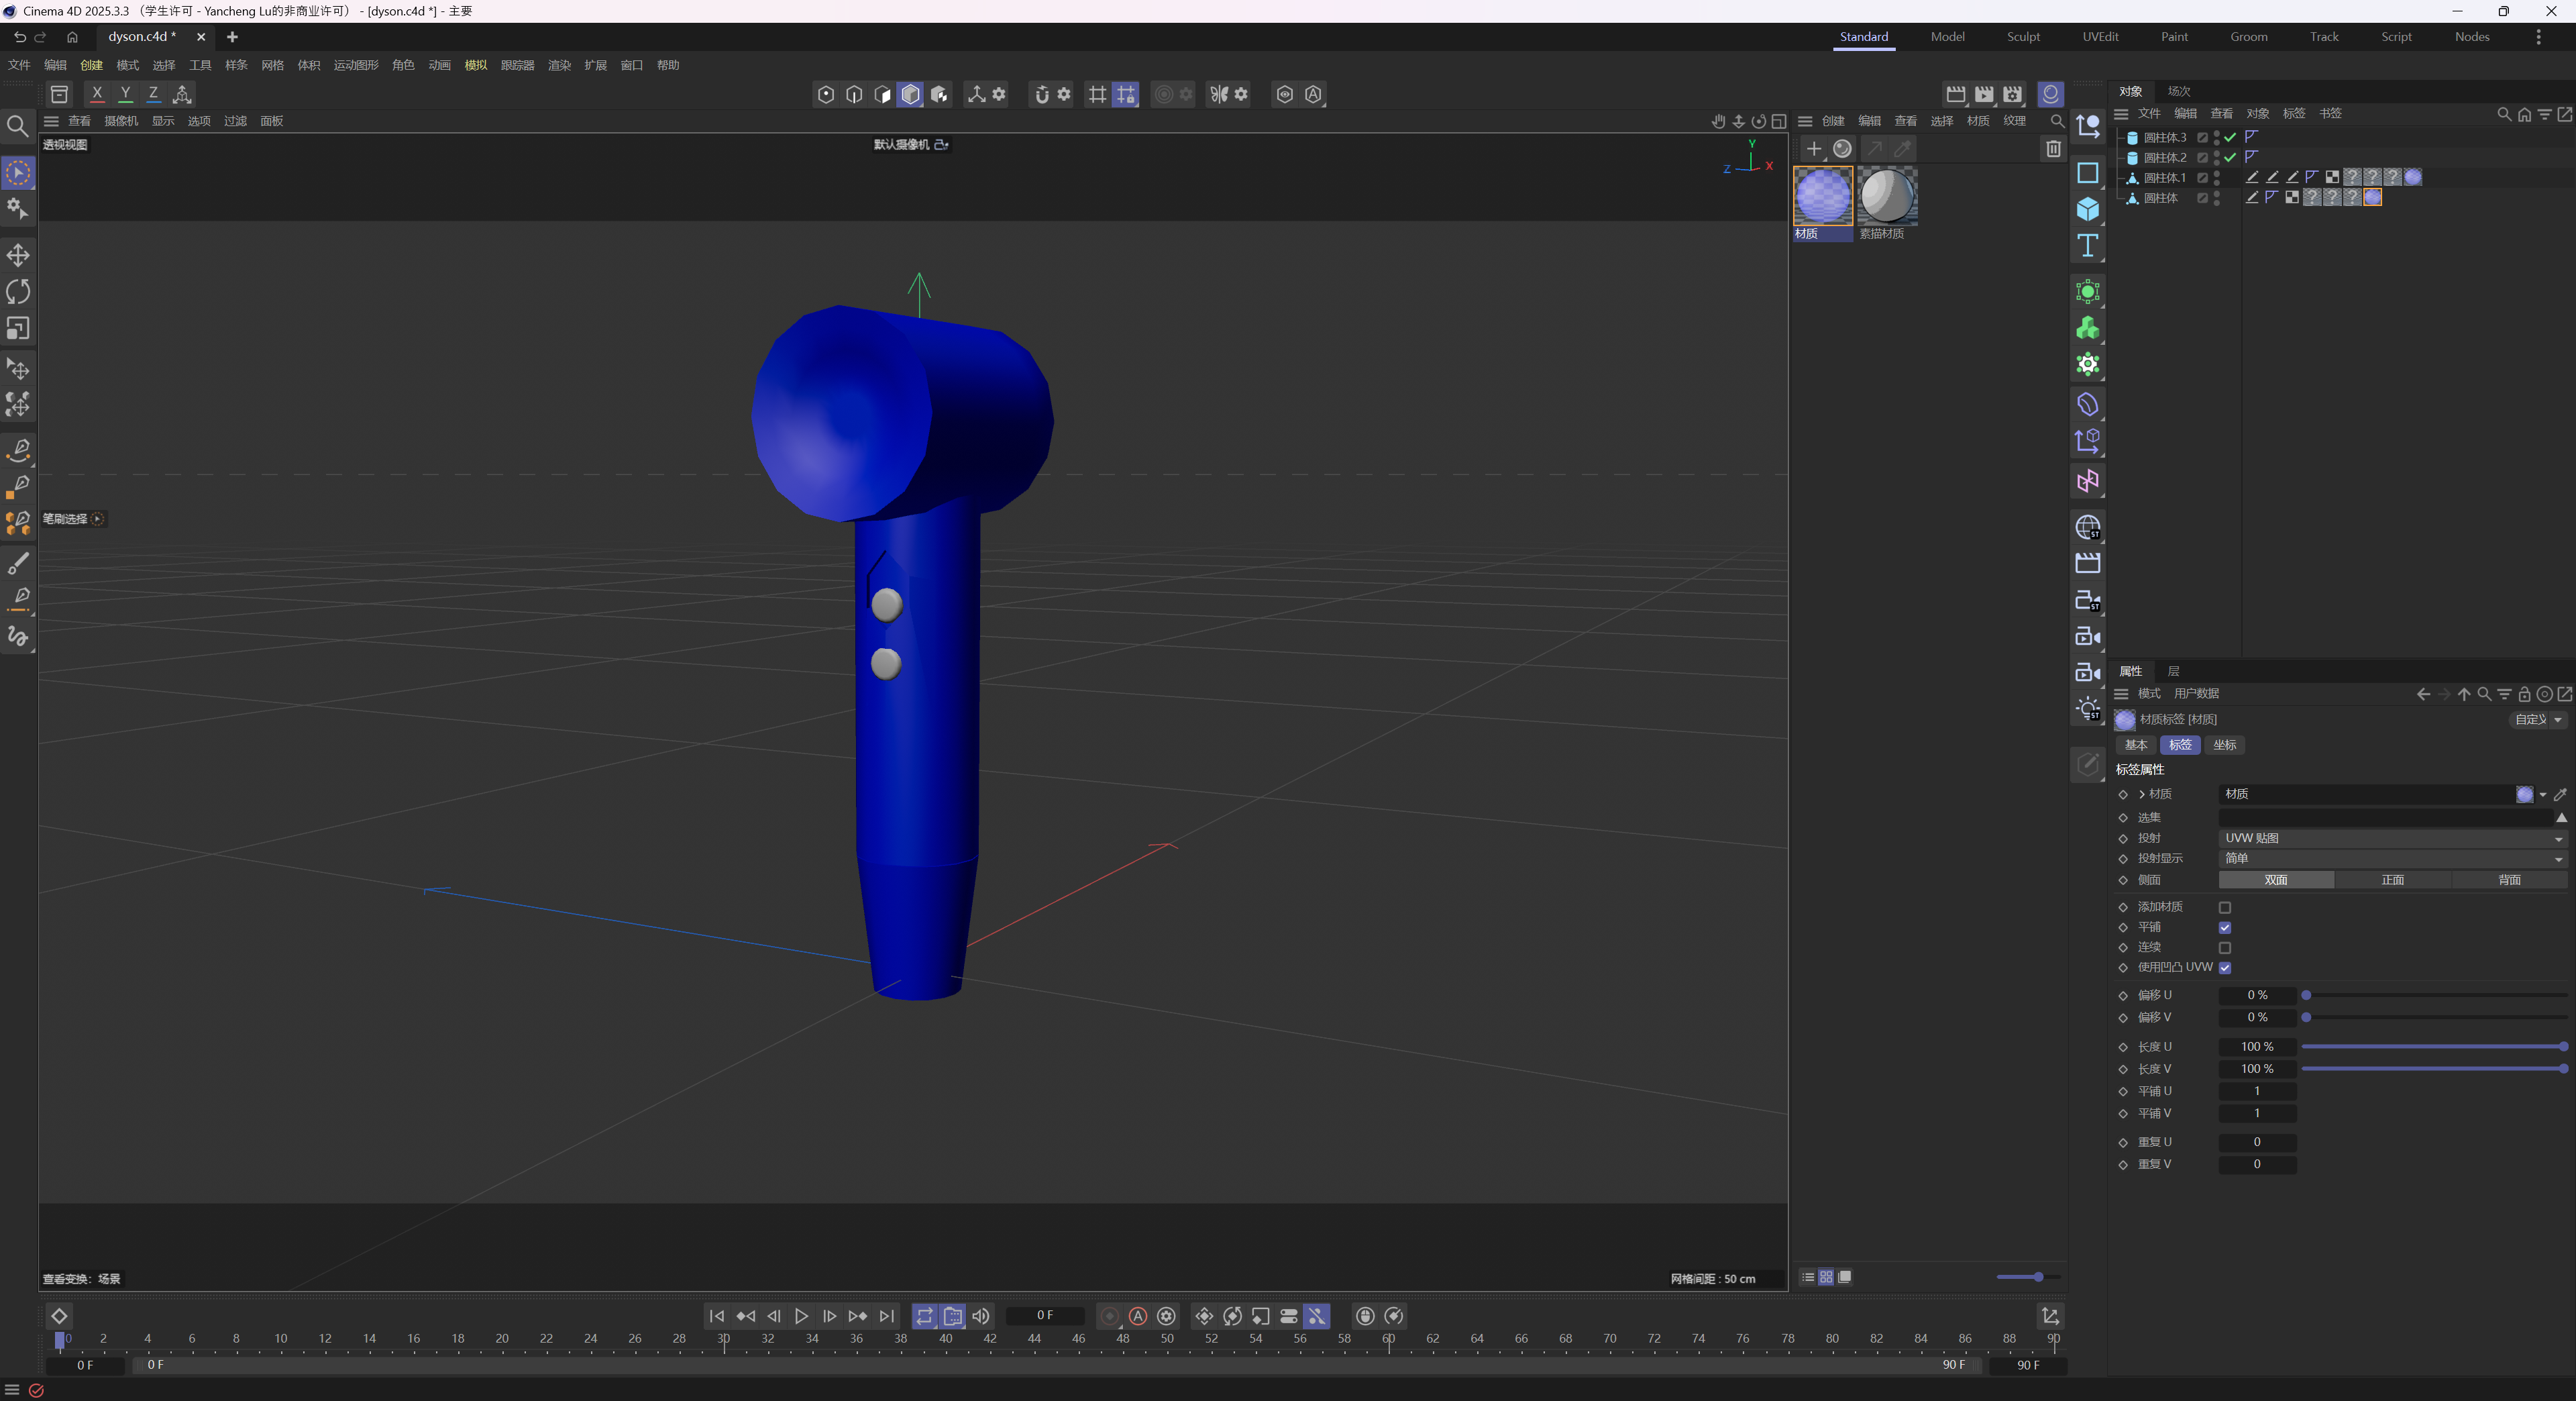
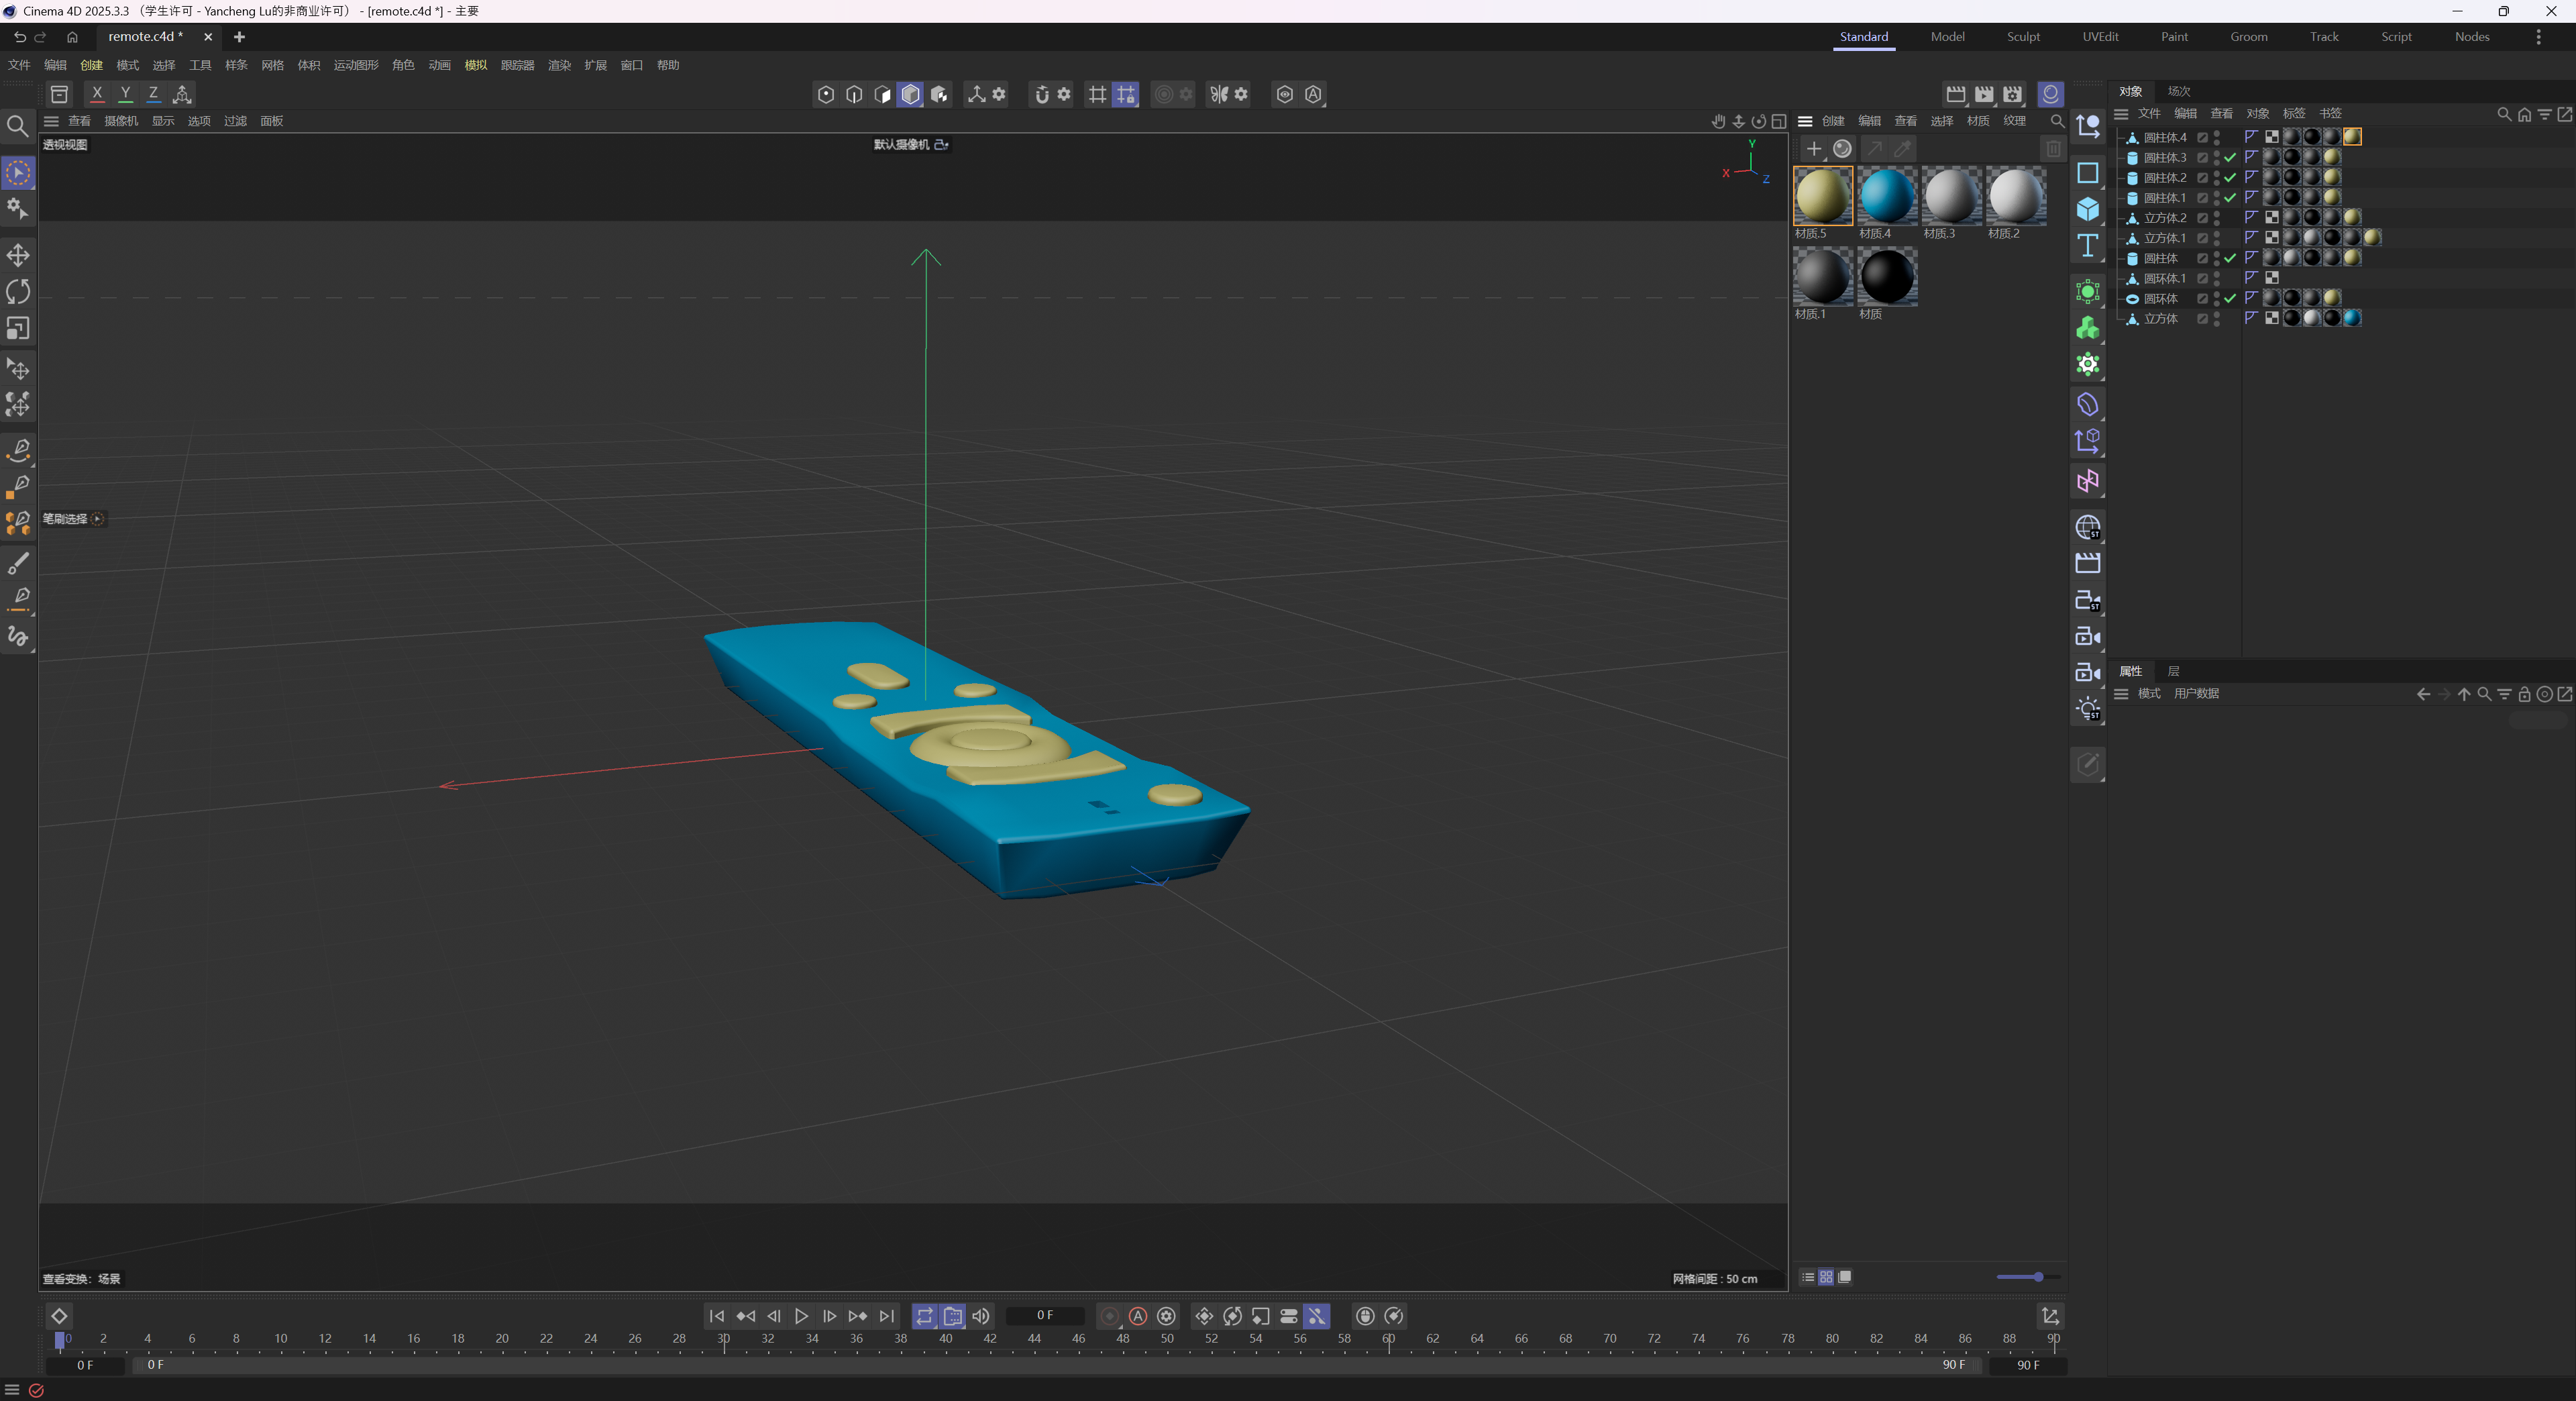
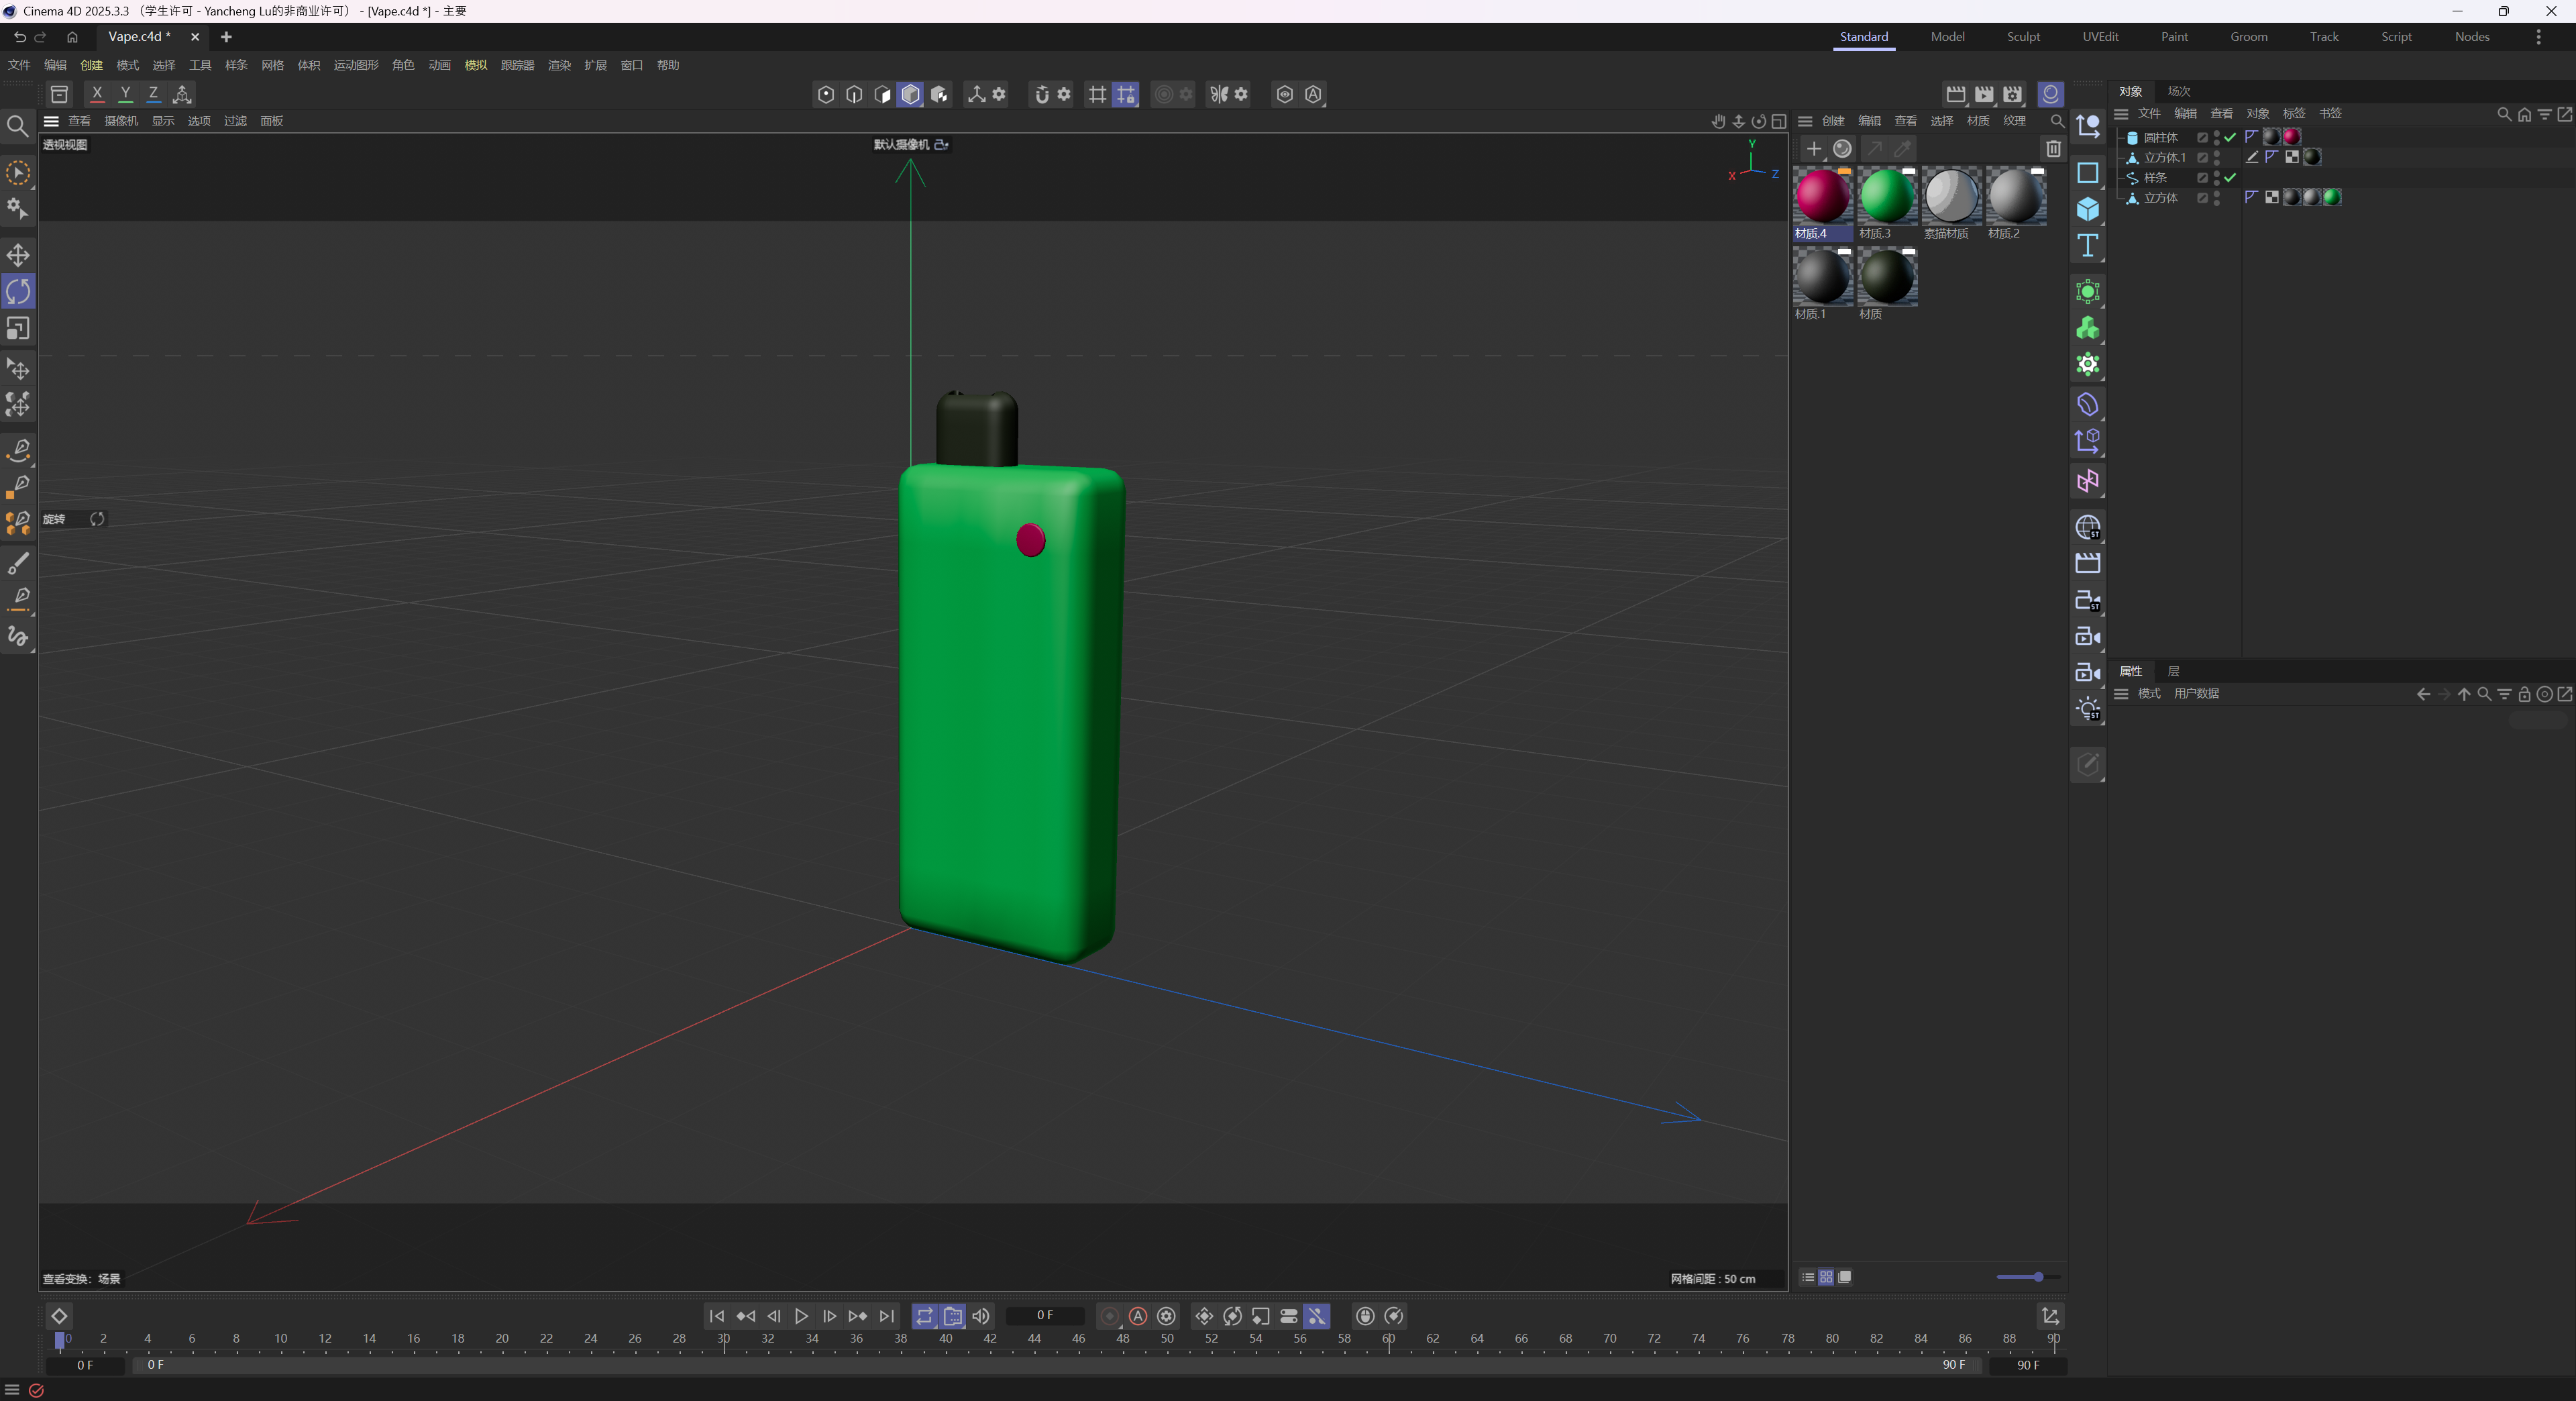
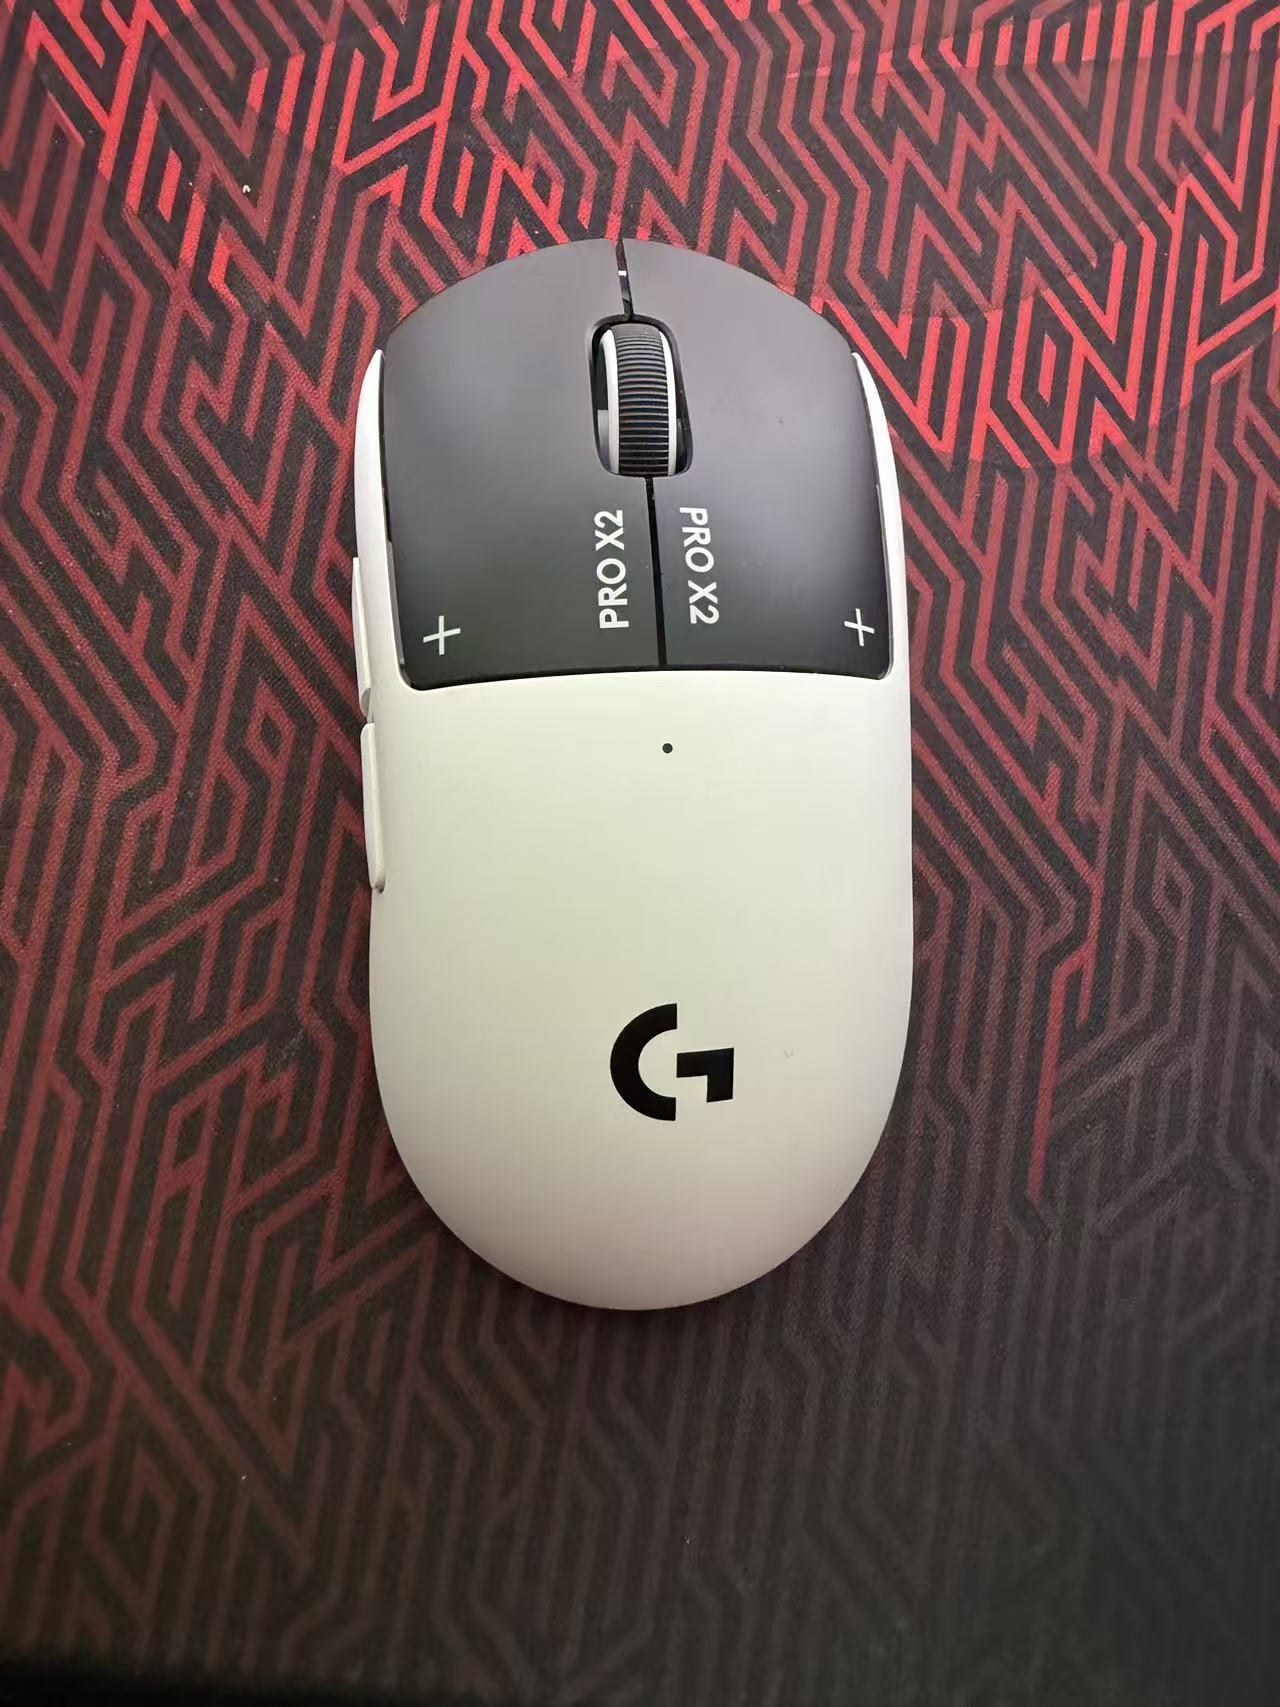
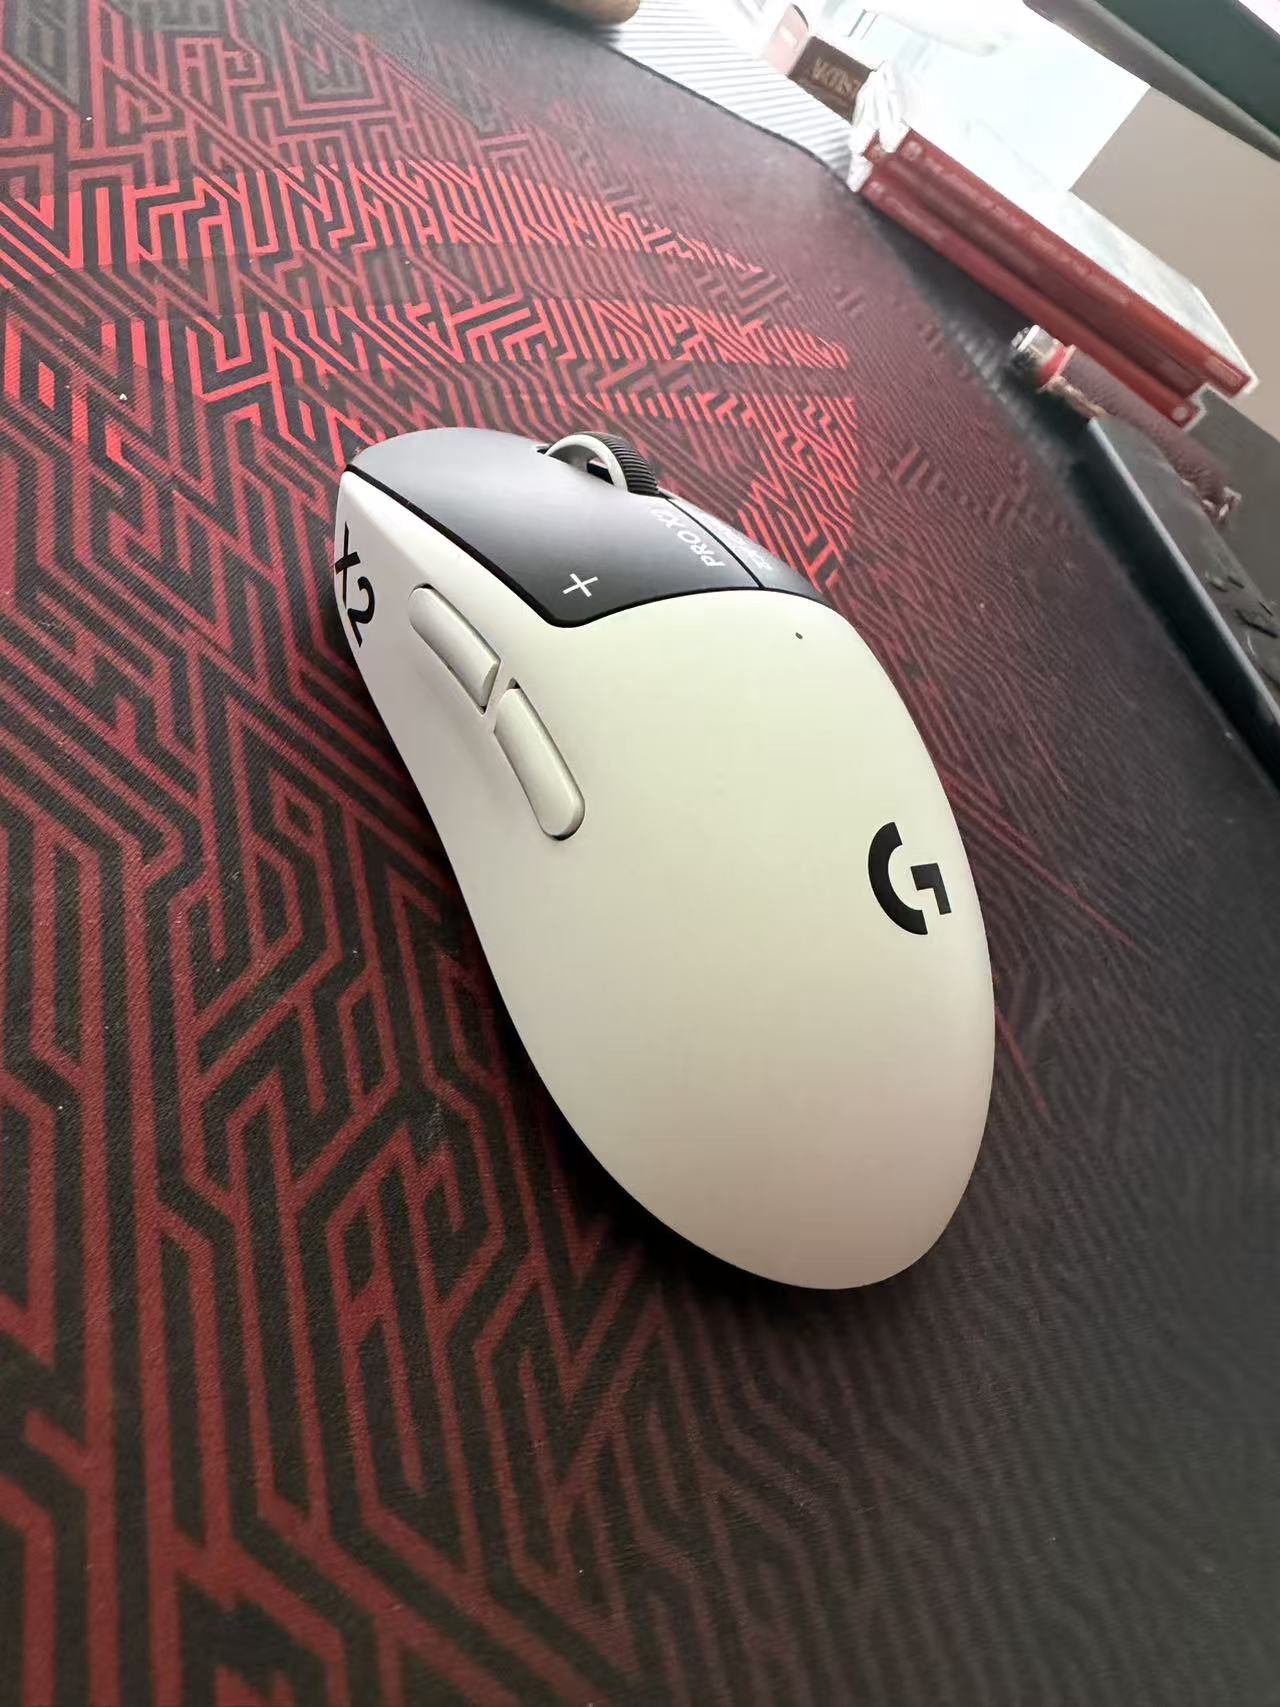
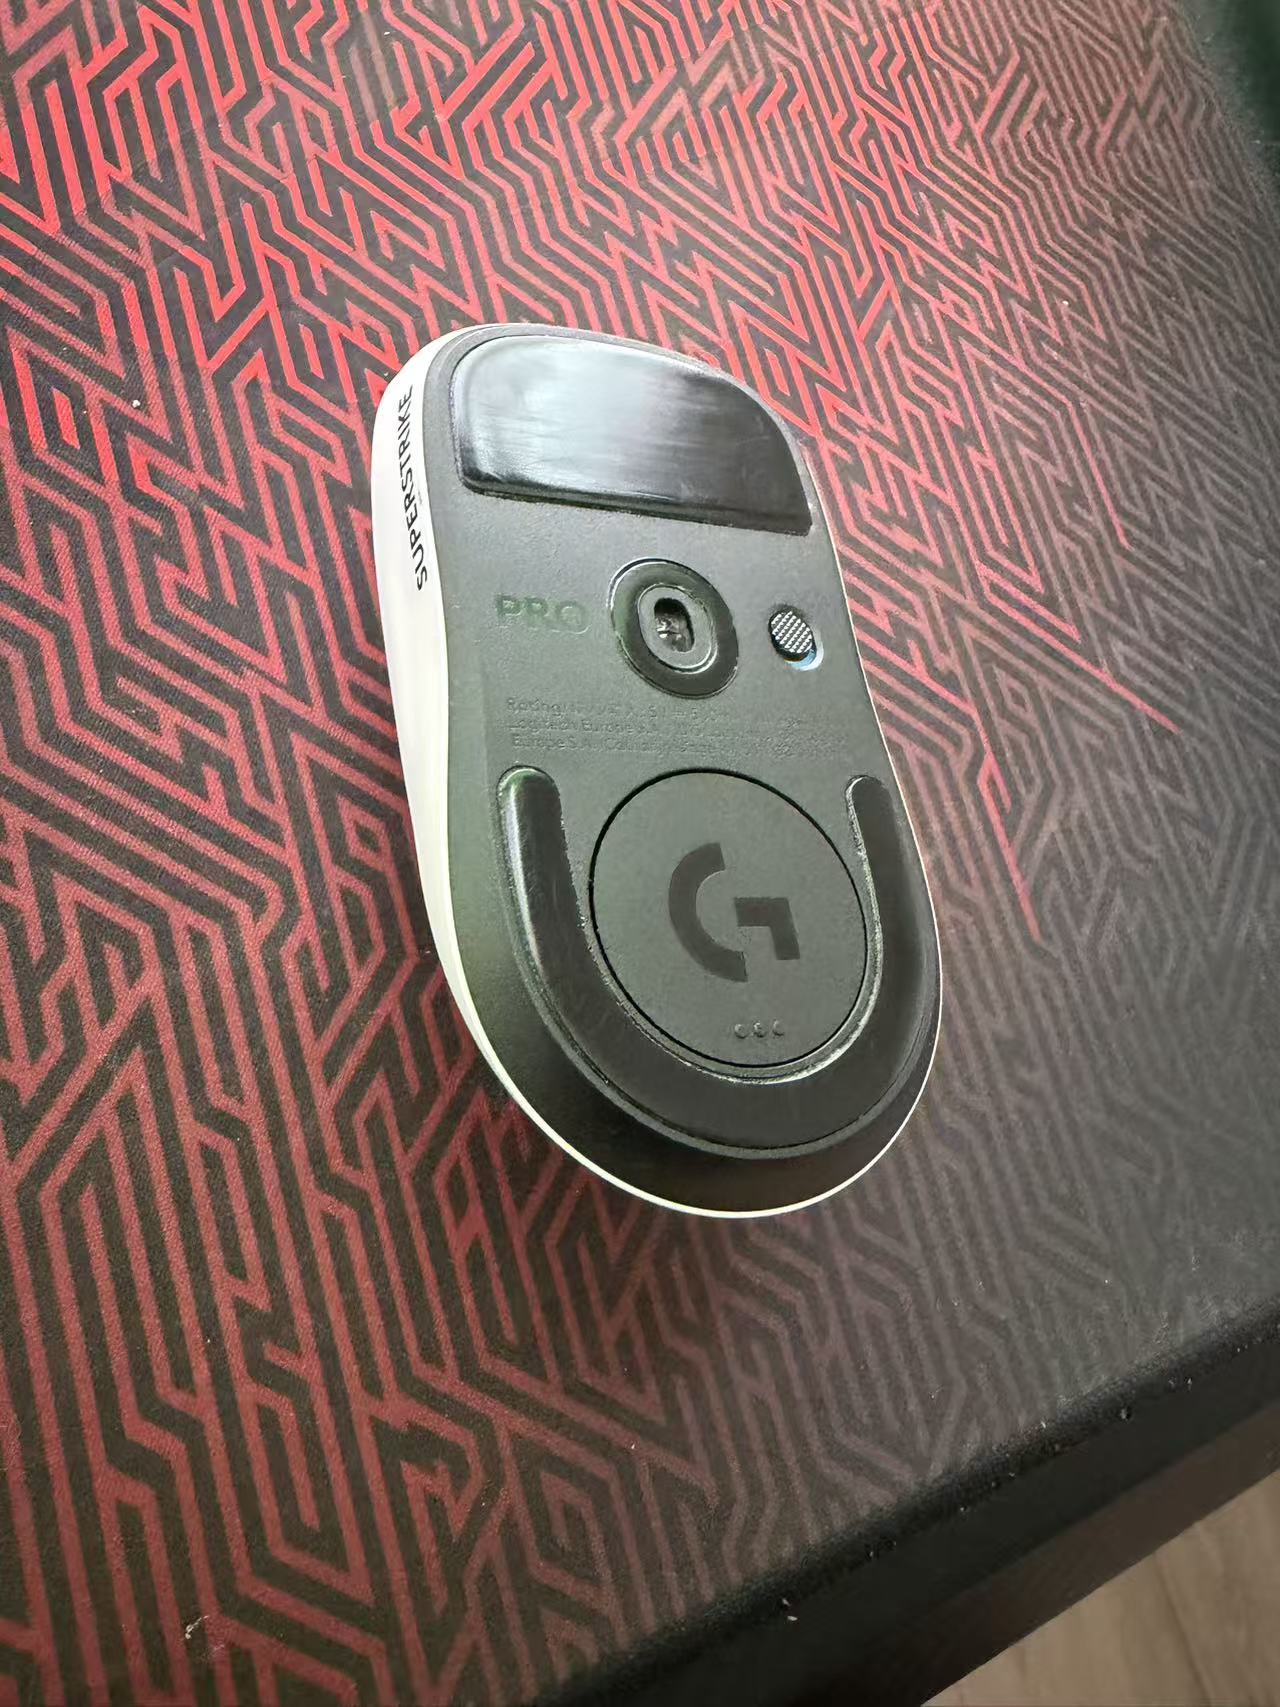
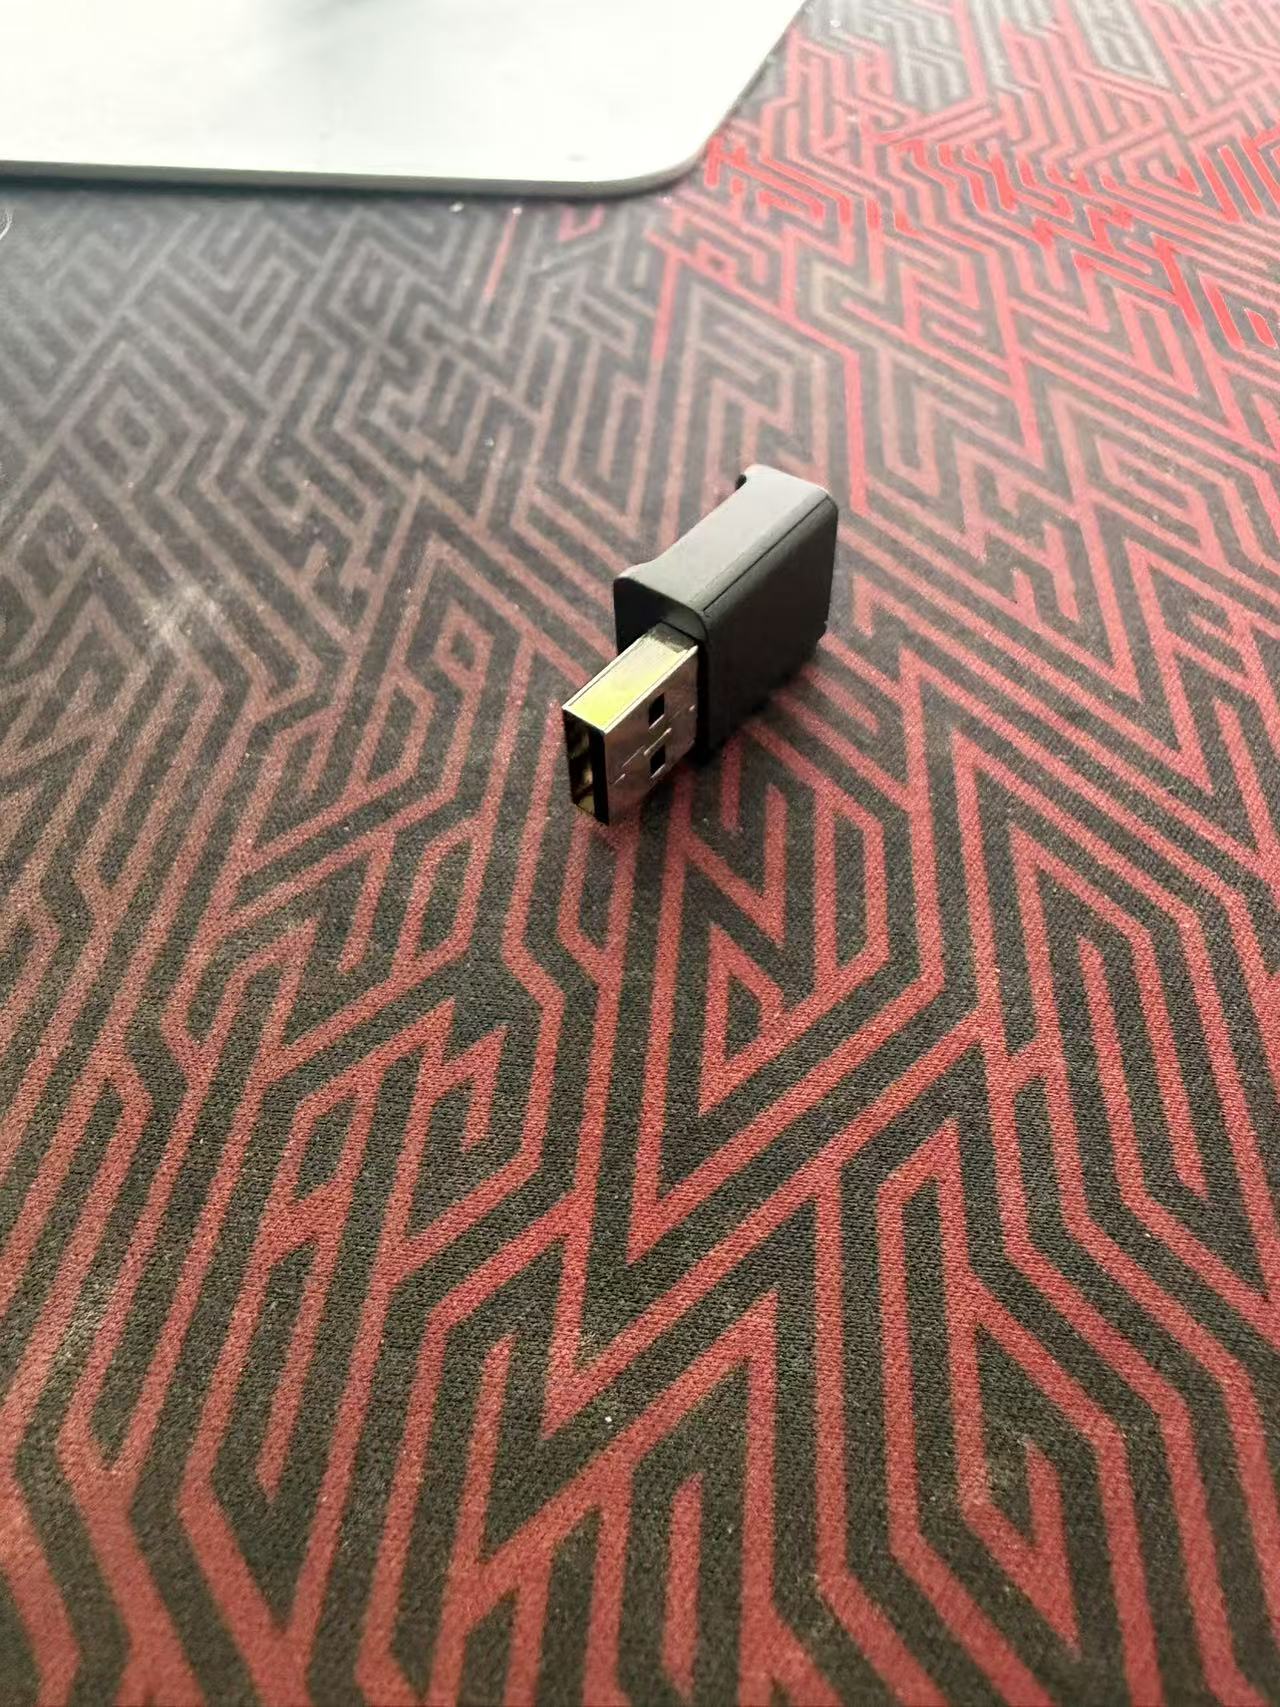
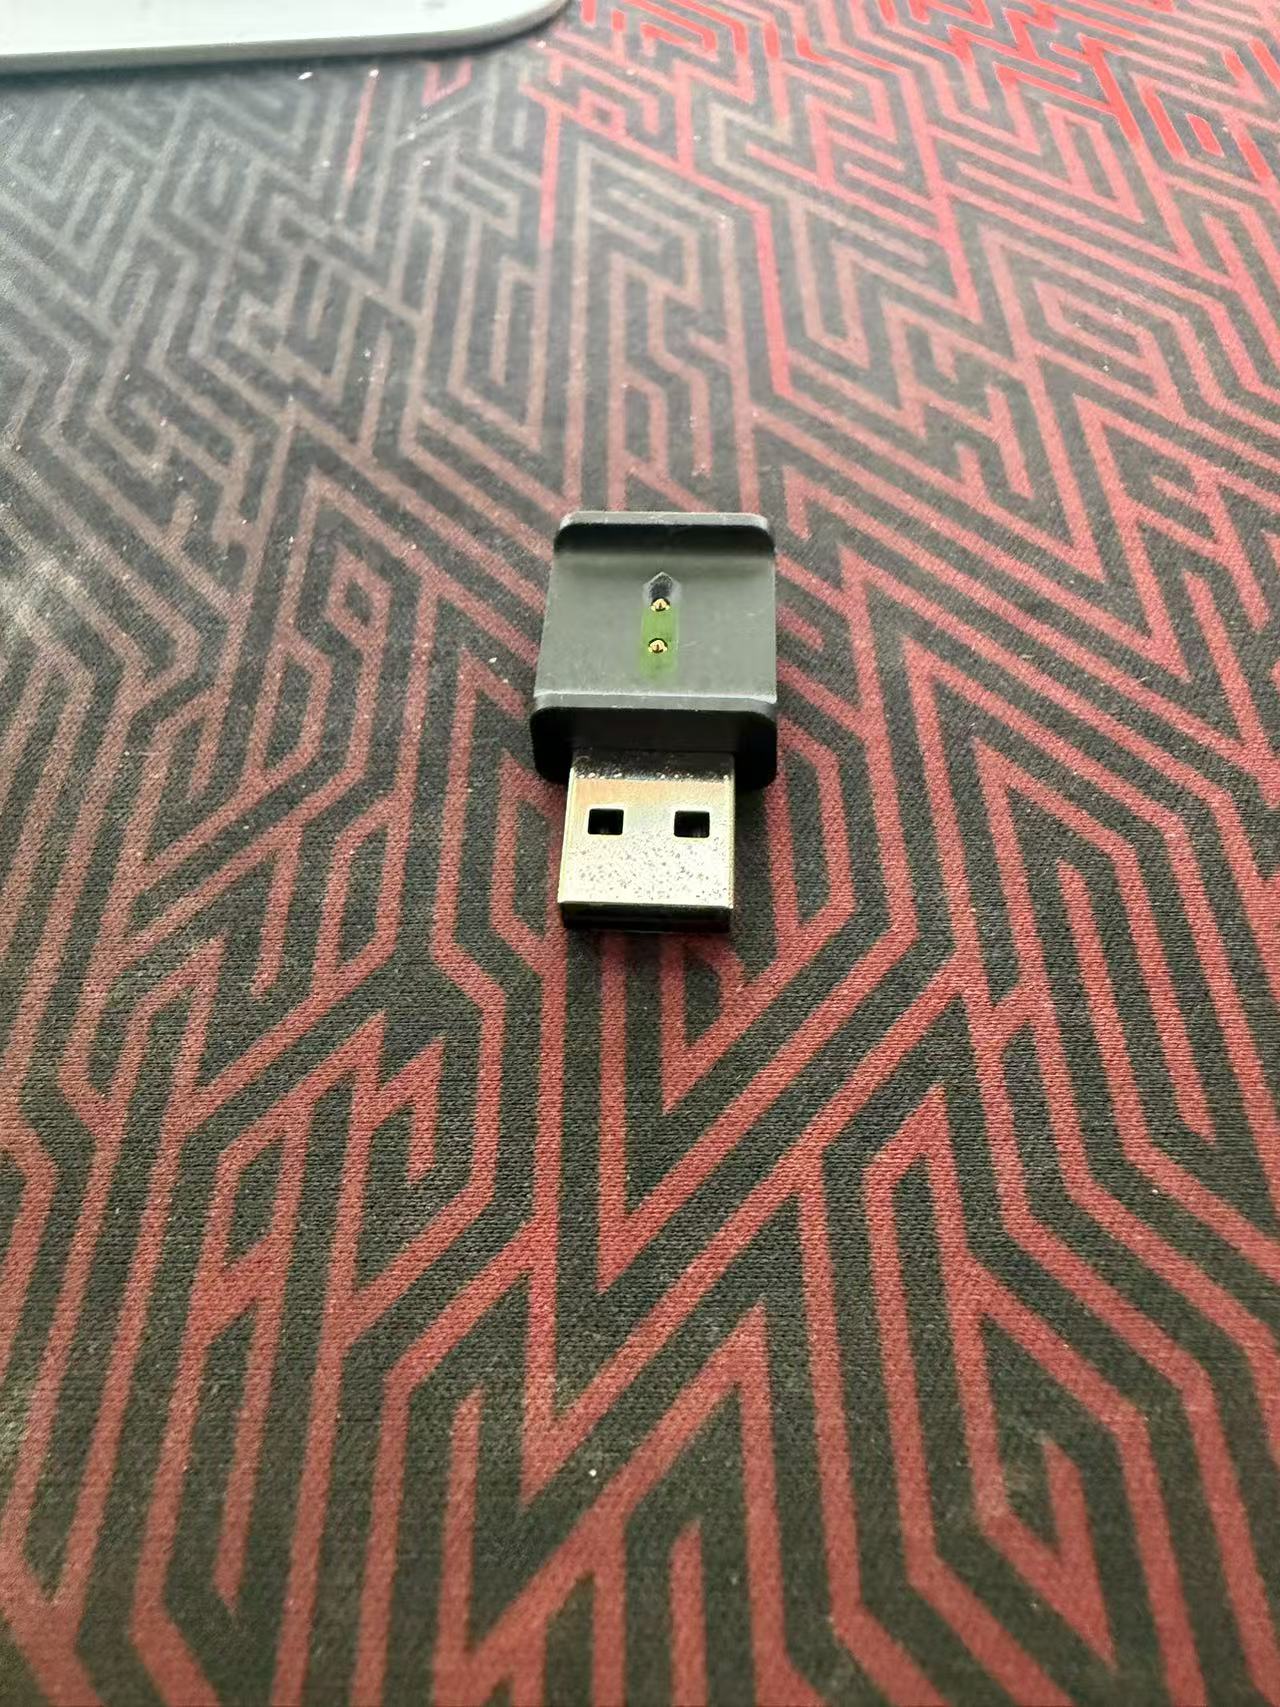
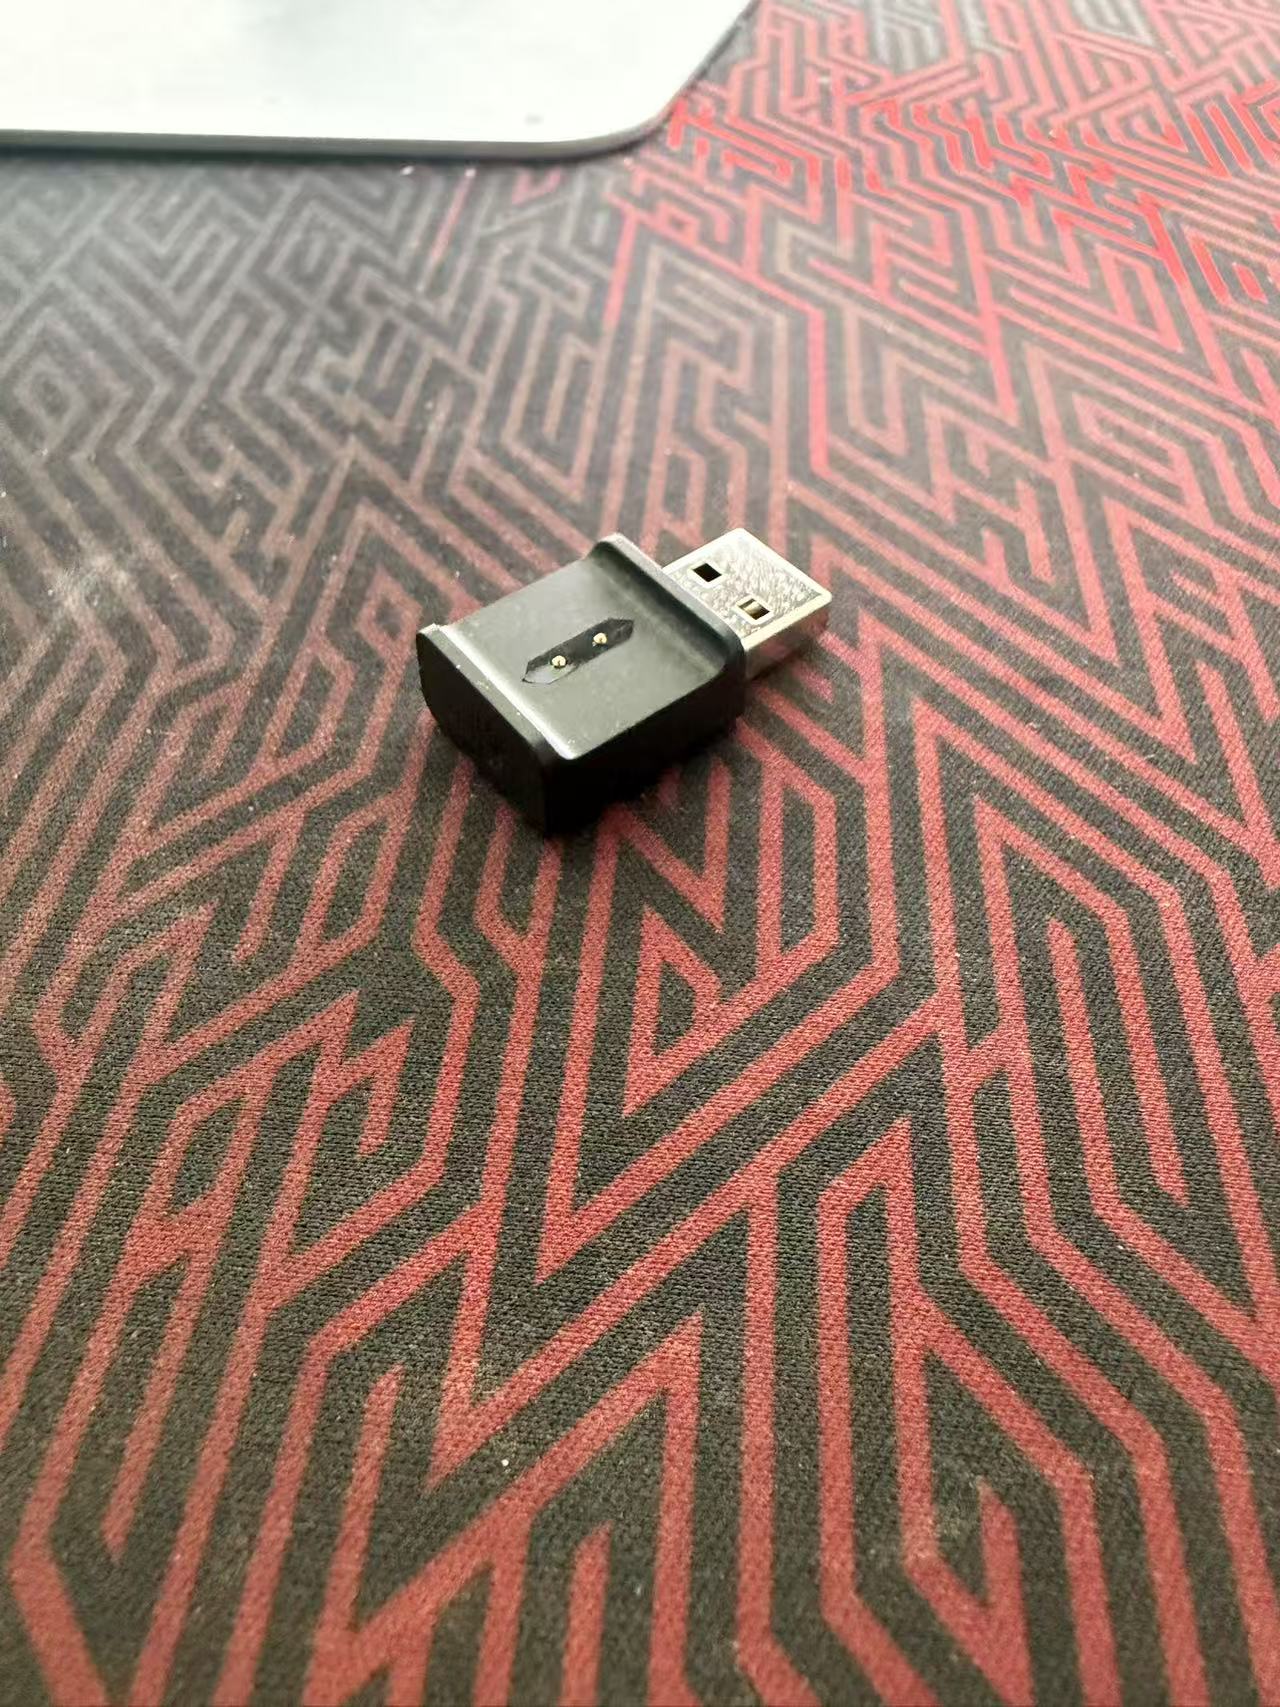
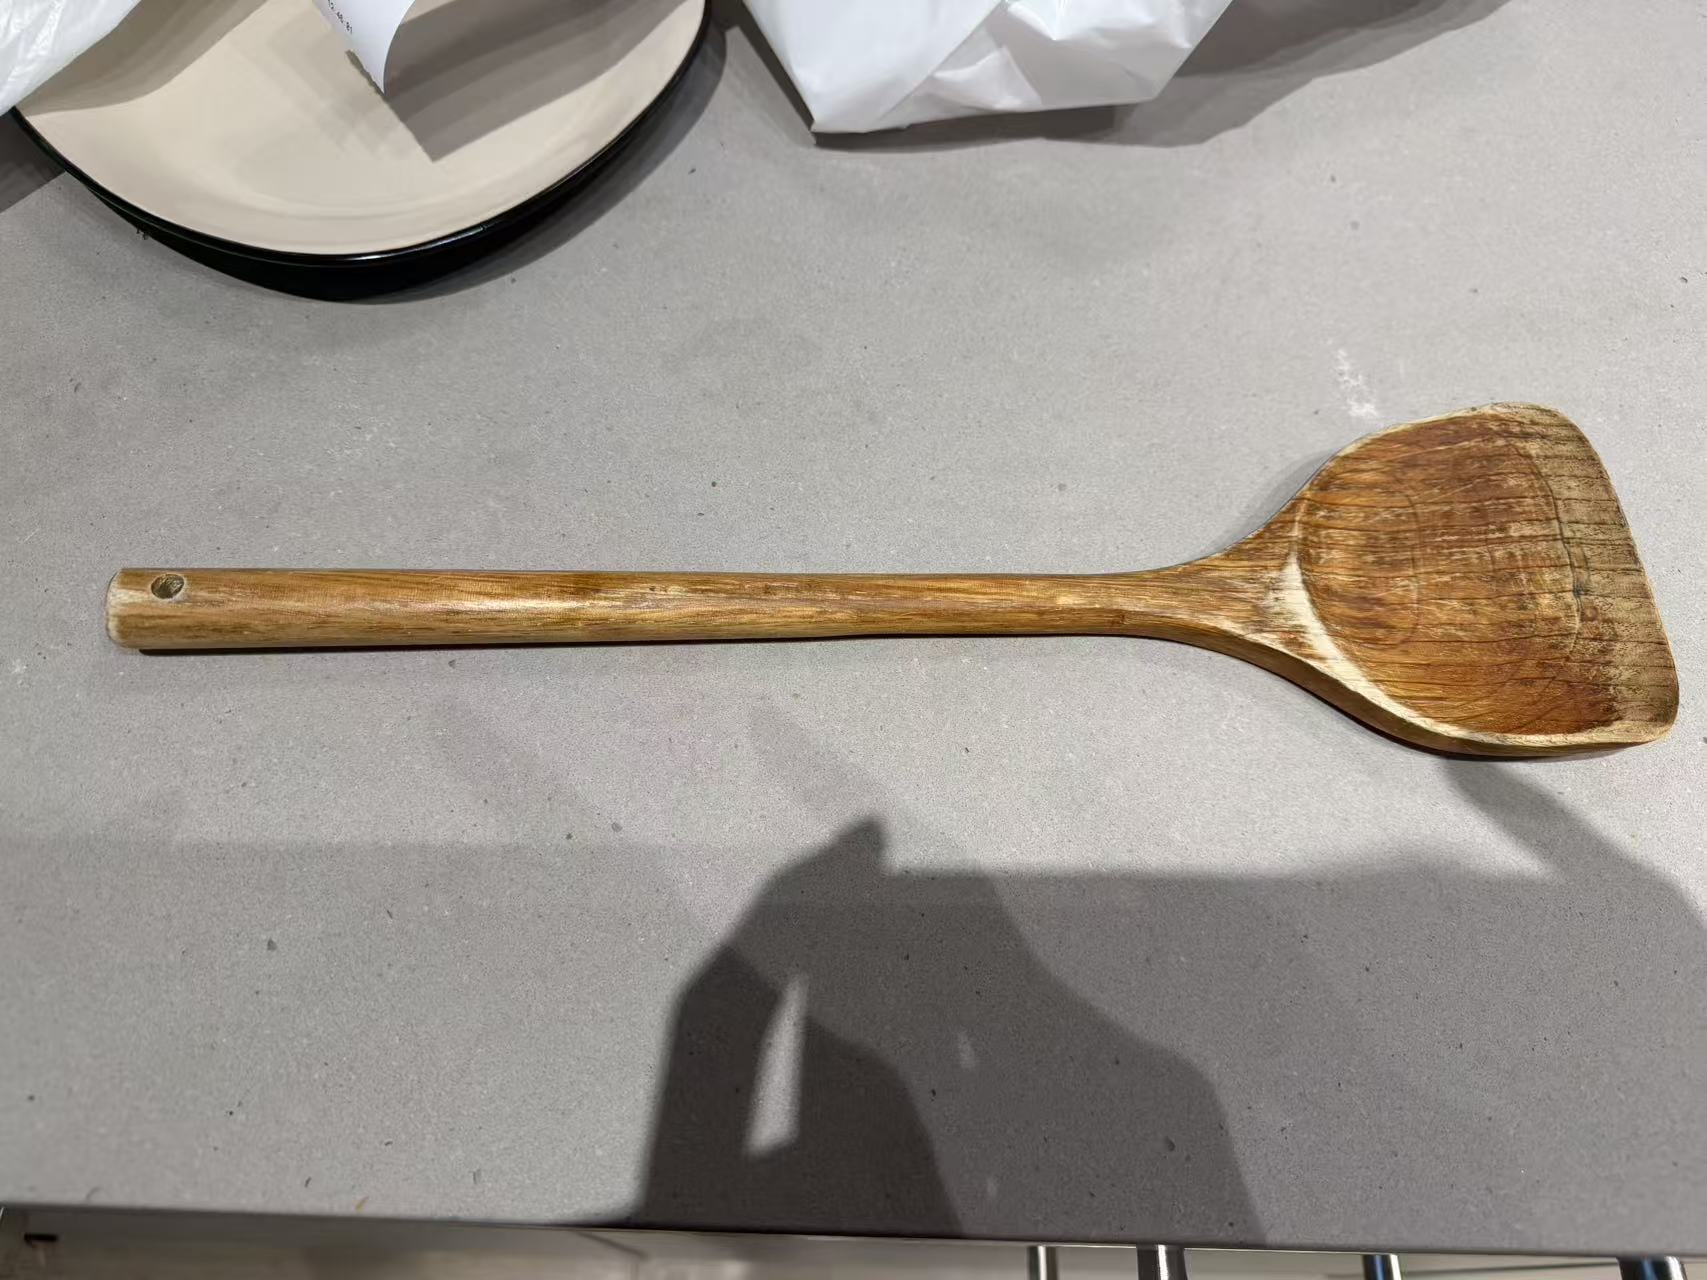
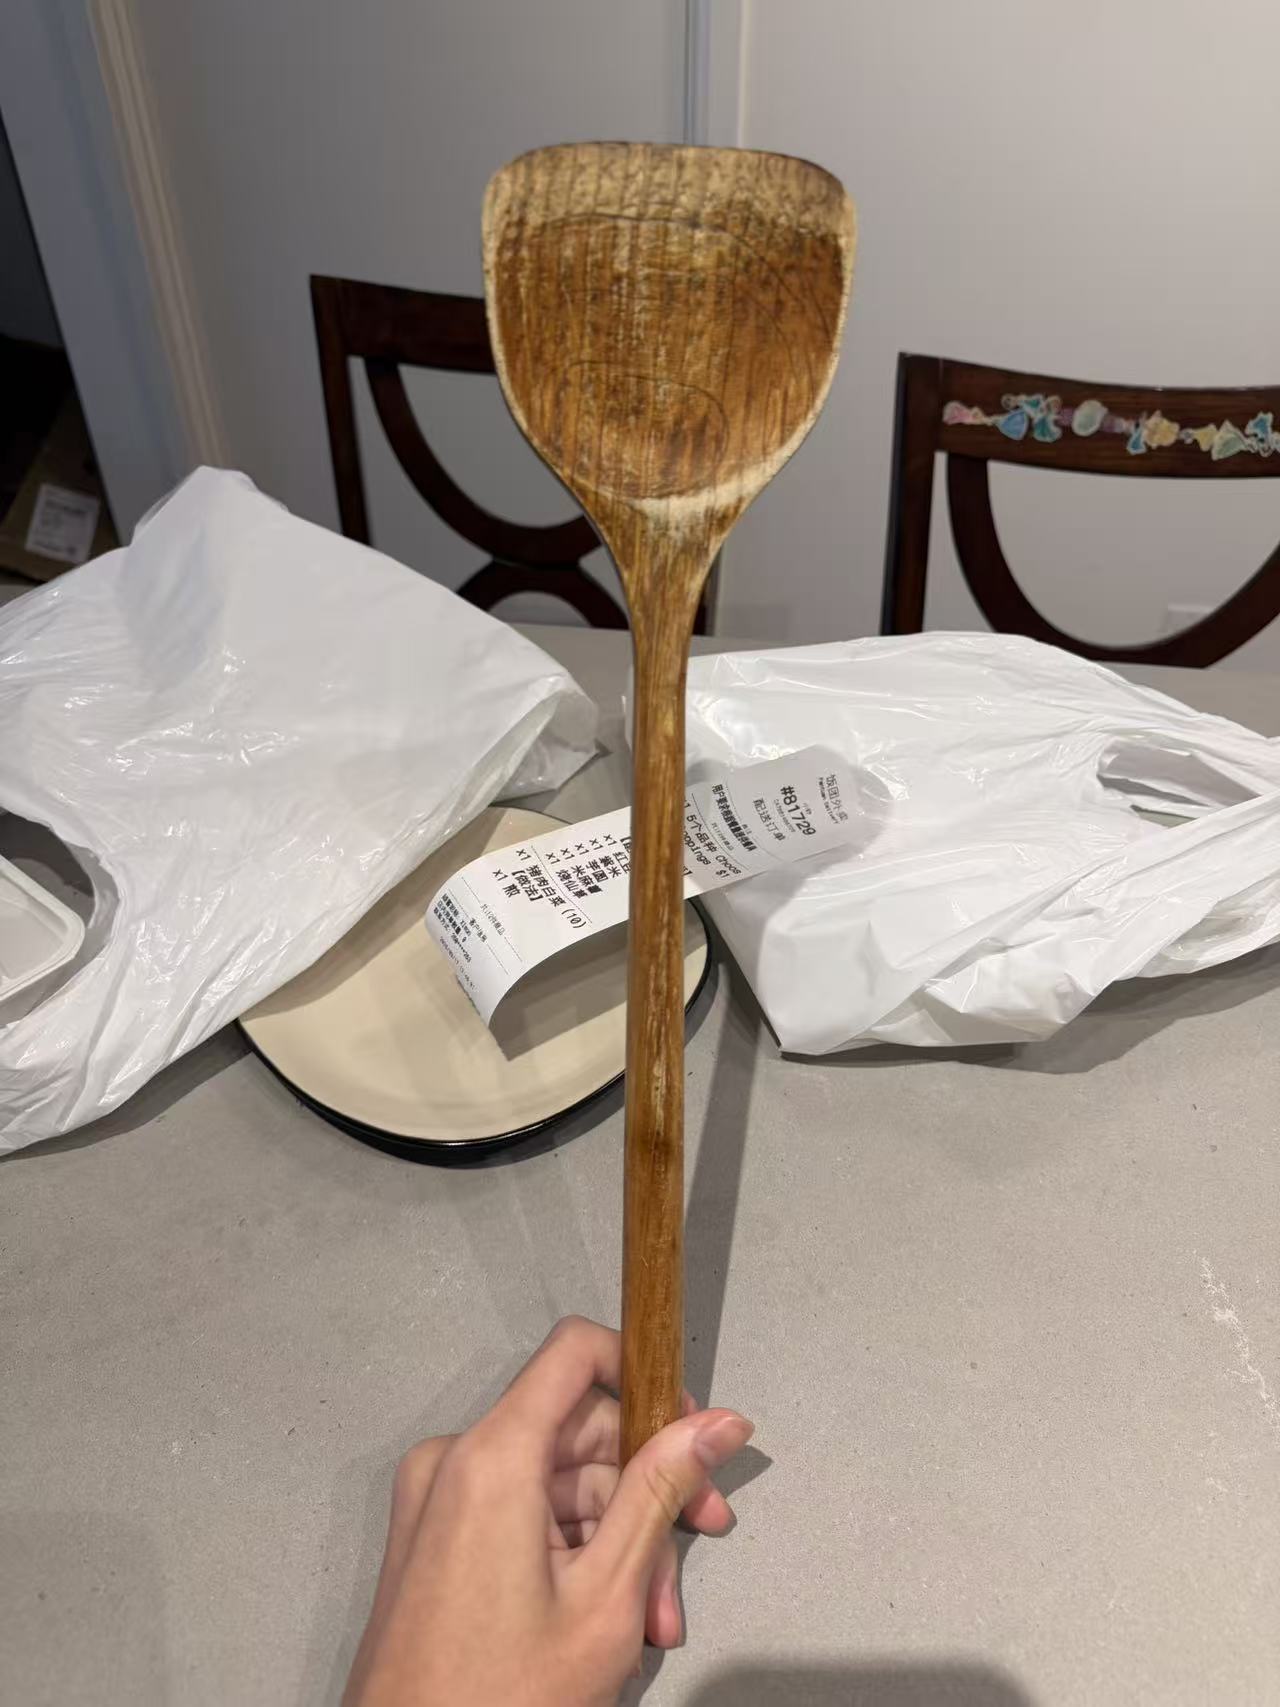
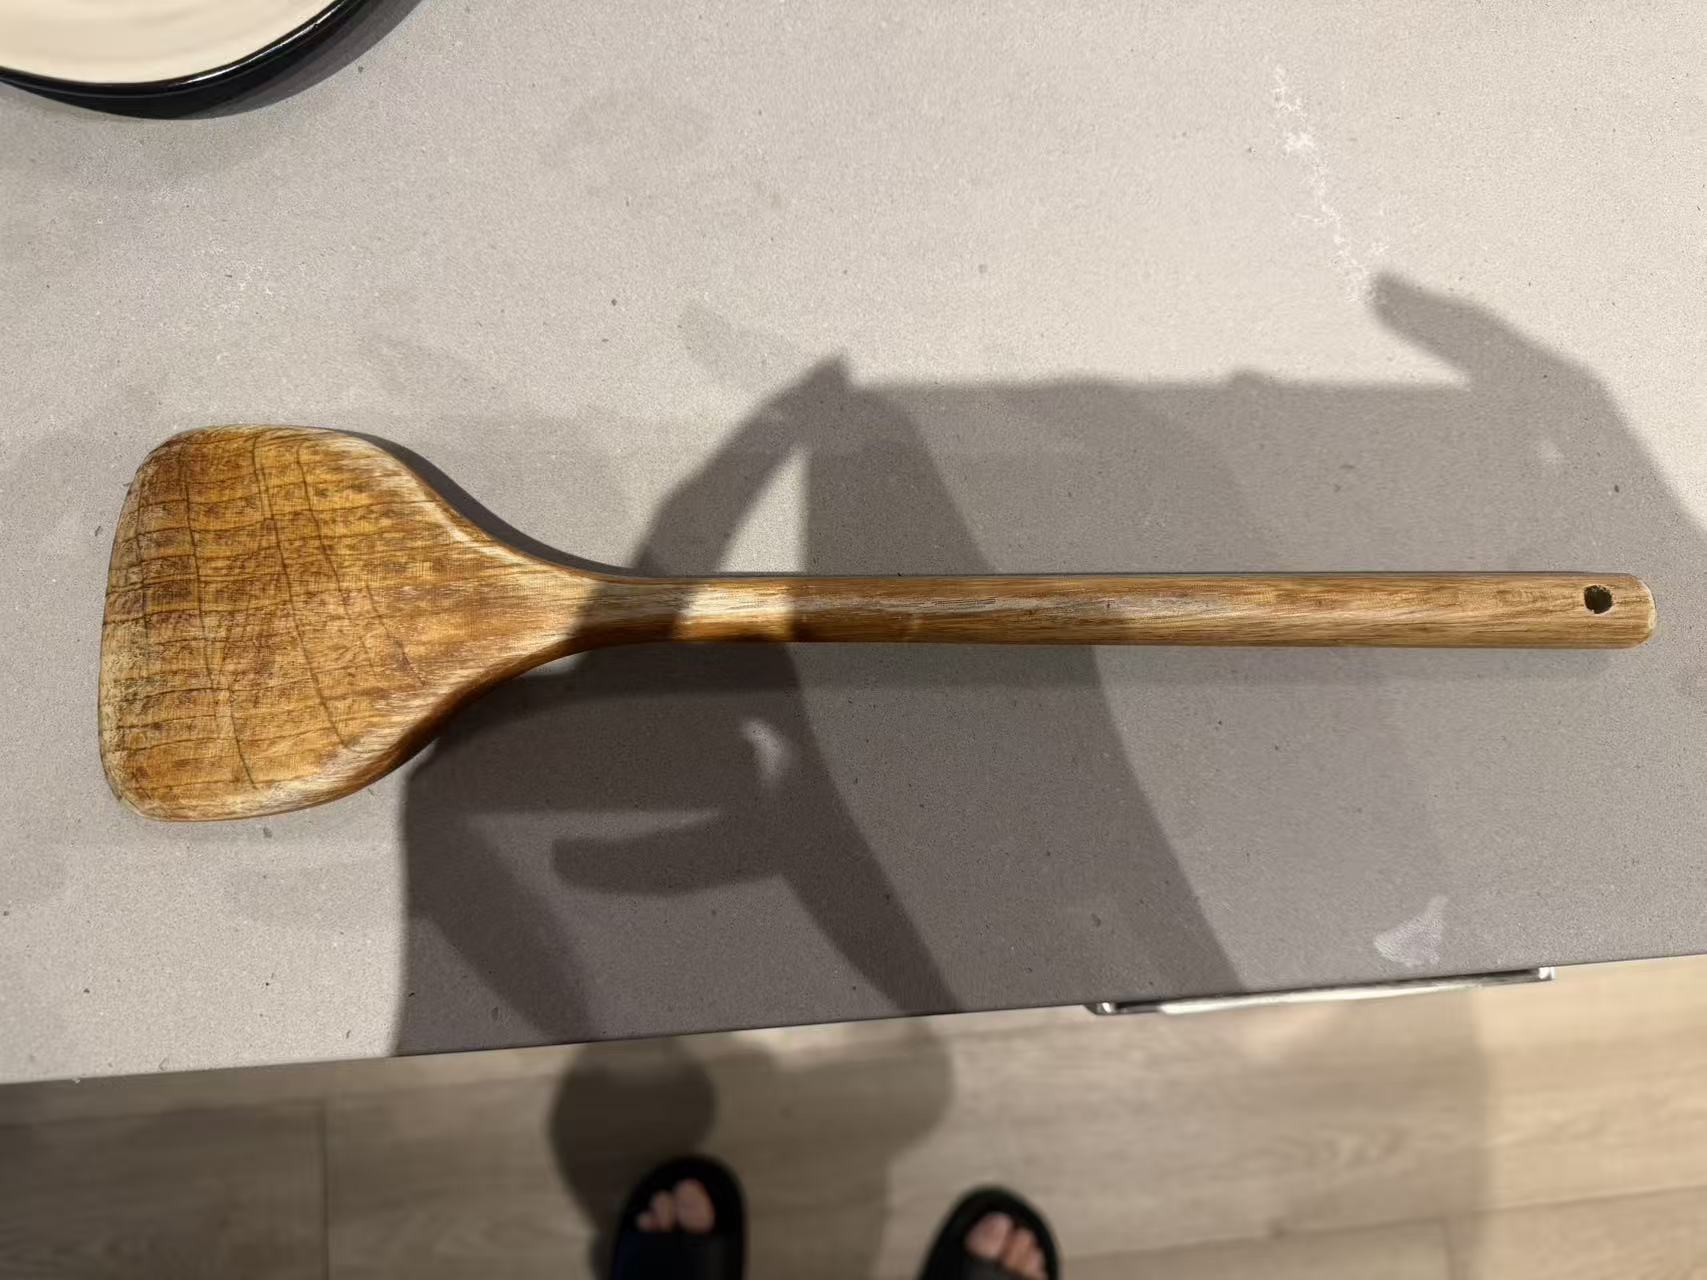
Trying different materials on dyson hairdryer Trying different materials on dyson hairdryer Trying different materials on dyson hairdryer Trying different materials on dyson hairdryer Trying different materials on PS5 Controller Trying different materials on PS5 Controller Trying different materials on Remote Control Trying different materials on Remote Control Trying different materials on Remote Control Trying different materials on Vape Trying different materials on Vape Trying different materials on Vape Trying different materials on Weighter Scale Trying different materials on Weighter Scale Trying different materials on Weighter Scale New Modelling idea for mouse New Modelling idea for mouse New Modelling idea for mouse New Modelling idea for USB New Modelling idea for USB New Modelling idea for USB New Modelling idea for Spatula New Modelling idea for Spatula New Modelling idea for Spatula A failed attempt at adding cartoonish meterials to the dyson hairdryer

Material Workshop 1
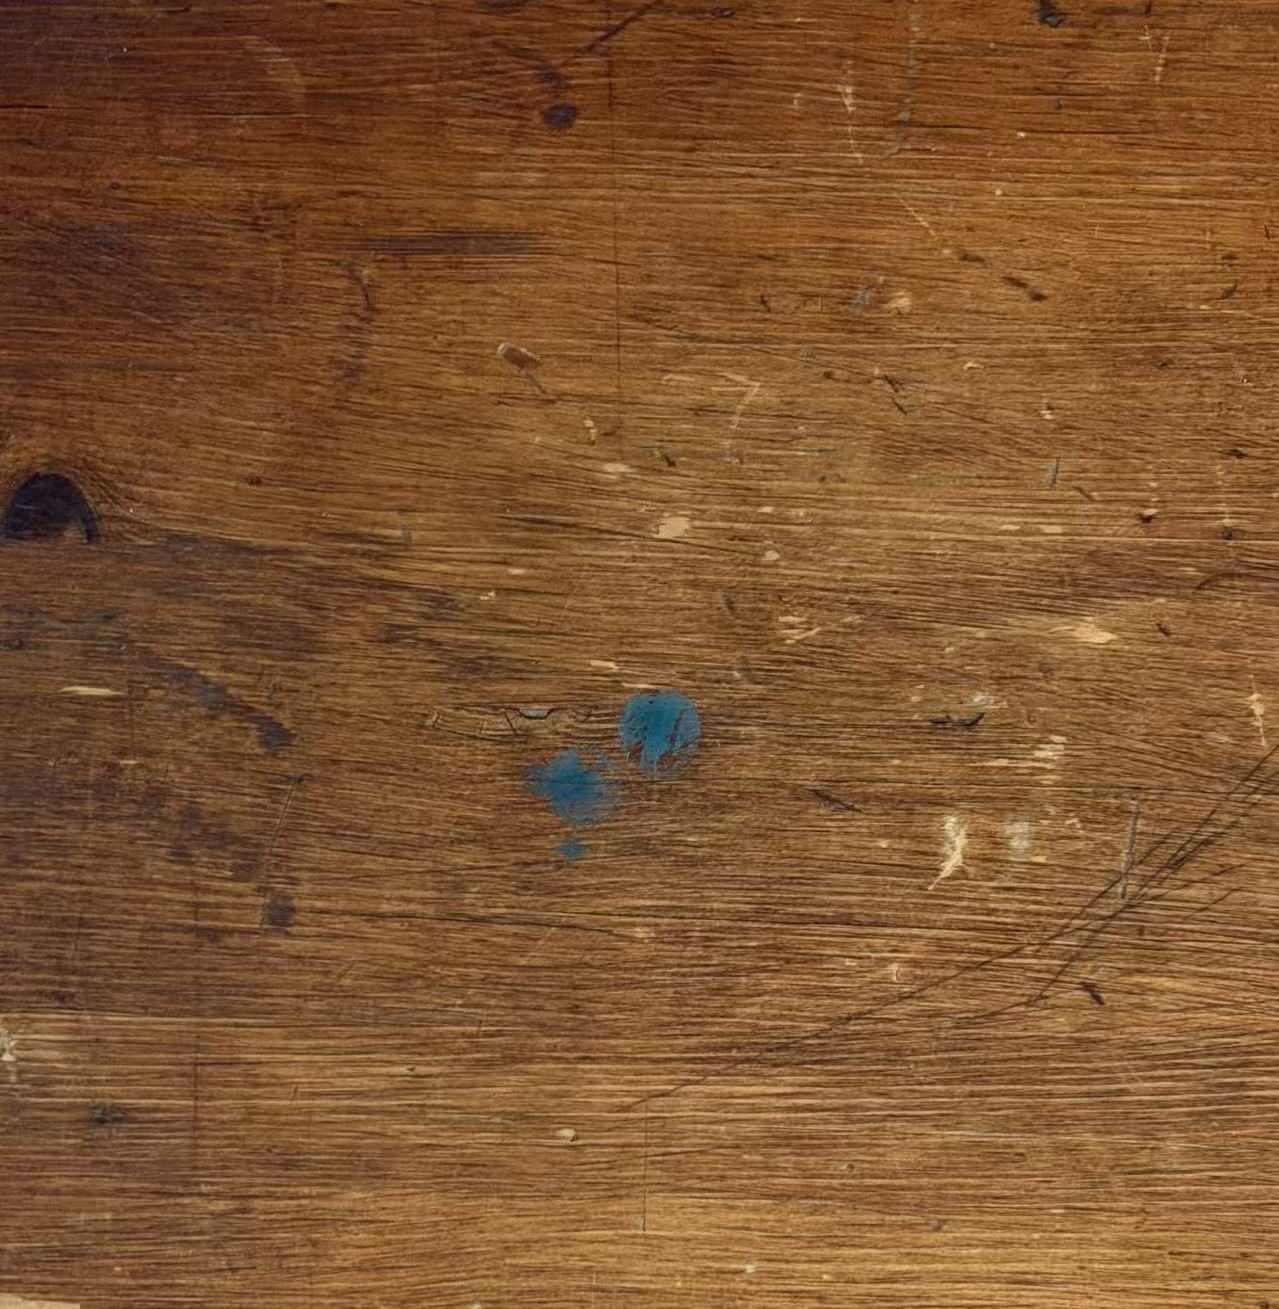
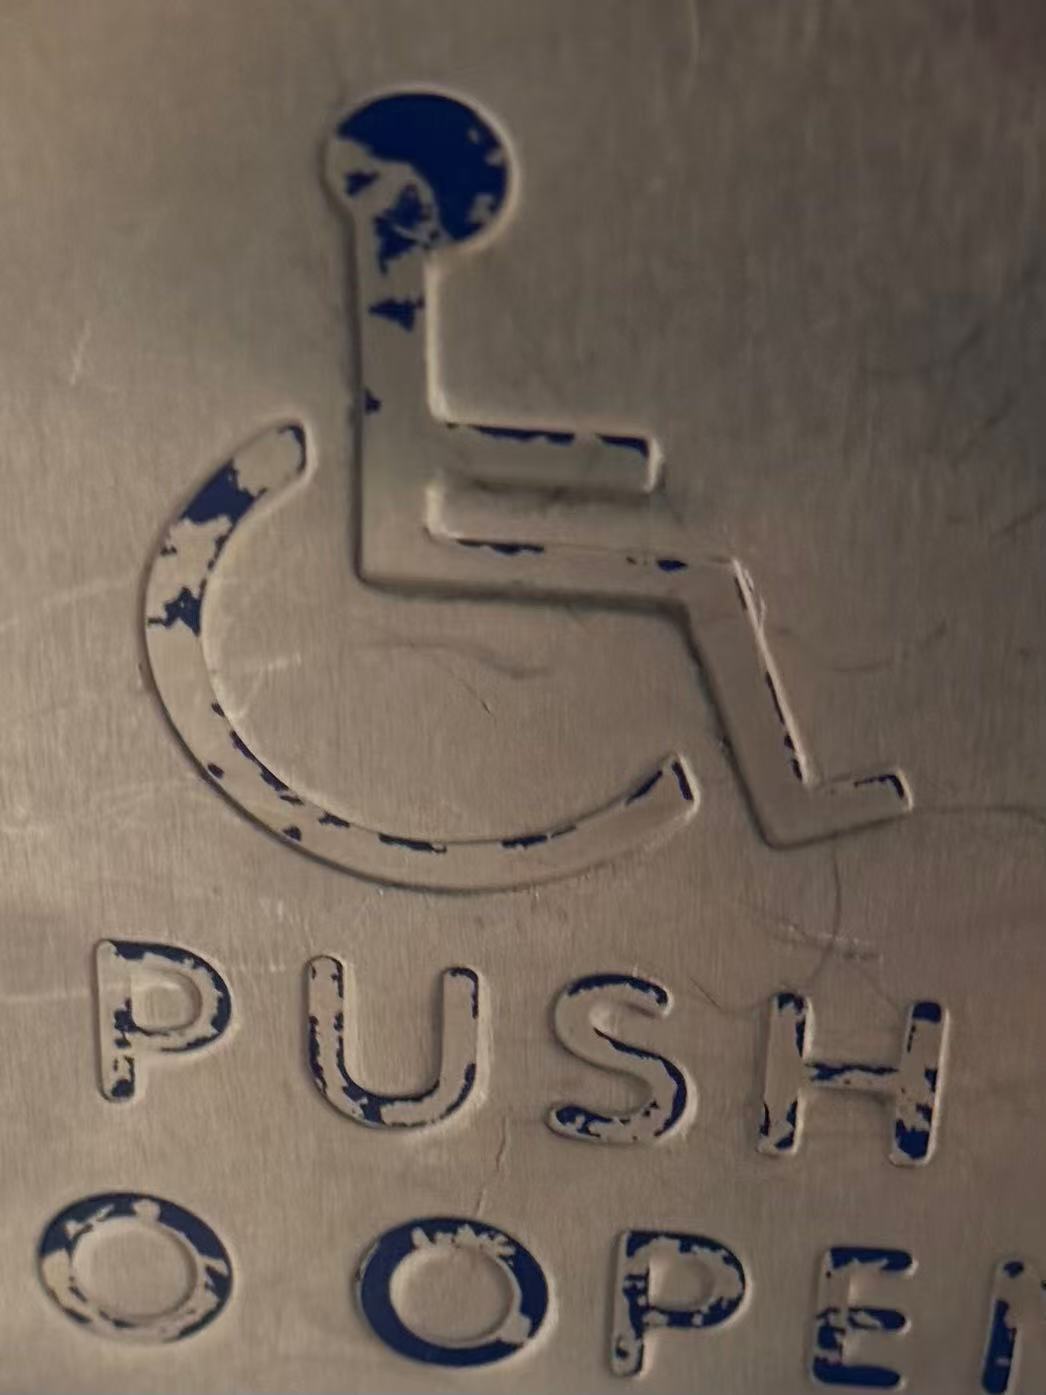
I found this wooden board in the school’s AA Wing, although I do not remember the exact location. The visible grain, scratches, and small paint marks caught my attention. It gave me a reference for creating a worn wood material with more surface detail. This reflective metal surface is from one of the garbage bins found around campus. I noticed how it reflected the surrounding colours, making it appear blue in the photo. It helped me understand how lighting and reflections can change the appearance of a metal material. This is one of the accessible door buttons found around campus. Its metal surface has scratches and faded paint around the wheelchair symbol. These details gave me a reference for showing everyday wear and making a model’s surface look more believable.

Material Workshop 2

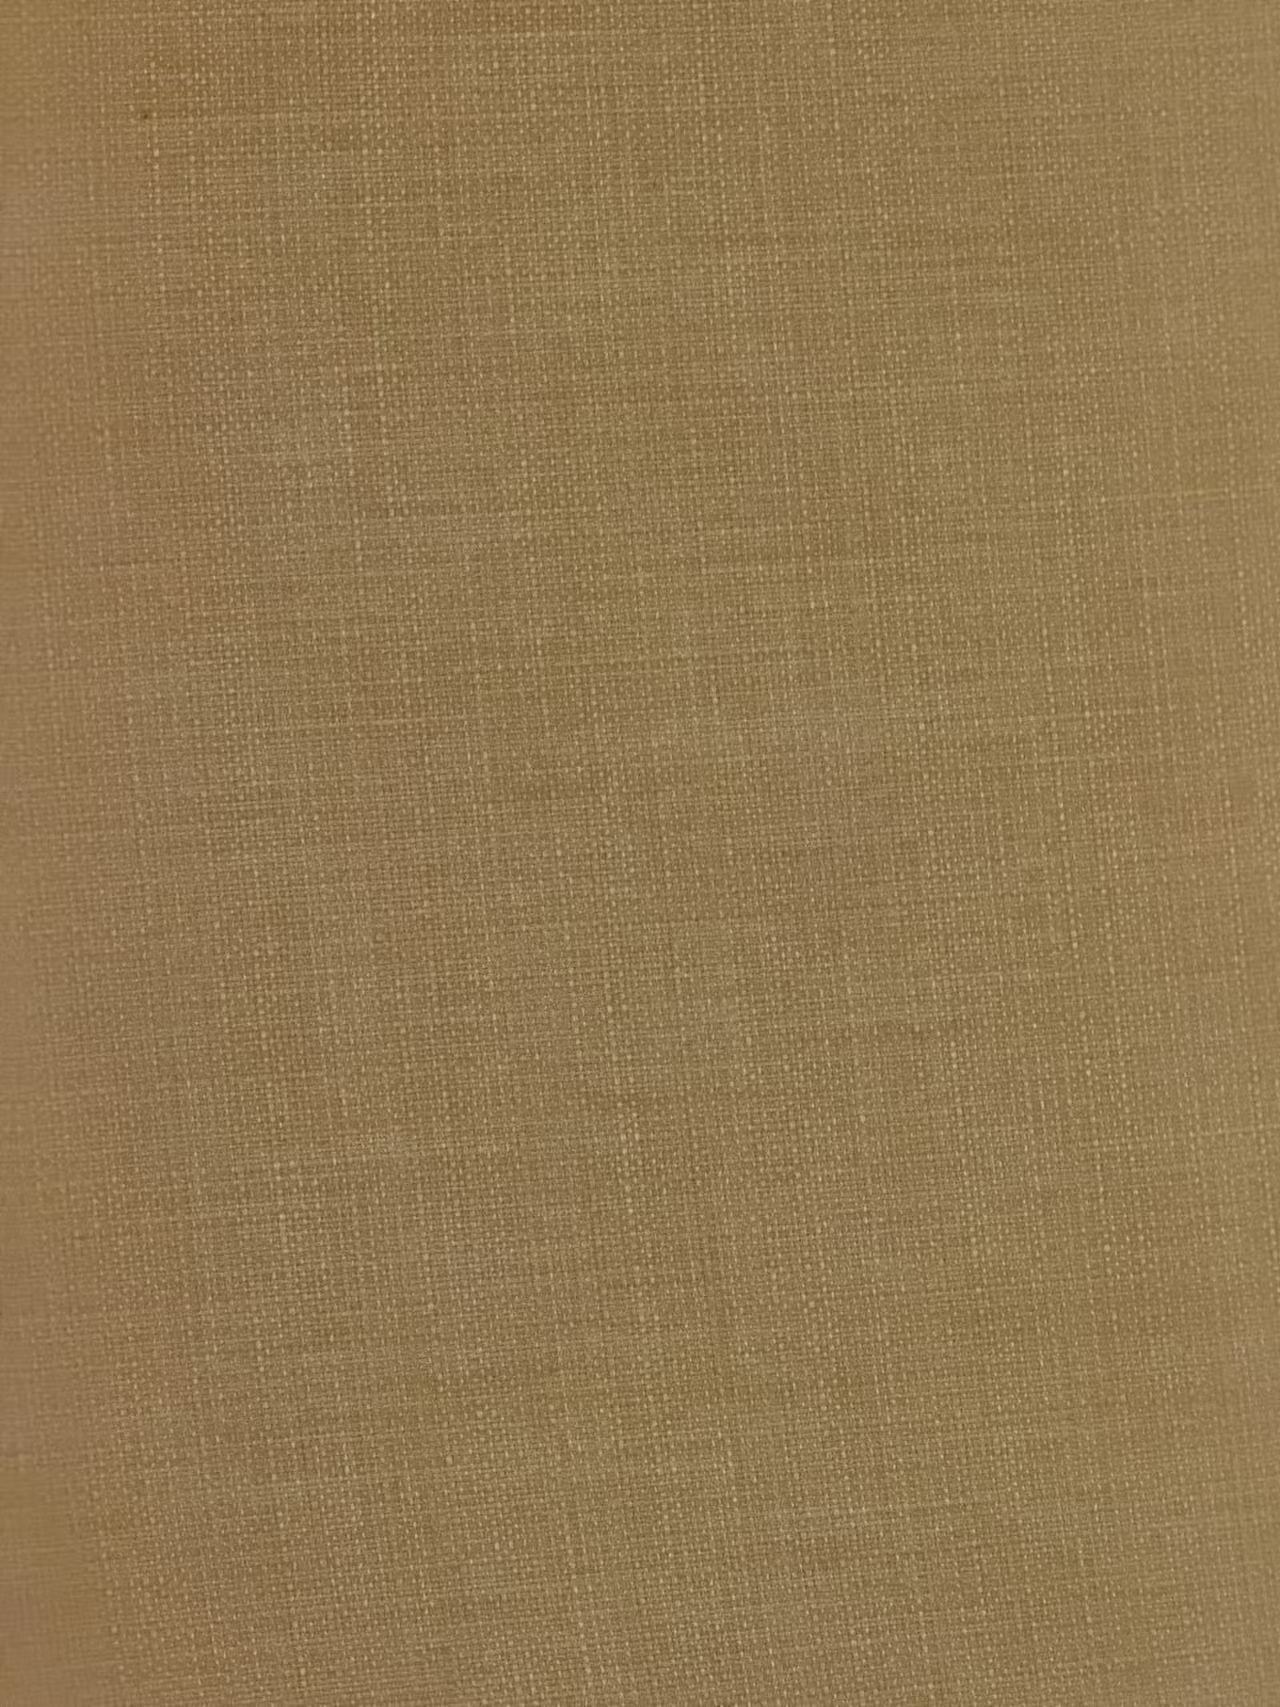
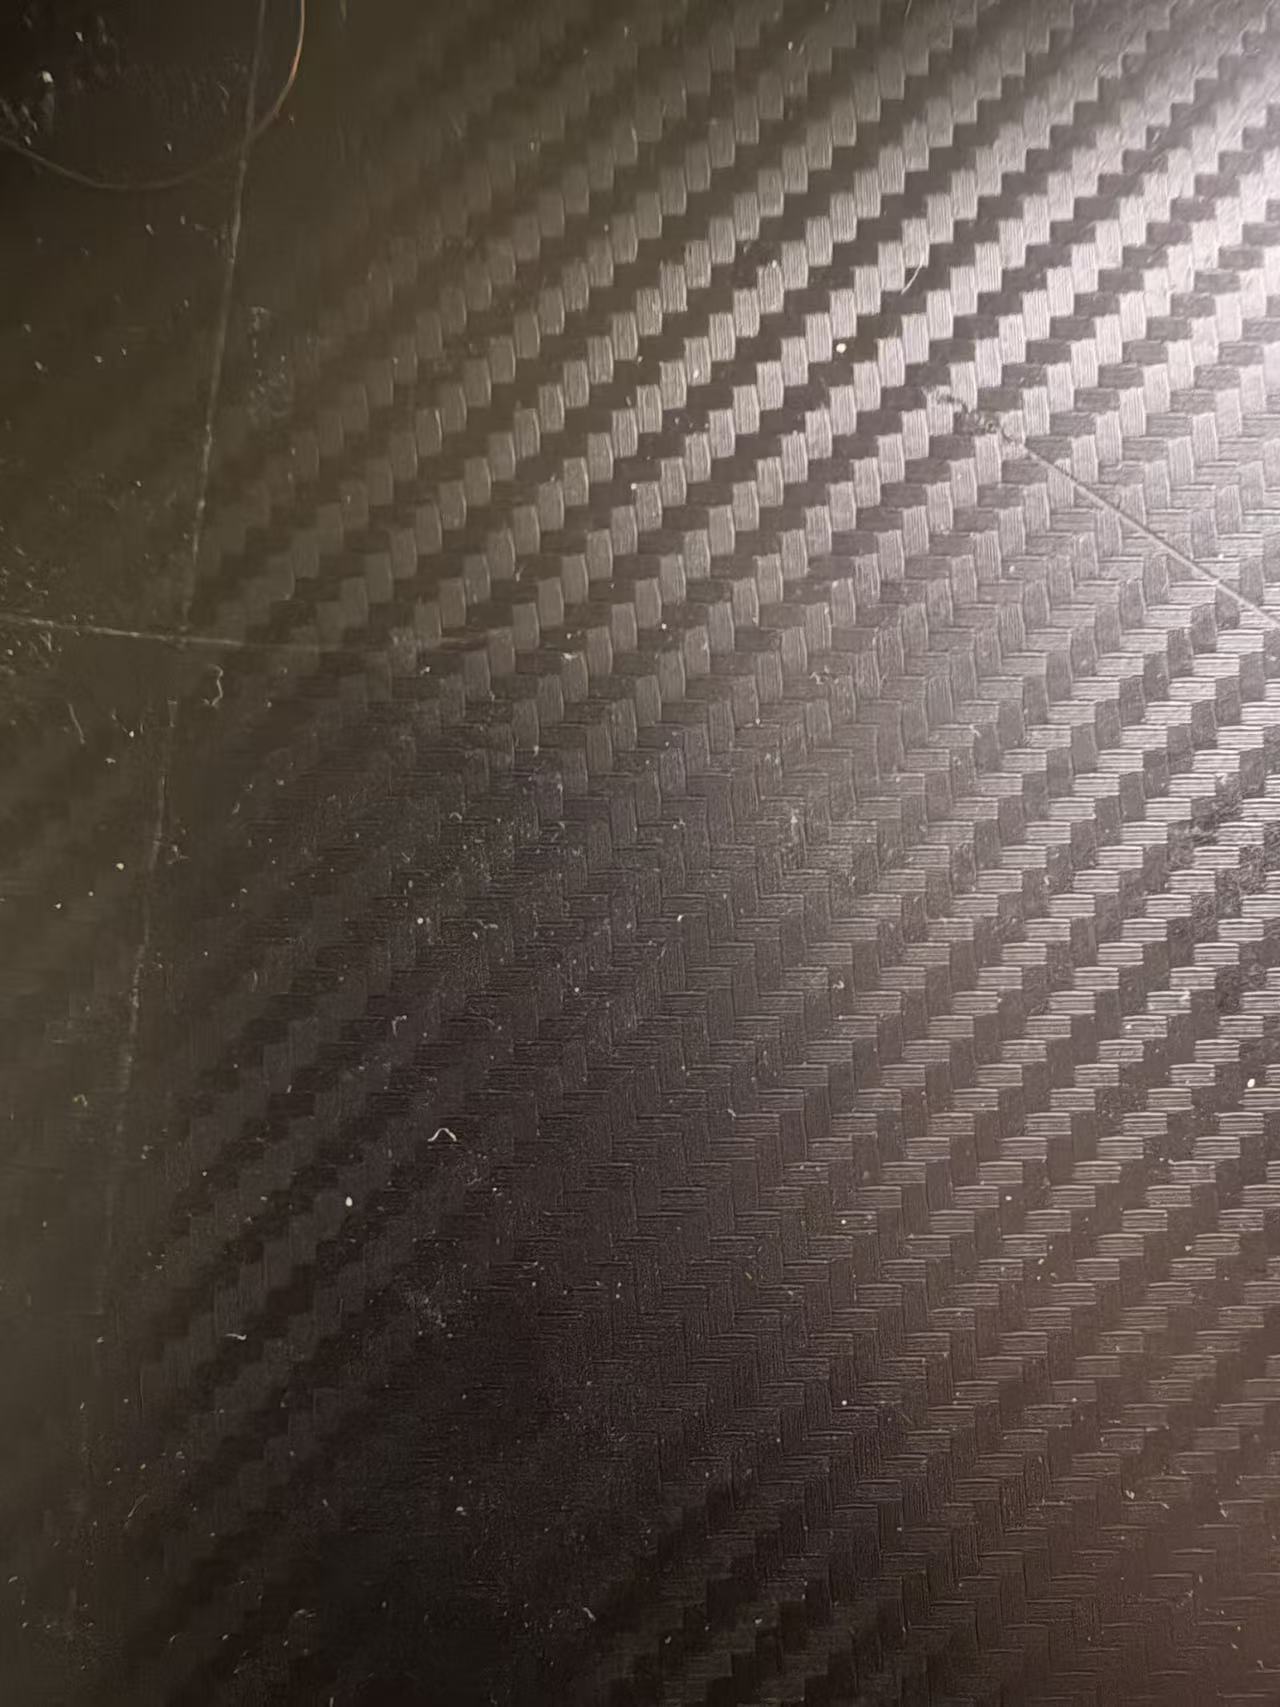
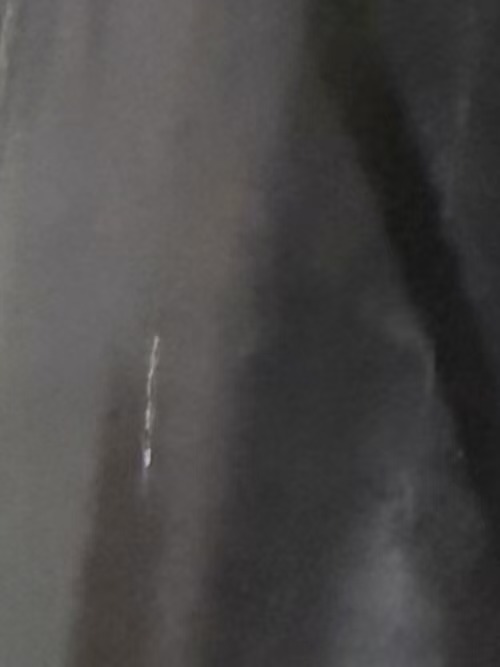
This fabric is from an IKEA lounge chair I bought. The close-up shows its fine woven texture and warm colour. I chose it as a reference for soft surfaces, where small details can make a material look more natural. This photo shows the carbon fibre surface of my computer desk. I noticed its repeating diagonal pattern and how some areas look brighter under the light. It gave me a reference for creating a patterned surface and exploring how texture affects reflections on a model. This surface is from the arm of a robot displayed in AA Wing. Its dark finish has a visible scratch and soft reflections. I found it useful as a reference for a worn surface, showing how small imperfections can give an object more character.

Project 1


Project 1 Models

Published 3D Model 1

PLACEHOLDER TEXT, put a description here or you will lose grades
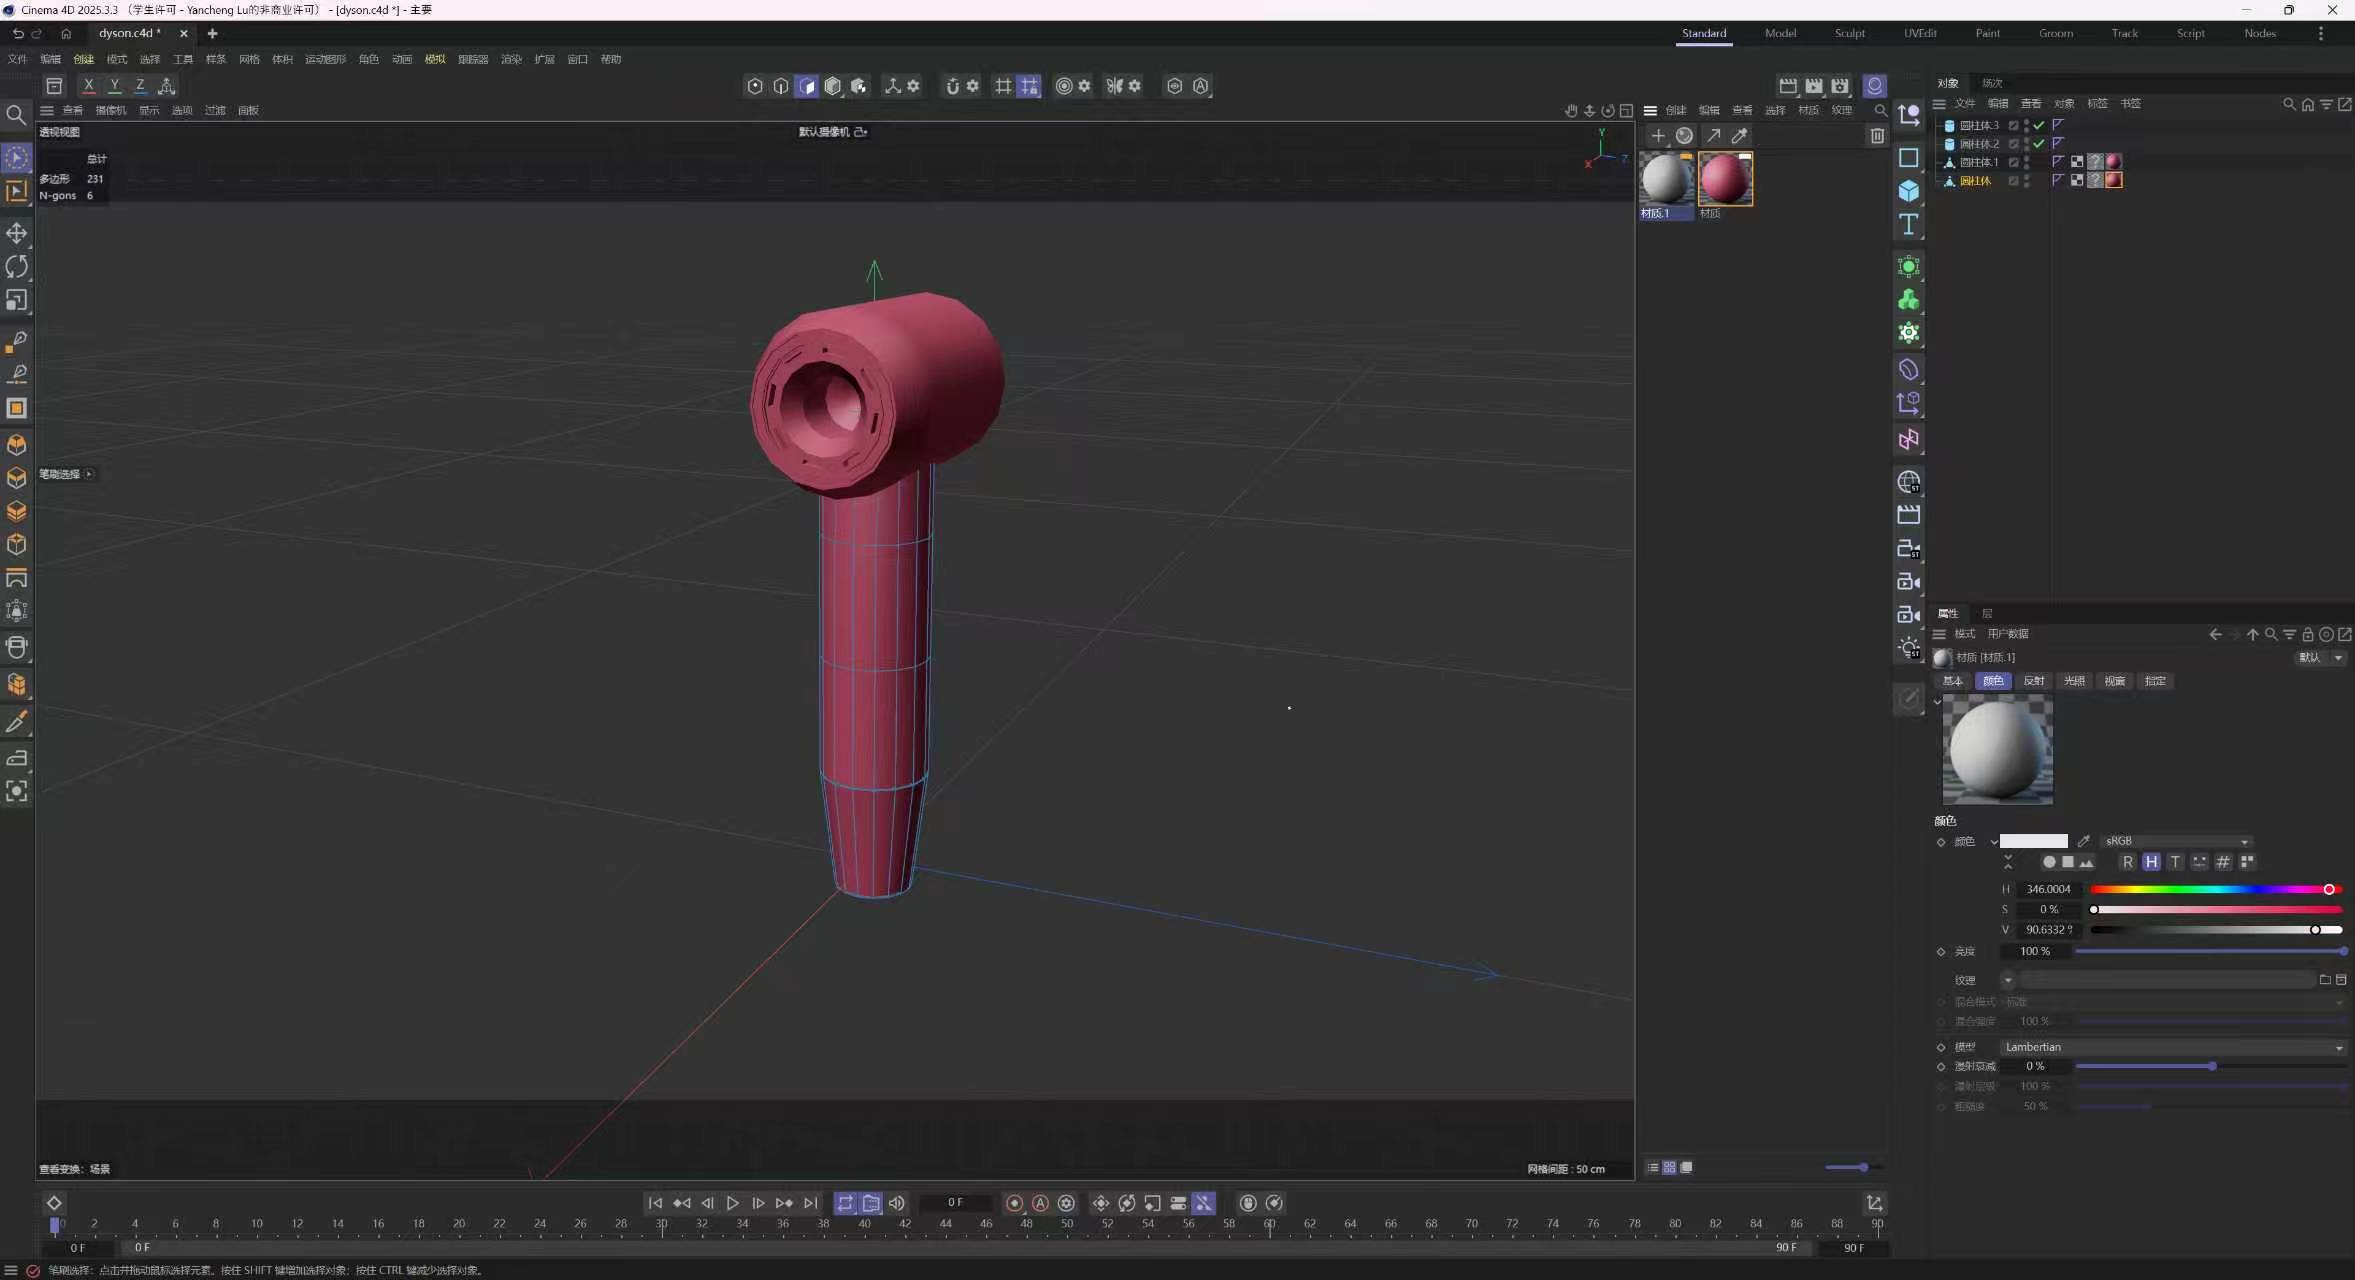
This is my final hair dryer model made in Cinema 4D. I chose a pink material because I wanted it to look simple but also more interesting. I spent some time adjusting the shape and adding details around the front opening to make it look more realistic. I also tried to keep the body and handle smooth and well connected. Overall, I am happy with how it turned out, and this project helped me become more confident with 3D modeling and materials. <div class='container'><iframe class='responsive-iframe' src='https://luyanc.phoenix.sheridanc.on.ca/dyson.html'></iframe></div>

Published 3D Model 2

PLACEHOLDER TEXT, put a description here or you will lose grades
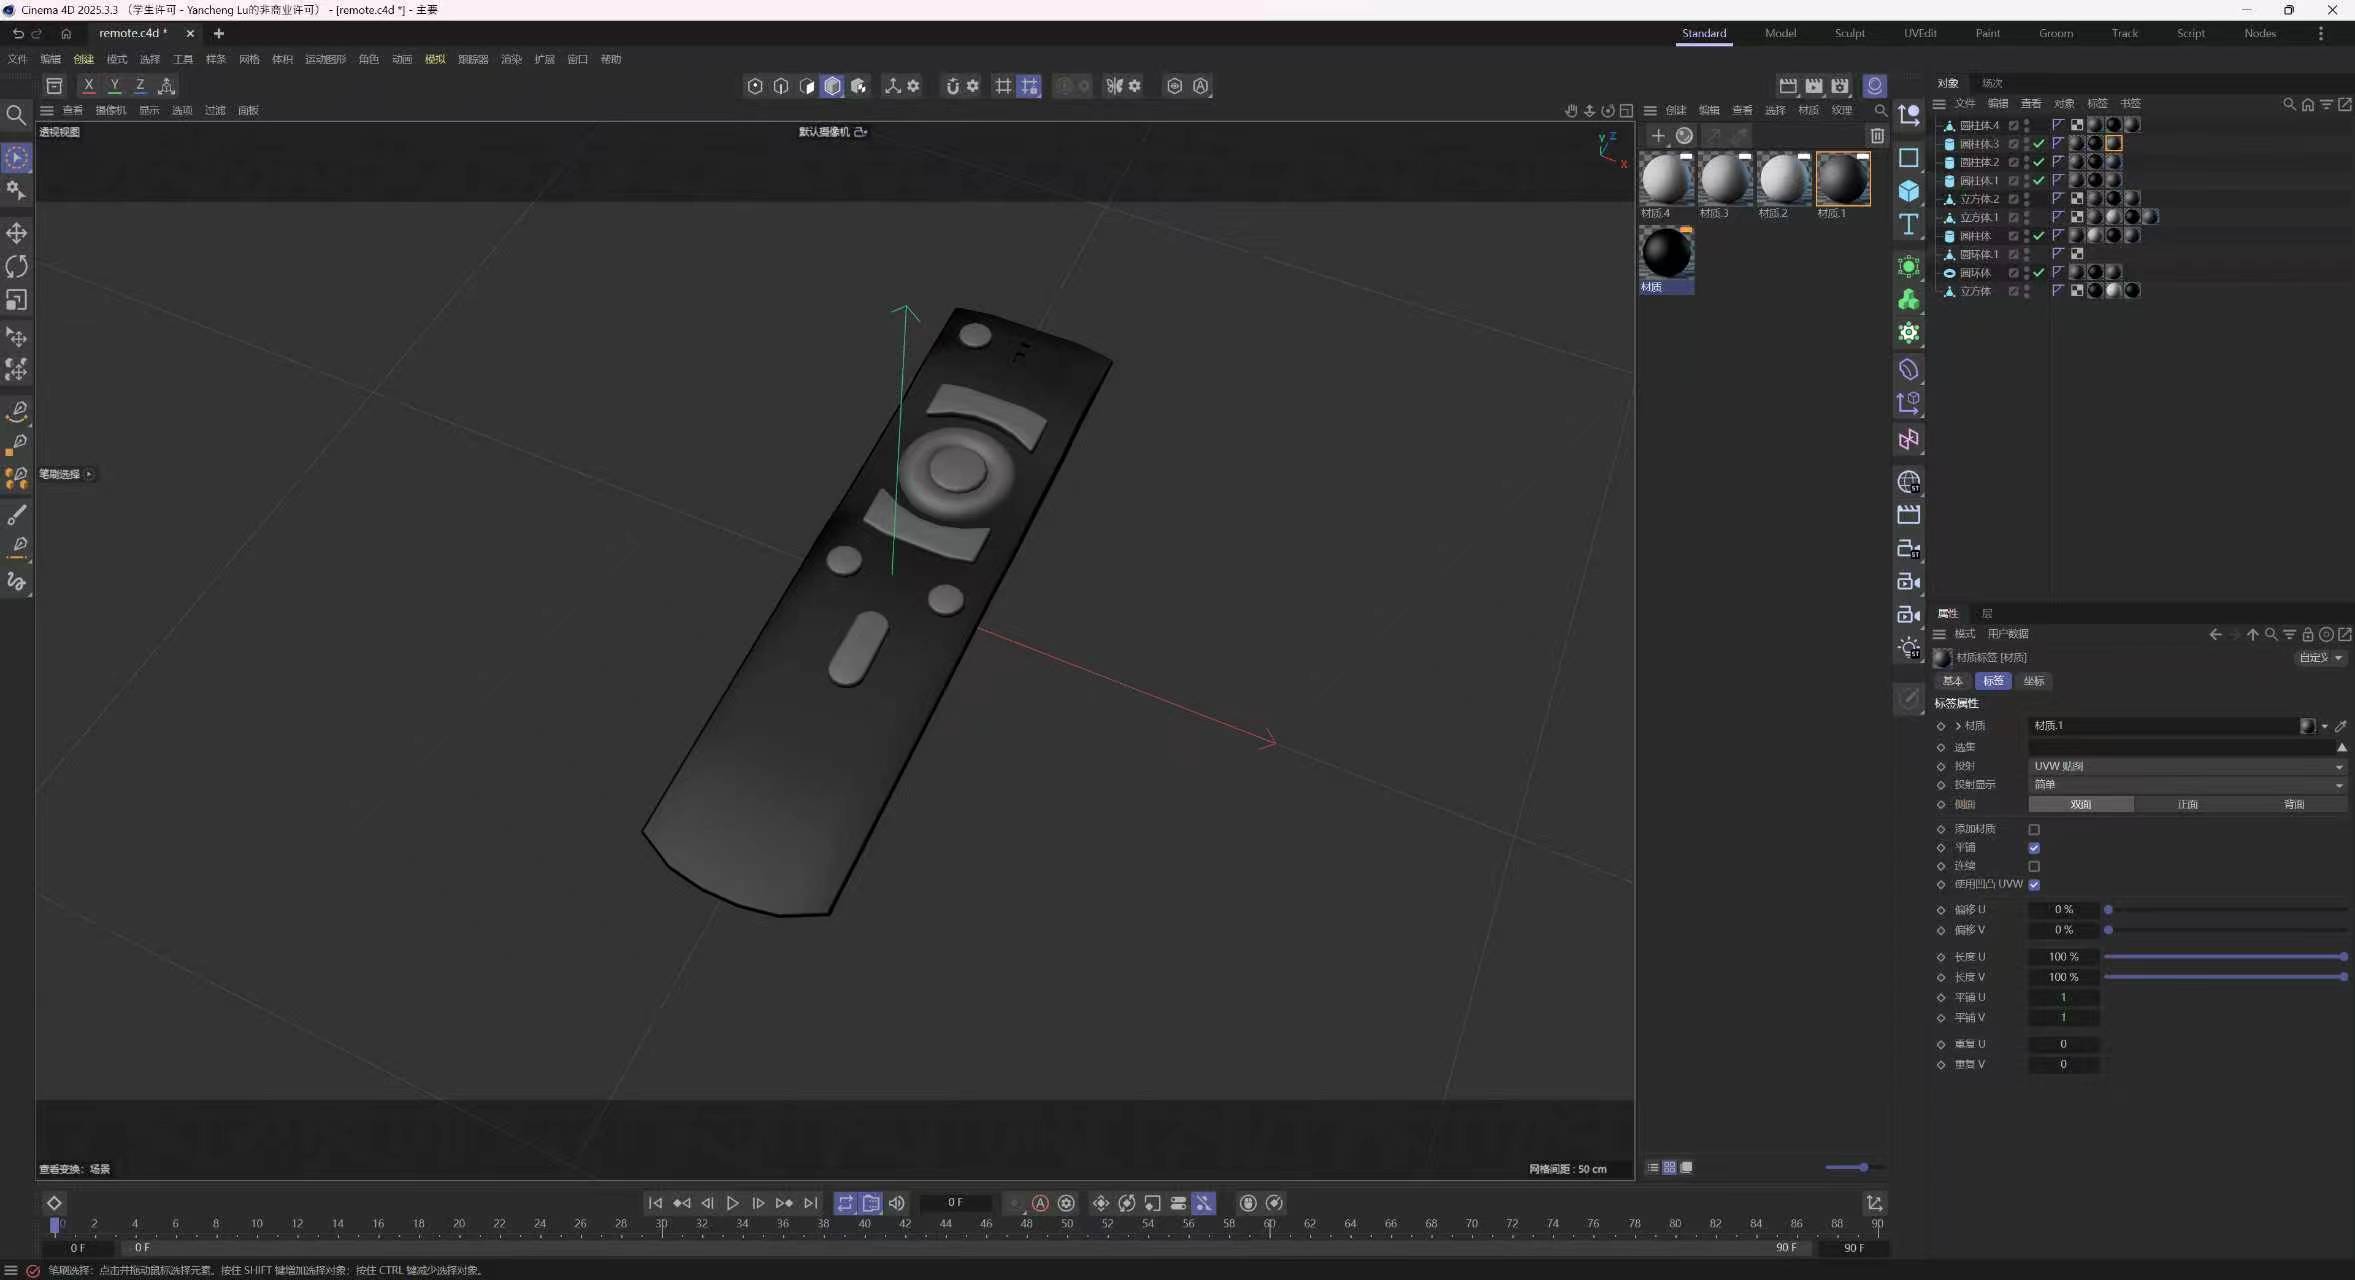
This is my final remote control model made in Cinema 4D. I chose a black material for the main body and used lighter colors for the buttons to create some contrast. I spent a lot of time adjusting the buttons and their positions to make the model look closer to a real remote. I also tried to make the edges smoother and improve the overall shape. I think the final result looks pretty good, and I learned a lot about working with small details and materials during this process. <div class='container'><iframe class='responsive-iframe' src='https://luyanc.phoenix.sheridanc.on.ca/remote.html'></iframe></div>

Published 3D Model 3

PLACEHOLDER TEXT, put a description here or you will lose grades
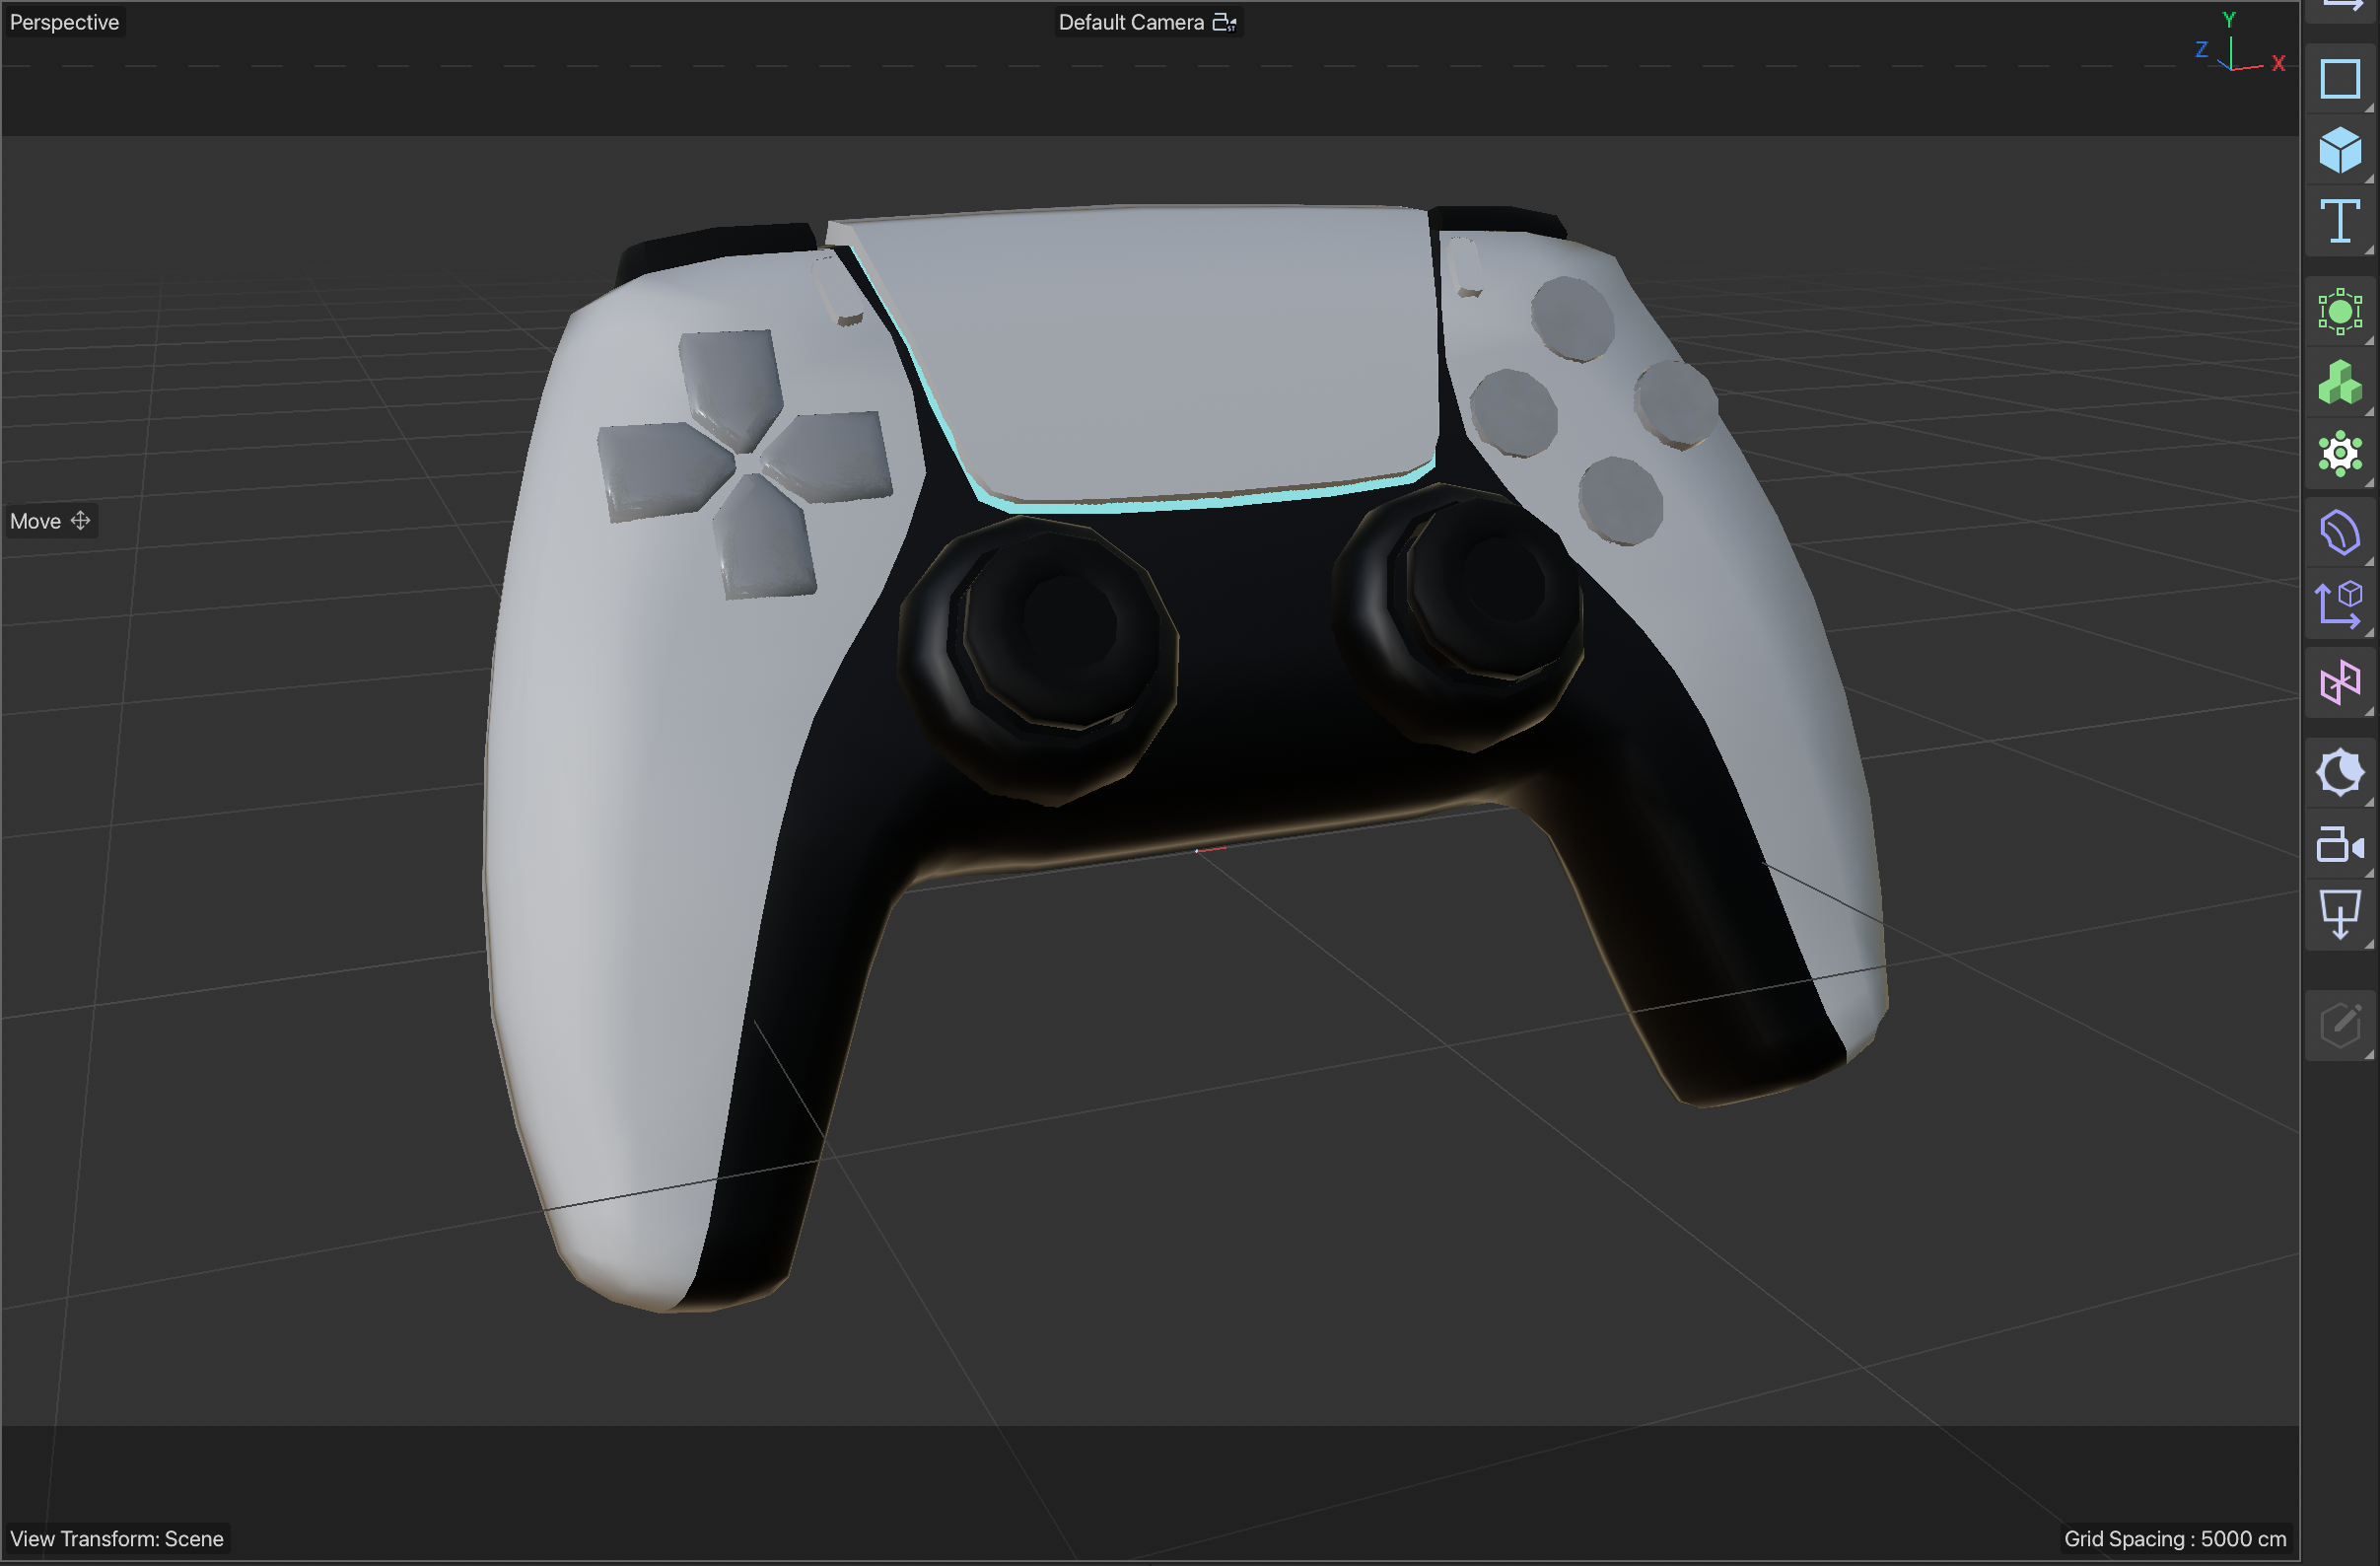
This is my final PS5 controller model made in Cinema 4D. This was probably the most challenging model for me because of its complicated shape and small details. I spent a lot of time adjusting the body, buttons, and joysticks to make them look closer to the real controller. I also added white and black materials to match the original design. Even though some parts were difficult to make, I am pretty happy with the final result. This project helped me improve my modeling skills and become more comfortable working with complex shapes. <div class='container'><iframe class='responsive-iframe' src='https://luyanc.phoenix.sheridanc.on.ca/PS5/PS5%20Con.html'></iframe></div>
×

Powered by w3.css